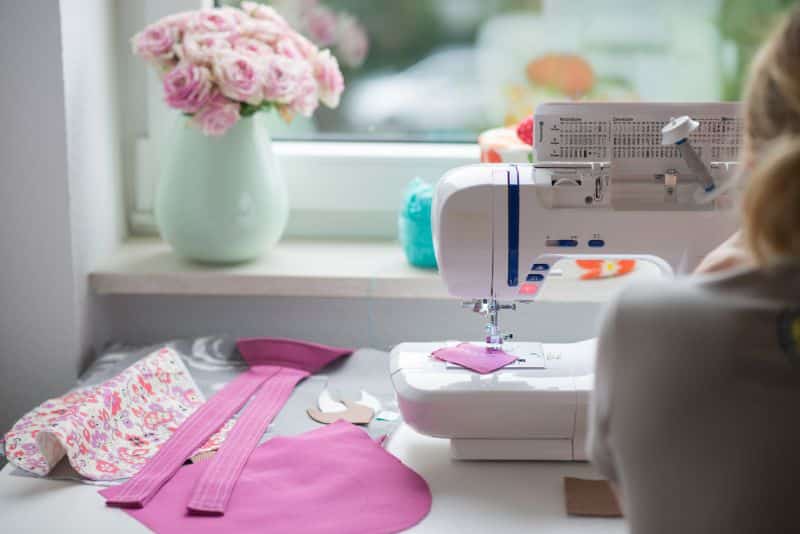
Are you looking for ways to get your sewing room organized? With these 10 clever sewing room organization hacks, you can get your space in order in no time. From storage solutions to quick cleaning tricks, these hacks will help you make the most of your sewing room.
If you love to sew but need to make the most of your space, keep reading to discover our top 10 sewing room organization ideas to try today!
1) Declutter Your Sewing Room
If you find yourself constantly searching for your scissors or buried under a mountain of fabric scraps, it’s time to declutter your sewing room.
Start by assessing what you really need in your sewing room. Take a good look at your tools, supplies, and fabrics. Are there any items that you no longer use or need? Donate or sell them to free up valuable space.
Next, invest in storage solutions that will help you maximize your space. We have more ideas for storage containers below.
Consider utilizing wall space for storage. Install shelves or hooks to hang baskets or organizers for your threads, notions, and tools. This keeps everything within reach and frees up valuable tabletop space.
2) Store Fabrics by Color and Type
One of the biggest challenges of a sewing room is keeping your fabric collection organized. If you find yourself rummaging through piles of fabric trying to find the perfect one for your next project, it’s time to get a good organization system going. One simple yet effective hack is to store your fabrics by color and type.
Organizing your fabrics makes it easier to find what you’re looking for and also looks pretty. To start, gather all your fabrics and sort them by color. Then, fold each piece neatly and stack them on shelves or in clear plastic bins. You can even use labeled fabric organizers to keep everything in order.
If you have a small sewing room, consider using vertical space by installing floating shelves or using a hanging fabric organizer.
In addition to organizing by color, it’s also helpful to organize your fabrics by type. For example, separate your cottons, knits, and silks. This way, when you have a specific fabric in mind, you can quickly locate the right section and find exactly what you need.
By storing your fabrics by color and type, you’ll make your sewing room more organized and will save time and frustration when searching for the perfect fabric for your next project. Don’t underestimate the power of a well-organized sewing room. It can truly transform your space and inspire your creativity.
3) Organize Threads and Notions
When it comes to sewing room organization, one of the key areas to tackle is your threads and notions. Keeping them organized adds a sense of order and efficiency to your sewing space.
Sewing cabinets with a lift are a great way to get all the threads and notions in order. This will keep your accessories neatly displayed and easily accessible.
You can also utilize clear storage containers or drawer dividers to prevent threads from getting lost or tangled. You can even label each container or divider to make finding what you need even easier.
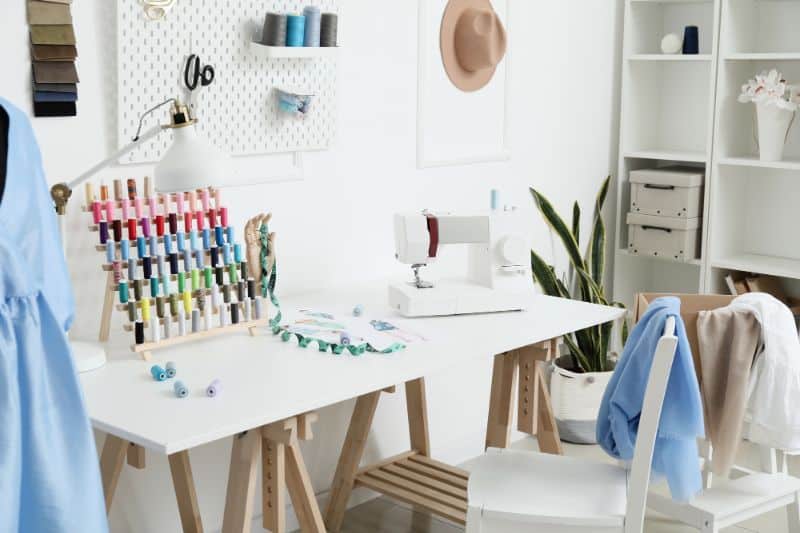
4) Utilize Wall Space for Storage
Using wall space for storage is a genius sewing room organization hack, especially if you have a small sewing room. When you’re short on floor space, vertical storage can be a game-changer. By installing shelves, hooks, or pegboards on your walls, you can create functional storage solutions that keep everything within reach.
Consider installing shelves to hold your fabric bins, sewing books, or decorative sewing accessories. You can choose floating shelves or traditional ones depending on your style preference.
Hooks are another fantastic way to utilize wall space for storage. Hang baskets or organizers from hooks to hold your threads, notions, and tools.
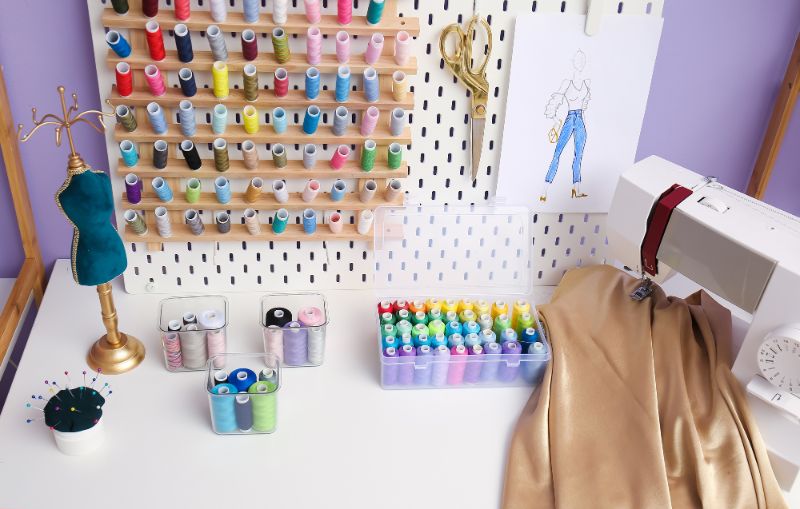
5) Install a Pegboard for Tools
Speaking of utilizing wall space, every inch of space counts, especially if you have a small sewing room. That’s where the magic of a pegboard comes in!
A pegboard is essentially a wall-mounted board with evenly spaced holes, allowing you to hang hooks, baskets, and containers to hold your tools. It’s like having your own customizable tool organizer right on your wall! With a pegboard, you can easily hang your scissors, rulers, cutting mats, and even thread spools.
6) Create a Cutting Station
When it comes to sewing, having a designated cutting station is essential for streamlining your workflow. Creating a cutting station doesn’t have to be complicated or expensive.
Start by designating a specific area in your sewing room for your cutting station. It can be a sturdy table or even a large cutting mat placed on top of a stable surface. Make sure the height is comfortable for you to work at, as you’ll be spending a lot of time here.
Next, gather all your cutting tools and rulers and arrange them within easy reach. Consider using a wall-mounted organizer or a caddy to keep everything organized and easily accessible. This will save you time and frustration searching for your tools when you need them.
It’s also a good idea to have a trash bin or bag nearby to dispose of fabric scraps and trimmings. This will help to keep your cutting area tidy and prevent fabric remnants from cluttering your sewing room.
Finally, consider adding adequate lighting to your cutting station. Good lighting is important for accurate cutting and measuring. Install a bright task light or position your cutting station near a window for natural light.
7) Label Everything for Easy Access
Imagine being in the middle of a project and needing a specific fabric, thread, or tool. Instead of rummaging through multiple containers or drawers, you can simply glance at the labels and grab what you need in seconds. It’s a game-changer!
The great thing about labeling is that it’s super easy to do. You can use a label maker for a professional look, or you can simply use masking tape and a marker. Either way, take the time to label each container or drawer so that you never have to waste precious minutes searching for items again.
8) Use Drawer Dividers for Smaller Items
When it comes to sewing room organization, it’s often the smaller items that can cause the most frustration. Bobbins, needles, buttons – they have a way of getting lost or tangled if not properly organized. That’s where drawer dividers come in.
Drawer dividers are essentially small partitions that you can place inside your drawers to create separate compartments. By using these dividers, you can easily separate your bobbins, needles, buttons, and other small items into designated spaces, making them easy to find and access when needed.
You can easily create compartments of different sizes to accommodate different items. Plus, they come in various materials, such as plastic, wood, or fabric, so you can choose one that matches your personal style.
9) Install Magnetic Strips
Magnetic strips are a versatile organizational tool that you might have seen in kitchens or garages. But have you ever considered using them in your sewing room? These strips are perfect for holding onto your metal sewing tools, making them a fantastic addition to your crafting space.
Installing a magnetic strip is as easy as pie. First, decide where you’d like the strip to go. It should be within arm’s reach but not in a spot where you’ll knock things off. Use a level to make sure it’s straight—after all, a crooked magnetic strip won’t do your room any favors. Once you’ve marked the spot, simply screw the strip into the wall. Make sure it’s secure, especially if you’re planning to hang heavier items like scissors or metal rulers.
The magnetic strip offers easy access to all your essential tools. No more digging through drawers to find that elusive pair of scissors! Plus, having your tools displayed on the wall means you can quickly see and grab what you need. And let’s not forget the space-saving aspect. Magnetic strips are slim and can be placed in various spots, making them ideal for smaller sewing rooms.
10) Repurpose Household Items for Storage Solutions
If you’re looking for creative and budget-friendly ways to organize your sewing room, look no further than repurposing household items for storage solutions. Sometimes, the best organization hacks are right in front of us, hiding in plain sight! Instead of purchasing expensive storage containers or organizers, take a look around your home and see what you already have that can be repurposed.
For example, an old spice rack can be the perfect solution for holding your spools of thread. The small compartments are just the right size to keep your thread organized and easily accessible. A fishing tackle box can also work wonders for organizing your notions. The multiple compartments are ideal for storing buttons, needles, and other small sewing supplies.
Get creative with your storage solutions and think outside the box. Use mason jars to hold buttons or ribbons, shoe organizers to store patterns or cutting mats, and even ice cube trays to keep small notions separated. The possibilities are endless!
By repurposing household items for storage solutions, not only will you save money, but you’ll also add a unique and personal touch to your sewing room. Give it a try and see how these simple hacks can transform your space into a well-organized and functional sewing haven.