Getting kids excited about science, technology, engineering, and math doesn’t have to mean ordering expensive kits or hunting down specialty supplies. Some of the best STEM activities start with what’s already sitting in the kitchen drawer or recycling bin.
With nothing more than common household materials, children can build, test, and experiment their way through real problem-solving challenges. These kinds of hands-on projects sharpen critical thinking and keep little minds engaged, all without a single trip to the store.
6 Hands-On STEM Activities Using What You Already Have
The activities below work best when kids treat them as engineering challenges rather than crafts. Each one asks a question, and the child has to figure out the answer through trial and error. That’s where the real learning happens, and research shows hands-on STEM practices build problem-solving skills that carry well beyond the kitchen table. From building towers to running experiments to working through spatial puzzles where they can test your skills, everyday objects become powerful problem-solving tools.
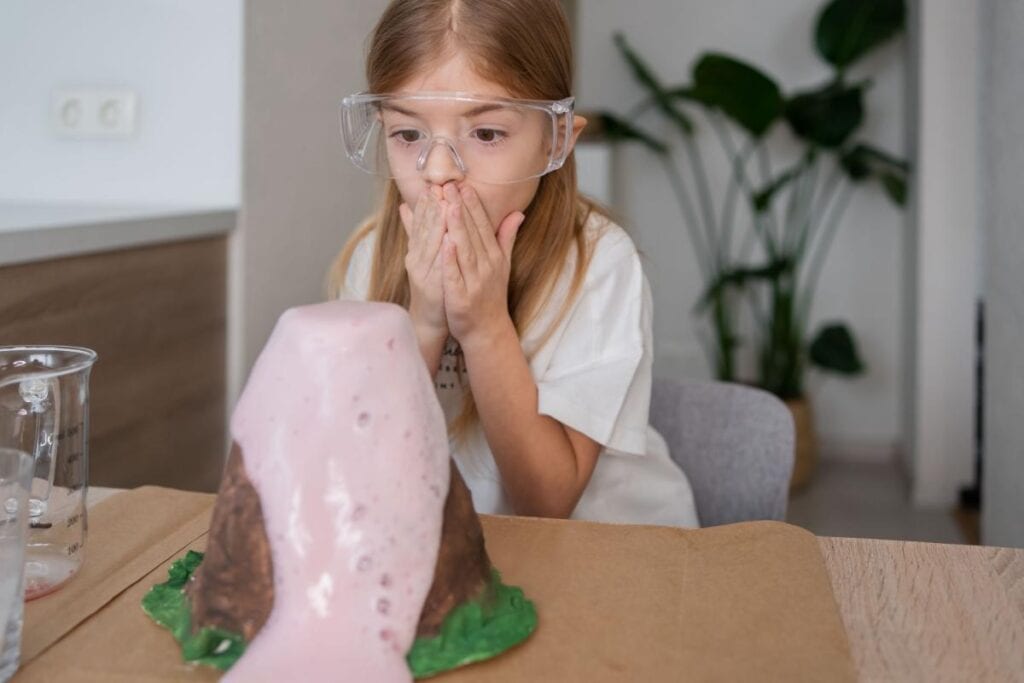
Baking Soda and Vinegar Volcano
Materials needed
- Baking soda
- Vinegar
- Dish soap (optional, but makes bigger foam)
- A cup or small container
- Tray or baking sheet to catch spills
- Optional: sand, dirt, or clay to build a “volcano” shape; food coloring
Instructions
- Set up your work area. Put the tray on a table or outside on the ground. Place the cup in the center of the tray.
- Build the volcano (optional). If you have sand, dirt, or clay, mound it around the cup to make a volcano shape. Keep the cup opening clear.
- Add the “lava” ingredients. Put 2 to 3 tablespoons of baking soda into the cup. Add 1 small squirt of dish soap. If you want colored foam, add a few drops of food coloring now.
- Pour in vinegar. Slowly pour about 1/4 cup vinegar into the cup and watch the eruption.
- Repeat and tweak. Try changing one thing at a time: more baking soda, more vinegar, a bigger container, or a second squirt of dish soap.
Takeaways
This classic science experiment introduces the concept of a chemical reaction, specifically an acid-base reaction that produces carbon dioxide gas, which creates bubbles and foam. Kids practice measuring, observing, and experimenting by changing one variable and seeing what happens.
Spaghetti and Marshmallow Tower
Materials needed
- Dry spaghetti noodles
- Mini marshmallows
- Optional: a ruler or tape measure, timer, small cardboard base
Instructions
- Set the goal. “Build the tallest freestanding tower that can stand on its own for 10 seconds.”
- Start with a wide base. Encourage kids to begin with a square or triangle base made from spaghetti connected by marshmallows.
- Add supports. As the tower grows, add diagonal pieces to make triangles. This helps keep the structure from wobbling.
- Build upward slowly. Add height in small sections. If it starts leaning, pause and reinforce the weak side.
- Test and improve. When it falls, ask what failed: was the base too small, were the joints too soft, or was it top-heavy? Rebuild with one improvement.
Takeaways
It’s a fantastic structural engineering exercise that teaches iterative design. When the tower collapses, they rebuild, and that’s the whole point. Kids learn iterative design: build, test, notice failure points, and redesign.
LEGO Brick Marble Maze
Materials needed
- LEGO baseplate
- Assorted LEGO bricks
- A marble
- Optional: masking tape to mark a start and finish, timer
Instructions
- Pick a start and finish. Mark two corners of the baseplate as “Start” and “Finish.”
- Build the walls first. Create a basic pathway using bricks as barriers. Leave the path wide enough for the marble to roll through.
- Add obstacles. Make a few dead ends, narrow turns, or “trap” areas that force careful tilting.
- Test the maze. Place the marble at the start and tilt the board gently. If the marble gets stuck too easily, widen a section or lower a wall.
- Upgrade the challenge. Add ramps by stacking plates, create a bridge over a section, or require the marble to pass through a “checkpoint.”
Takeaways
Building a marble maze this way develops spatial reasoning and forward planning. It’s also endlessly replayable since the maze can be rebuilt in minutes. This is also a great way to talk about angles, speed, and control (small tilts vs big tilts).
Paper Bridge Weight Test
Materials needed
- Scrap paper (printer paper, junk mail, newspaper)
- Tape
- Two stacks of books or two sturdy boxes (bridge supports)
- Coins for weights
- Optional: scissors, ruler
Instructions
- Set up supports. Place two stacks of books about 6 to 10 inches apart.
- Build a first bridge. Start simple: lay one sheet of paper flat across the gap.
- Test strength. Add coins one at a time in the center. Count how many it holds before it collapses.
- Redesign using shapes. Try folding paper into a tube, a “U” shape, or an accordion fold. Tape the shape to help it hold.
- Retest and compare. Repeat the coin test and record results. Ask which design held the most and why.
Takeaways
This activity introduces load-bearing concepts and shows how shape affects strength, a core idea in civil engineering. Kids get to see basic load-bearing ideas: where the weight sits and how force spreads through the structure.
DIY Parachute Drop
Materials needed
- Plastic bag, napkin, or tissue (canopy)
- String or yarn
- Tape
- Small toy figure or a washer (something with a little weight)
- Optional: stopwatch, step stool or safe higher drop spot
Instructions
- Make the canopy. Cut a square from the bag or napkin (about 8 to 12 inches wide).
- Attach strings. Cut four strings the same length. Tape one string to each corner of the canopy.
- Attach the “passenger.” Gather the loose ends of the strings and tape them securely to the toy.
- Do a test drop. Drop from a safe height and watch how it falls. If it spins wildly, check that the strings are equal and evenly placed.
- Run comparisons. Try a larger canopy, a smaller canopy, longer strings, or a heavier toy. Time each drop if you want to add measurement.
Takeaways
The activity covers air resistance and gravity, and it gets everyone outside, which is a nice change from tabletop projects. The kids get to practice making predictions, then testing those predictions with simple adjustments.
Kitchen Scale Balance
Materials needed
- Ruler
- Pencil (fulcrum)
- Tape
- Small objects: coins, beans, LEGO pieces, fruit, etc.
- Optional: small paper cups or bowls (as holders)
Instructions
- Build the balance. Tape the pencil to the table. Place the ruler on top so it can rock back and forth like a seesaw.
- Find the center point. Slide the ruler until it balances as evenly as possible. Mark that spot with a small piece of tape.
- Add holders (optional). Tape a small paper cup to each end of the ruler to keep items from rolling off.
- Make guesses first. Place an object on one side. Ask which items might balance it, then test.
- Try “equations.” Example: “How many beans balance one coin?” Record answers and check by repeating.
Takeaways
This math-oriented activity rounds out the STEM spread by exploring weight, estimation, and measurement. It’s great for ages 5+ and pairs well with supporting your child’s science interests through everyday curiosity.
How to Keep the Momentum Going
The real trick is keeping that spark alive after the first round. Parents can add simple twists to repeat the same hands-on activities with fresh challenges, like building a taller tower using fewer noodles or testing a bigger parachute canopy.
Encouraging kids to ask “what if” questions turns a finished project into a new one. What if the bridge used rolled tubes instead of flat folds? What if the volcano used lemon juice?
Letting children pick the next experiment based on what excited them most builds lasting problem-solving habits. Pairing their choices with educational crafts that spark creativity keeps the cycle going without any extra planning.