The charm of vintage furniture can add a unique touch to any home. However, over time, even the best pieces can fall victim to wear and tear, making refinishing an attractive option. Refinishing old furniture not only rejuvenates its look but also extends its life. With the right techniques and materials, you can turn a tired piece into a stunning centerpiece. Here are seven handy tips to guide you through the refinishing process.

1. Understanding the Type of Wood
Before you start the refinishing process, it’s essential to understand the type of wood your furniture is made from. Different woods have unique characteristics and may require specific treatment methods. For instance, hardwoods like oak or maple are more durable and can withstand rigorous sanding. On the other hand, softer woods, such as pine, might dent more easily. Knowing the right type of wood will help you choose appropriate products and methods, ultimately affecting the outcome of your refinishing project. Additionally, identifying the wood can guide you in selecting the right stain or paint. For example, darker woods may look stunning with lighter paint, while lighter woods may benefit from dark stains that highlight their grain patterns. Understanding your material can significantly impact both the aesthetics and longevity of your refinished furniture.
2. Preparing the Workspace
Creating a dedicated workspace is imperative for a successful refinishing project. Select a well-ventilated area, preferably outdoors or in a garage with open windows. This will not only provide ample space to work but will also ensure that you aren’t overwhelmed by fumes from any chemicals or sealants you might use. It’s also advisable to clear your workspace of any distractions, keeping only your tools and materials close at hand. Proper preparation goes beyond just space. Gather all necessary tools and materials before starting, including sandpaper of varying grits, paint or stain, brushes, rags, and safety gear. Having everything organized will streamline your workflow and help you avoid interruptions during the refinishing process.
3. Removing Old Finish
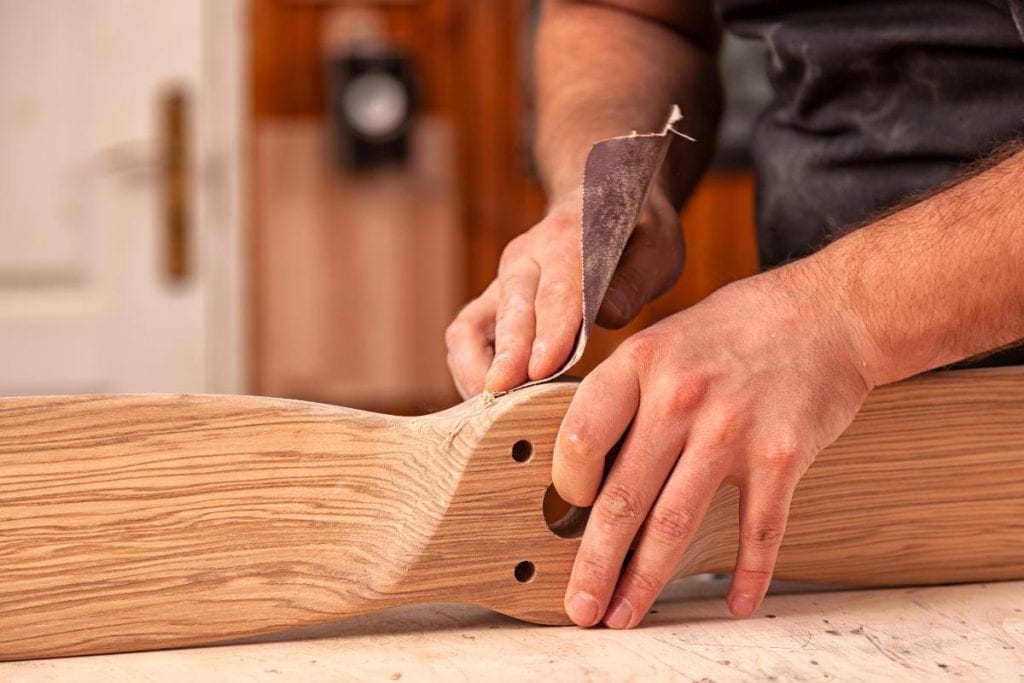
The next step is to remove the old finish, which can be one of the most challenging aspects of the refinishing process. Start by using a paint stripper to break down the existing finish. Choose a chemical that is suitable for indoor use, as this will minimize the harsh fumes in your workspace. Follow the manufacturer’s instructions carefully; they generally involve applying the stripper, allowing it to sit for a certain period, then scraping it away with a putty knife. Once the bulk of the finish is removed, use sandpaper to smooth the surface. Start with a coarser grit to tackle any remaining finish and transition to a finer grit for a smooth surface ready for staining or painting. Sanding not only prepares the wood, but it also reveals its natural beauty, emphasizing characteristics like unique grains.
4. Selecting the Right Products
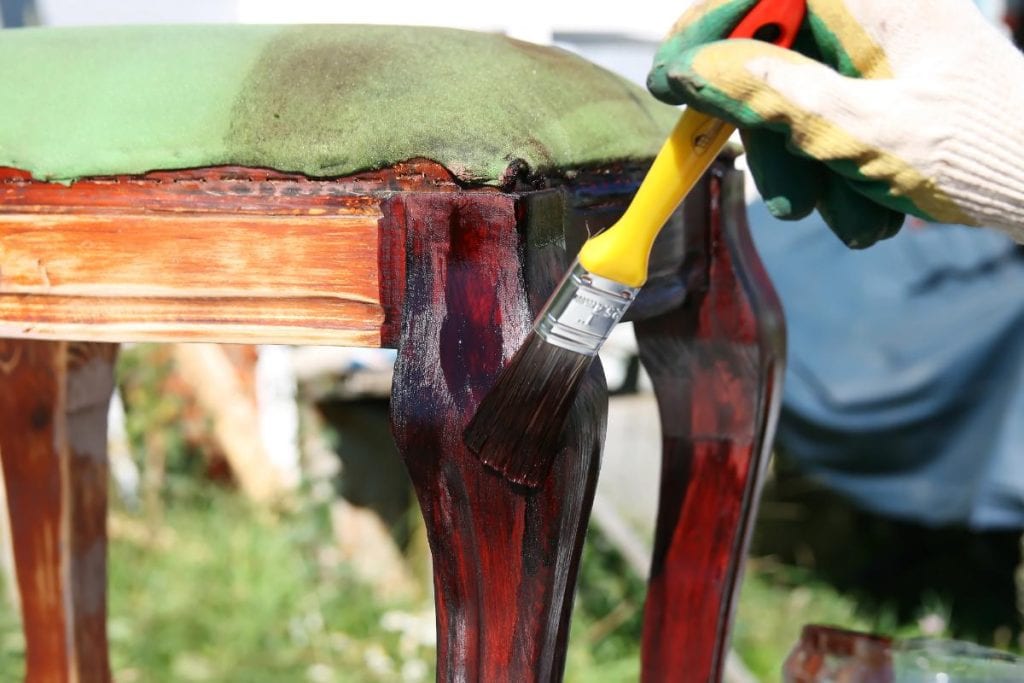
Selecting the right finish is essential for achieving the look you desire. Whether opting for a stain, paint, or a natural oil finish, each choice has its advantages. Stains enhance the beauty of the wood grain, allowing the natural texture to shine through, while paints provide a pop of color and a more modern aesthetic. Examining various finishes can be helpful. Test a small, inconspicuous area before committing to the entire piece, as some colors may appear different once applied. For those looking to give old furniture a contemporary feel, consider refined matte or glossy finishes that can elevate the overall appearance. Additionally, the choice between an oil-based or water-based product can affect drying time and ease of application. Visit www.realmilkpaint.com or a specialized paint store to explore a variety of options. High-quality paints and stains not only offer better finishes but also provide protection against scratches, stains, and moisture. Look for water-based products for easier clean-up, or oil-based products for a more durable finish. Additionally, don’t forget to invest in high-quality brushes or applicators. The tools you use can greatly affect the application quality. Using synthetic brushes for water-based products and natural bristle brushes for oil-based products is usually recommended. Proper application techniques are vital to achieving a smooth and even finish.
5. Applying Primer and Paint
Applying a primer is recommended when painting furniture, especially if you’re transitioning from a darker finish to a lighter one. Primer fills in the wood grains, providing a more uniform base for the paint. Use a brush or roller to apply it evenly and allow it to dry thoroughly before proceeding with the paint application. When you’re ready to paint, apply thin coats rather than a thick one. This not only prevents drips and uneven spots but also promotes a smoother finish. Allow each coat to dry completely before applying the next one. Depending on the color and opacity desired, you may need two to three coats of paint. Patience during this stage will yield satisfactory results in the end.
6. Sealing the Finish
Sealing is a vital step in the refinishing process that protects your furniture from everyday wear and tear. A clear topcoat will provide a barrier against scratches, moisture, and UV damage. Polyurethane is a popular choice for sealing furniture as it offers great durability. Depending on your preference, you can choose between a glossy, satin, or matte finish. Before applying a topcoat, ensure the paint is completely dry. Use a fine-grit sandpaper to lightly sand the surface, creating a better bond for the topcoat. Wipe away any dust with a clean cloth, and then apply the sealant evenly. Just like with the paint, multiple thin coats are preferable over one thick layer. Allow adequate drying time between each coat to achieve the best results.
7. Final Touches and Maintenance
After sealing, inspect your refinished furniture for any imperfections, such as missed spots or drips. Use sandpaper to gently smooth out any uneven areas or imperfections. You may want to apply a final thin coat of sealant if needed. Once you’re satisfied with the finish, replace any hardware or fixtures to match the new look of your piece. Regular maintenance is key to preserving your refinished furniture. Dust it often and wipe spills immediately to prevent staining. For deeper cleaning, use a damp cloth and avoid harsh chemicals that may wear down the finish. Periodically you might want to reapply a sealant every few years, depending on usage.

Ultimately, refinishing old furniture not only revives the beauty of cherished pieces but also serves to connect you with the craftsmanship of bygone eras. With the right techniques and care, your project can be a rewarding experience that transforms both furniture and space.
