Whether you’re refreshing your home’s exterior or transforming an interior space, painting is one of the most impactful and cost-effective ways to upgrade your property. A well-done paint job can breathe new life into tired walls, boost curb appeal, and even increase your home’s resale value. But getting from the idea to the finished product requires more than just picking a color and grabbing a brush.
A successful painting project hinges on thoughtful planning, proper surface preparation, the right materials, and a strong execution strategy. Rushing the process or skipping crucial steps can result in uneven finishes, peeling paint, or unsightly streaks that cost more to fix than the original job. By following expert advice and avoiding common mistakes, homeowners can ensure their painting efforts deliver lasting, beautiful results.
Begin With a Clear Plan and Vision
Before opening any paint cans, take the time to define your project’s scope and aesthetic goals. Are you updating a single room, repainting the entire exterior, or tackling trim and cabinetry? Knowing exactly what areas you’ll be painting and what mood you want to create can help narrow your choices and prevent mid-project changes.
Use color swatches or digital visualization tools to test how different shades will look in your space, considering factors like lighting and existing décor. Lighter tones often make rooms feel larger and airier, while darker hues can add depth and drama. Keep in mind how the colors will transition between rooms or surfaces in open-concept layouts.
Set a realistic timeline for your project. Interior rooms may only take a few days, but exterior work depends on the weather and can stretch longer. Having a detailed plan helps you stay organized and allows for smoother coordination with anyone assisting with the job.
Prioritize Surface Preparation for a Flawless Finish
Surface preparation is arguably the most important factor in achieving a polished, long-lasting paint job. Paint won’t adhere properly to dirty, peeling, or uneven surfaces, so taking the time to prep will prevent future headaches.
Start by cleaning all surfaces thoroughly to remove dust, grease, or mildew. For exterior work, power washing is often the most effective method. Indoors, warm, soapy water or mild cleaners can do the trick. Once clean, check for imperfections, cracks, holes, chipped paint, or rough patches, and use caulk or spackle to fill them in. Allow these repairs to dry completely before sanding the area.
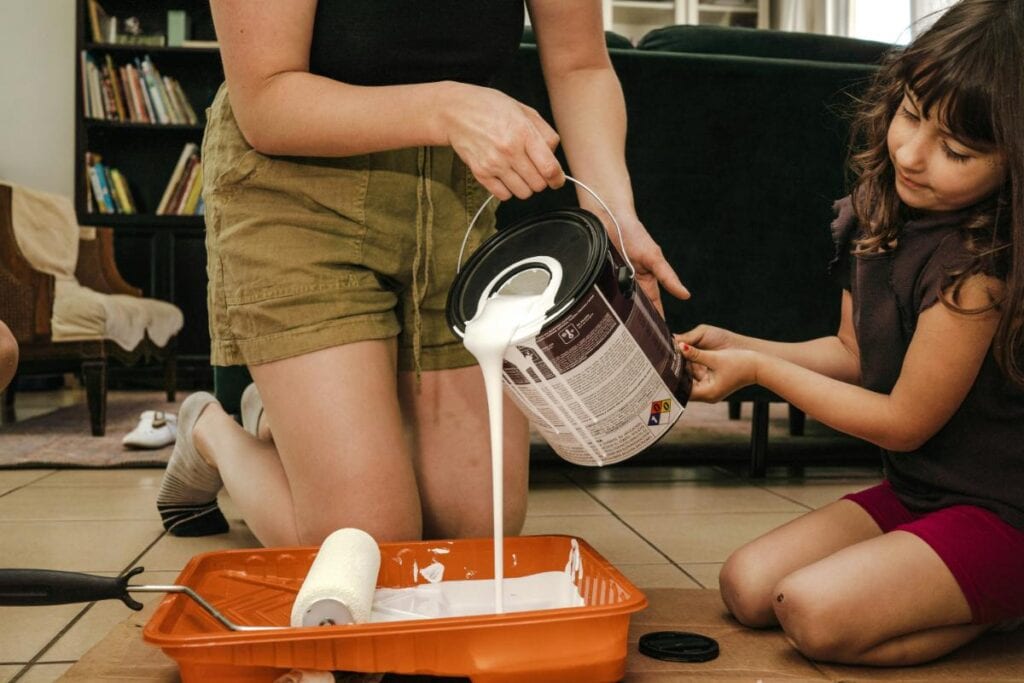
Choose the Right Paint and Tools
Not all paints are created equal. Low-quality products may seem cost-effective, but they often require more coats and wear out quickly. Investing in premium paints ensures better coverage, a smoother finish, and longer-lasting color. Consider the paint’s sheen as well, flat and matte finishes hide imperfections but can be harder to clean, while semi-gloss and satin are ideal for high-traffic areas.
Equally important are the tools you use. High-quality brushes and rollers ensure better application and reduce the likelihood of brush marks or drips. Select the appropriate roller nap based on the texture of the surface: short for smooth walls and longer for textured surfaces like stucco or brick. If the job is particularly large, involves hard-to-reach areas, or requires specialty finishes, working with Paintzone or other professional painters can save time and reduce stress. Experienced painters bring the expertise and equipment to deliver efficient, flawless results and can often complete projects much faster than the average DIYer.
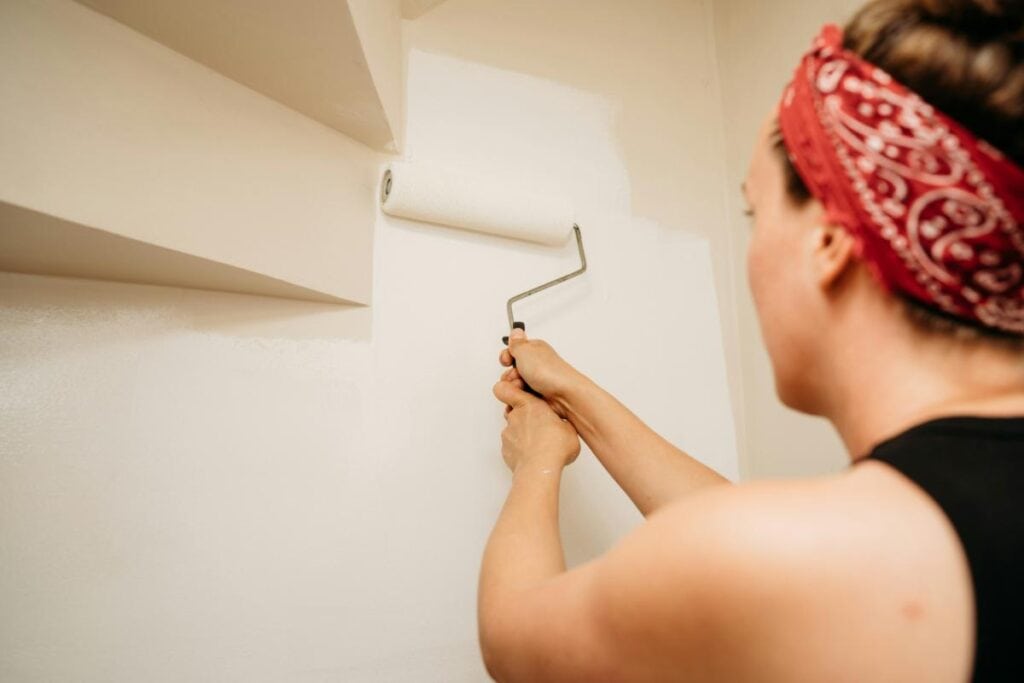
Follow a Systematic Painting Approach
When you’re ready to paint, don’t just dive in randomly. A systematic approach yields cleaner lines and fewer mistakes. Start from the top and work your way down, ceilings first, then walls, followed by baseboards and trim. This helps you avoid dripping paint on freshly completed sections.
Use painter’s tape to mask off edges, windows, and fixtures. Apply the tape carefully and press it down firmly to prevent seepage. Begin by cutting in the edges with a brush, then use a roller for the larger surfaces. Overlap slightly between areas to maintain a wet edge, which helps avoid lap marks.
Don’t Forget the Cleanup and Final Touches
Once the painting is complete, take your time with cleanup to maintain a professional look and preserve your tools for future use. Carefully remove the painter’s tape while the paint is still slightly tacky to avoid peeling. Clean brushes and rollers according to the paint type, latex paints rinse with water, while oil-based products require solvents.
Inspect your work closely for missed spots, uneven areas, or drips. These final touch-ups make a big difference in the quality of the job. It’s a good idea to label any leftover paint cans with the room and date for future reference.
A successful house painting project doesn’t happen by accident. With proper planning, surface preparation, the right tools, and a methodical approach, you can achieve results that enhance your home’s appearance and protect its surfaces for years to come. Whether you’re going it alone or hiring professionals, thoughtful execution will ensure your efforts are worth the time and investment.