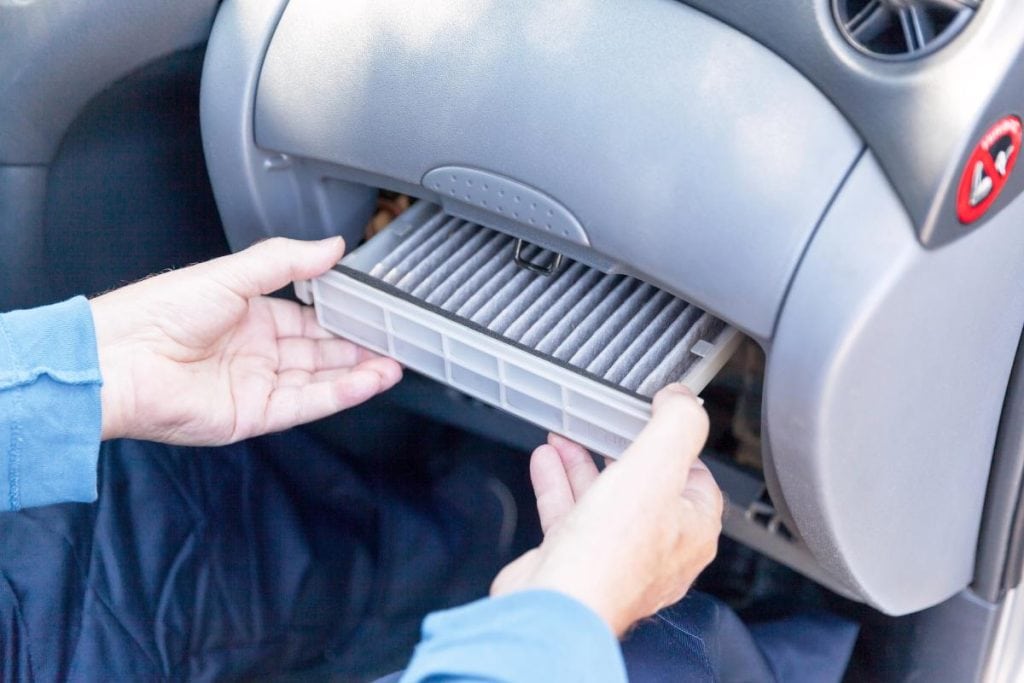
A clean cabin air filter is essential for maintaining the air quality inside your vehicle and ensuring your HVAC system works efficiently. Over time, dust, pollen, and debris can accumulate, leading to poor air circulation and unpleasant odors.
Regularly cleaning or replacing your cabin air filter can help keep the air fresh and your system running smoothly. This blog will walk you through the simple steps to clean your cabin air filters.

1. Locate the Cabin Air Filter
The first step to cleaning a cabin air filter is finding where it’s located in your vehicle. In most cars, the cabin air filter is behind the glove box, under the dashboard, or near the engine compartment. Check your car’s manual for the exact location.
Once found, you’ll be ready to remove it. Make sure your car is off before you start. Knowing where it is helps you avoid wasting time searching during the process.
2. Remove the Cabin Air Filter
After locating the filter, carefully remove any panels or covers that block access. In many cases, you’ll need to take out screws or clips to remove the cover. Once the cover is off, gently pull out the cabin air filter.
Be cautious not to damage any surrounding parts. The filter may be a bit dusty, so handle it with care. Removing the filter properly ensures it doesn’t get damaged when cleaning it.
3. Inspect the Filter
Before cleaning, check the condition of the cabin air filter. Look for any large debris, such as leaves or twigs, that might be stuck in it.
It is possible that it is time to replace the filter rather than clean it if it appears to be excessively dirty, torn, or clogged than expected. If it’s still in good shape, proceed with cleaning. Inspecting the filter helps you determine if cleaning is enough or if replacement is necessary.
4. Clean the Filter
To clean the filter, use a soft brush to gently remove dirt and dust from the surface. You can also use compressed air to blow out any debris from the filter’s surface.
Avoid using water or soap as it can damage the filter. If it’s very dirty, consider using a vacuum cleaner with a soft nozzle to suck out the dirt. Cleaning the filter properly helps maintain good airflow and keeps the air in your car fresh.
5. Reinstall the Filter
Once the filter is clean, carefully place it back into its compartment. Make sure it fits securely in place and that the airflow direction matches the markings on the filter.
Covers and panels that were removed during the process should be reinstalled whenever possible. Double-check that everything is properly aligned before moving on. Reinstalling the filter correctly ensures that it functions well and keeps the cabin air clean.
6. Test the Airflow
After reinstalling the filter, turn on your car and test the airflow from the air vents. You should notice improved air quality and airflow if the filter is clean.
If the airflow seems weak or the air quality isn’t better, the filter might still be too clogged or damaged. Testing the airflow helps you confirm that the cleaning worked, ensuring your vehicle’s air system is functioning properly. If the issue persists, consider replacing the filter.
Improve Overall Vehicle Performance
A well-maintained cabin air filter not only contributes to a healthier driving environment but also helps your vehicle run smoothly for the long haul. If you take good care of your vehicle, it will be able to take care of you!
