
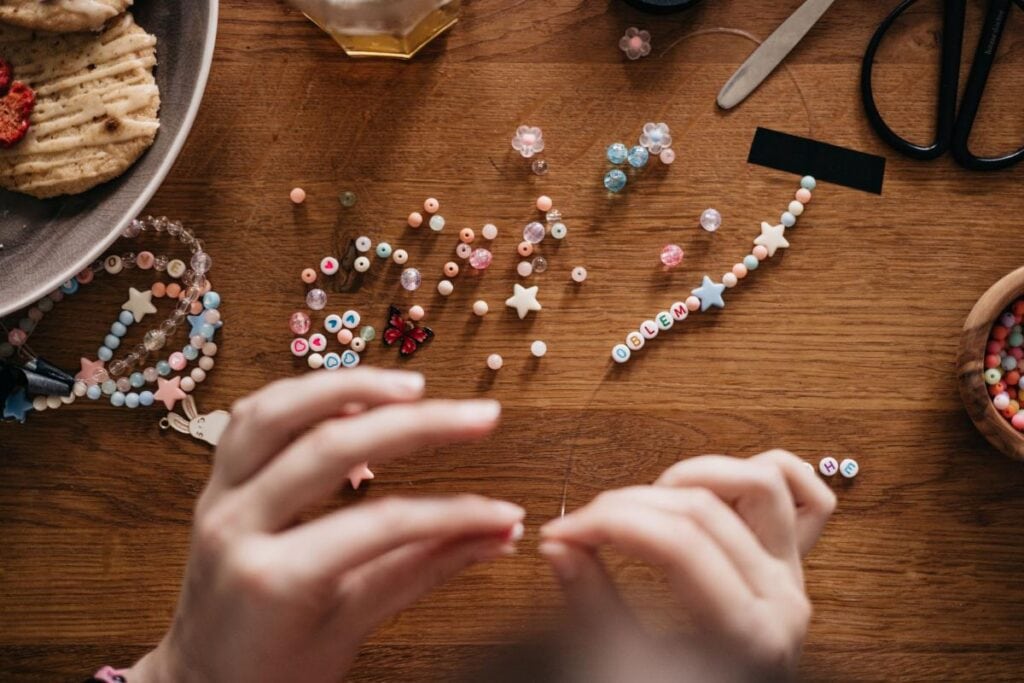
Memory wire bracelets are one of the easiest bead crafts to do with kids, because the coils of the wire hold their own shape and the bracelet needs no clasp. The one tricky moment comes before the first bead goes on, when you cut the wire to length. It’s hardened steel, and it ruins ordinary craft cutters and scissors.
What you’ll need
Set these out before your child sits down. You only need one of the two cutting tools.
- Bracelet-size memory wire: it also comes in ring and necklace sizes.
- Memory wire shears: a cutting tool made only for the wire.
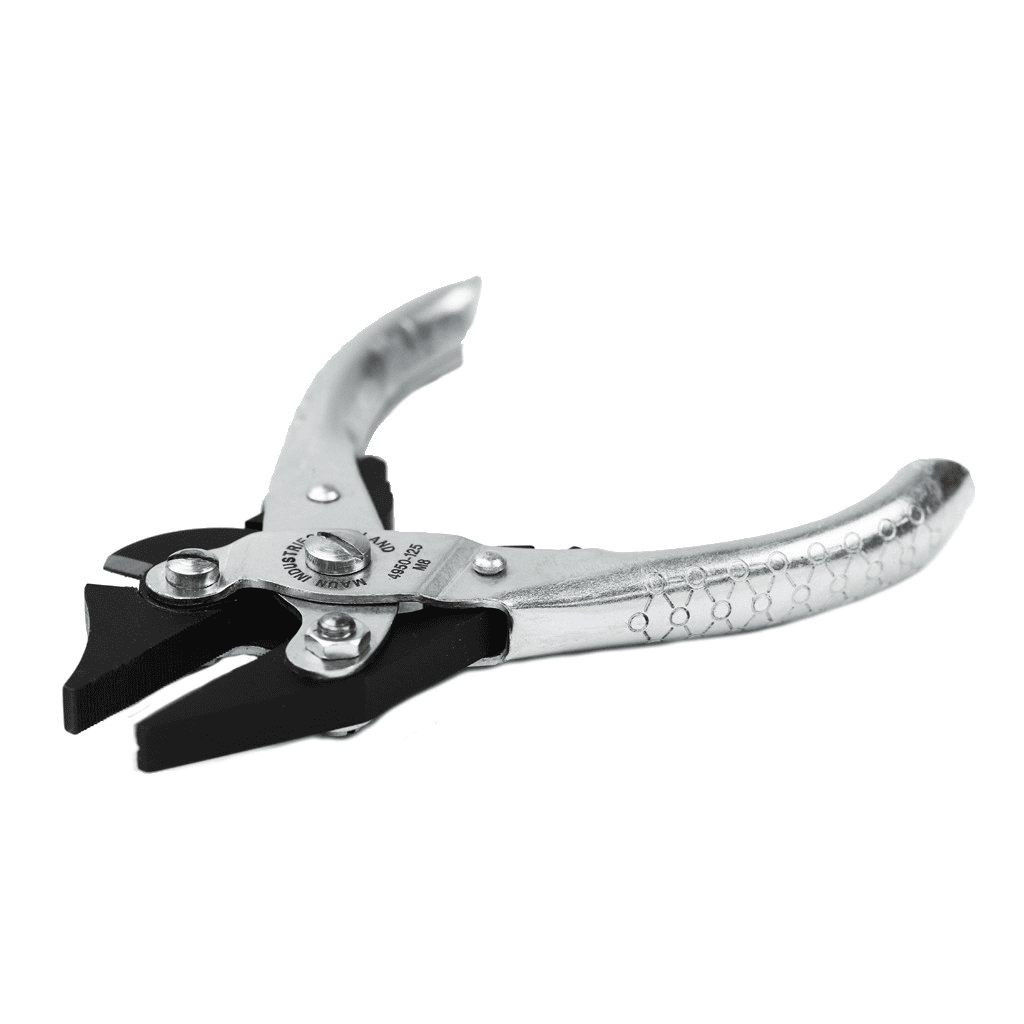
- Hard-wire side cutters: we recommend hard-wire cutters rated for piano wire, as these can easily cut memory wire, such as Maun’s small side cutters for hard wire.
- Round-nose pliers: a sturdy pair for turning a small loop at each end of the bracelet, since the wire can dent fine jewelry pliers.
- Beads: a mix of sizes, with holes wide enough for the wire.
- Memory wire end caps and jewelry glue: an optional swap for the loops.
- A clear zip-top bag: to cut inside, so the clipped end stays in the bag.
- A tray with a rim: to keep the beads from rolling off the table.
What memory wire is and why kids like it

Memory wire is tempered steel spring wire, sold in coils. When you pull the wire open and let go, it springs back into a coil. That’s why kids like it: the bracelet slips over the hand, springs back around the wrist, and stays on with no clasp. The wire is stiff, too, so your child pushes beads straight on with no needle and no knot.
Why craft scissors and soft-wire cutters fail
Memory wire is harder than the blades of craft scissors and the small flush cutters sold for soft jewelry wire. You make one cut, and there’s a small notch in the blade. Every cut after that leaves a tag, a rough nub on the end of the wire that scratches wrists and snags sleeves.
Bending the wire back and forth until it snaps is no better. You kink it, so the bracelet sits lopsided, and the snapped end has a sharp burr.
Two tools that cut memory wire cleanly
Memory wire shears and side cutters made for hard wire both cut memory wire cleanly, but craft scissors and soft-wire flush cutters end up with notched blades.
Memory wire shears are an inexpensive tool made for this one job. You put the wire between the blades, squeeze the handles, and it comes apart with a clean end.
Side cutters made for hard wire work the same way, and they stay useful long after the bracelets are done. Check that the label says hard wire, because memory wire puts a small notch in the blades of side cutters made for soft wire.
How to cut memory wire safely
An adult does the cutting, every time.
1. Count the coils you want first, two or three for a bracelet, and pinch the wire at that spot.
2. Put the wire and the cutter jaws inside a clear zip-top bag and point the cutters down and away from faces. The bag catches the clipped end, so it can’t fly across the room.
3. Squeeze the handles all the way closed.
4. Cut ends are sharp, so take care of them right away. Turn the first loop (or glue on an end cap) at one end before you hand the bracelet over, and wrap tape over the end of the leftover wire. The other end of the bracelet stays open for threading, so have your child keep it pointed down and away from faces while they work.
Picking beads that fit memory wire
Beads need holes big enough to slide onto memory wire, so test one bead of each kind on the end of the wire before you cut. Plastic pony beads have big holes and slide on easily.
Mix big beads, which small fingers can grab, with a few smaller beads to fill the gaps. For small wrists, choose lightweight plastic or wooden beads over glass and metal beads.
Age and supervision

This craft is for kids three and up, with you sitting right beside them. Small beads are a choking hazard for children under three, which is the age the U.S. Consumer Product Safety Commission uses in its small-parts choking guidance. If you have a baby or toddler at home, craft out of their reach and pick up dropped beads right away.
Whatever your child’s age, the jobs split the same way: they thread the beads, and you handle the cutters and the wire ends. The cutters stay on your side of the table, and each offcut goes straight into the zip-top bag.
How to make the bracelet
1. Cut two or three coils of memory wire inside the zip-top bag.
2. Use round-nose pliers to turn a small loop at one end: grip the tip of the wire in the pliers and roll your wrist until the loop closes. Squeeze firmly, because the wire is stiff.
3. Now it’s your child’s turn. They hold the looped end and push beads on from the open end, keeping that end pointed away from their face.
4. When your child is done, leave a short tail of bare wire, enough to grip with your pliers, and trim off any extra.
5. Turn the closing loop yourself, right up against the last bead, so the beads sit snug.
6. Your child pulls the bracelet open a little, slides it over their hand, and lets go. The wire springs back around their wrist. Get ready for plenty of proud wrist-waving.
Using end caps instead of loops
Instead of turning loops, you can glue a memory wire end cap over each end: a small metal ball or bead with a hole drilled partway in. Put a dab of jewelry glue in the hole and push the end cap onto the wire. Cap one end before your child starts threading and the other after the last bead, and let the glue set each time. Gluing is an adult job, since you’re handling the sharp cut ends.
Quick tips for bracelet day
- Put a twist tie around the leftover memory wire so it can’t spring open, and store it in a zip-top bag on a high shelf with the cutters.
- If a loop opens and beads start to slide, grip the loop with your round-nose pliers and roll it closed again, snug against the last bead.
- Wrap short offcuts of the wire in masking tape before they go in the trash, so the sharp ends can’t poke anyone.
- Keep one longer offcut, with both ends taped, for practicing loops and testing new beads.