
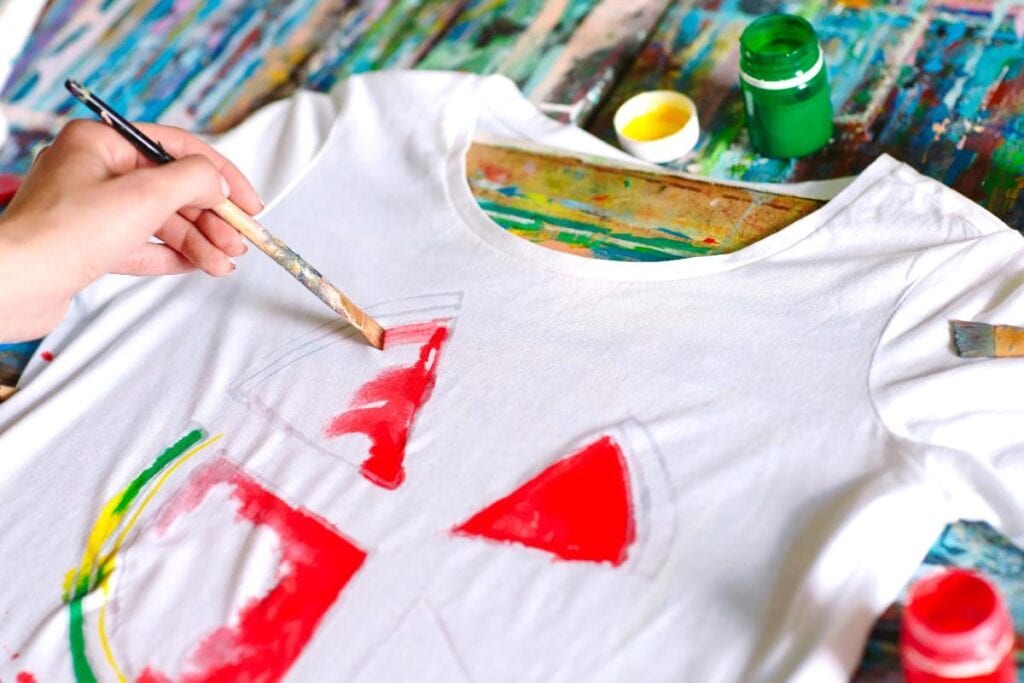
Children’s artwork tends to take over the fridge, kitchen counters, and storage boxes. Some drawings, though, feel too special to tuck away. Turning a favorite picture into a custom T-shirt gives your child a fun way to show off their creativity while creating a keepsake you can hold onto.
Start with a drawing your child loves, create a clean digital copy, and prepare it carefully for printing. Here’s how to turn that mini masterpiece into a shirt they’ll be excited to wear.
Pick the Right Artwork and Prepare It for Printing
Let your child choose the picture. Adults may gravitate toward the neatest drawing, but kids often have another favorite. Maybe it’s a dinosaur with five legs, a family portrait with enormous hair, or a rainbow featuring every crayon in the box.
Before you start, ask your child what they like most about the drawing. Their answer can help you decide which details should stay untouched.
Check the paper for folds, crumbs, or smudges that aren’t part of the picture. Flatten creases carefully, but don’t “fix” shaky lines or coloring outside the edges. You want the shirt to preserve your child’s work, not an adult’s polished interpretation.
Next, create a digital copy. A flatbed scanner captures the page straight on with even lighting. A smartphone can work well too. Put the drawing on a flat surface in good natural light, then hold your phone directly above it. Make sure your hands and phone don’t cast shadows across the page.
Crop unnecessary space and straighten the image if needed. If you’re considering DTF Transfers while researching printing options, check the file requirements before editing heavily or placing an order. A method like dtf transfers can reproduce detailed artwork on suitable garments, but you should prepare the file according to the printer’s specifications.
Keep Your Child’s Original Style Intact
A wobbly circle, uneven lettering, or color outside the lines might look like a mistake to an adult. Cleaning up every irregularity can leave you with something that no longer feels like your child created it.
Focus on practical edits instead. Crop distracting marks around the edges and remove an unwanted paper background if your chosen printing process requires it. If a photograph looks darker or duller than the original, make small adjustments while keeping the colors recognizable.
Watch for faint pencil and crayon marks. Brightening an image too much can make pale details disappear. Compare the edited file with the physical drawing as you work instead of judging everything from your screen.
Choose a T-Shirt That Suits the Design
Your child will wear it more often if it feels comfortable and matches their tastes. Start with the right size. If you’re making the shirt as a surprise, check the label on something your child currently wears rather than guessing.
Next, think about color. Look at the main shades in the drawing and consider how they’ll look against the fabric. Dark lines can show clearly on a lighter shirt, while bright artwork may stand out against a darker background. If the project isn’t a surprise, let your child choose the shirt color.
Test the Size and Placement Before Printing
Artwork can look perfectly proportioned on a screen and surprisingly different on a child-sized T-shirt. Print the image on ordinary paper at roughly the size you want it to appear. Cut around the design and place it over the shirt.
Check whether the artwork overwhelms the front, looks too small, or sits too close to the neckline. Move the paper until the placement feels balanced. A large drawing often works well in the center of the chest, while a small doodle may suit a compact placement.
Keep the proportions unchanged while resizing. Stretching artwork sideways or vertically can distort faces, animals, lettering, and other recognizable features.
Add Personal Details Without Crowding the Artwork
Your child’s drawing may need nothing else. You could add your child’s name, the year they made the picture, or the title they gave it. If they wrote the title themselves, consider preserving their handwriting rather than replacing it with a digital font.
A simple date can help everyone remember when the little artist created the original. Keep additions minimal. If the drawing already contains plenty of colors, characters, and details, borders or large blocks of text can make the design feel crowded. Let the artwork remain the focus.
Take Care of the Finished Shirt
Once the design is on the shirt, follow the care directions for the garment and the printing method you used. Different materials and applications can have different requirements, so use the instructions supplied with your finished item.
Turning a printed shirt inside out before washing can reduce direct rubbing against the decorated surface. Avoid ironing directly over the artwork unless the relevant care instructions specifically allow it.
Playground dirt, lunch spills, and everyday adventures may eventually leave their mark. A sentimental shirt doesn’t need to stay hidden in a drawer to remain special.
Final Thoughts
Turning your child’s artwork into a custom T-shirt gives a favorite drawing a life beyond the refrigerator door.
Choose a picture your child genuinely loves, capture a clear digital copy, and make only the edits the image needs. Pick a comfortable shirt, test the size and placement before printing, and invite your child into the creative decisions.
Years from now, those crooked houses, unusual animals, and wobbly letters may mean far more than a perfectly polished design. Preserve what makes the drawing theirs, and you’ll create a wearable snapshot of how they saw the world at that age.