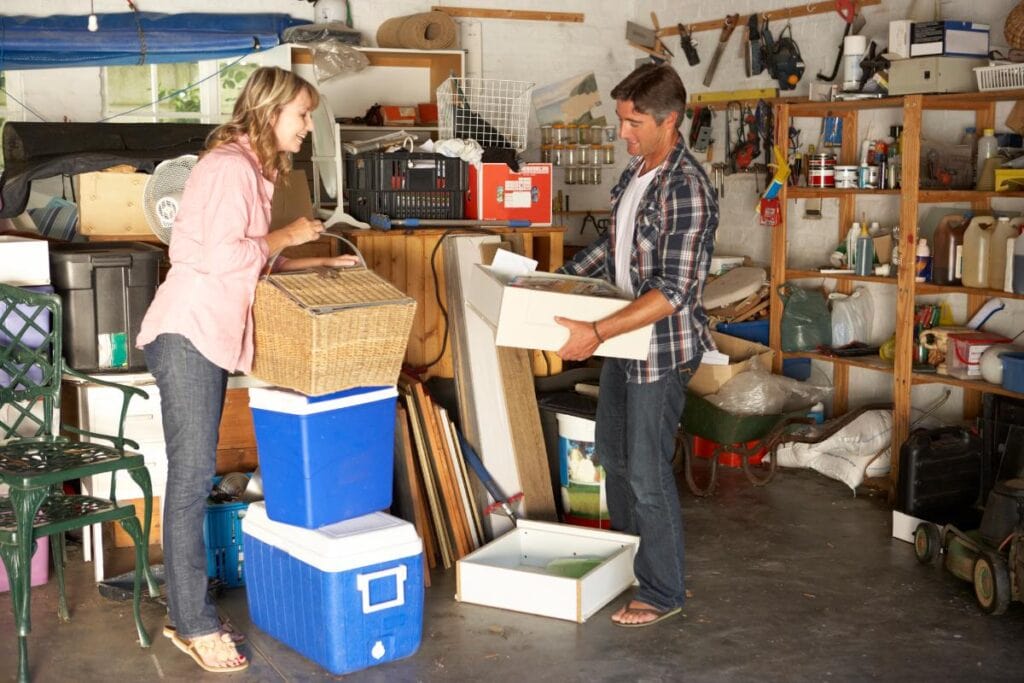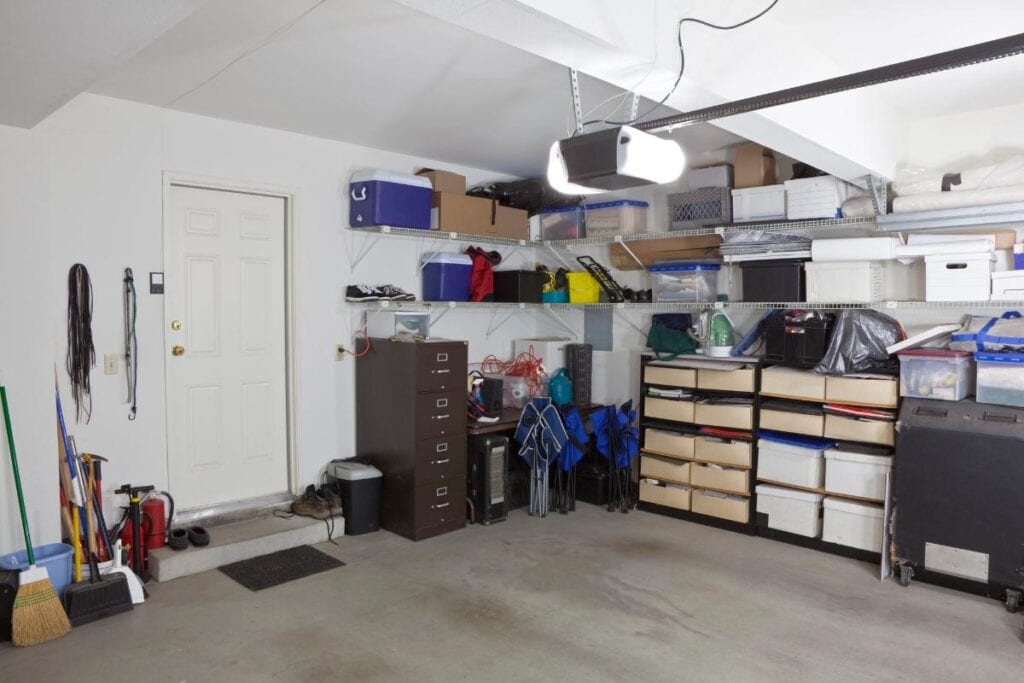
Is your garage a chaotic catch-all for tools, sports gear, and forgotten holiday decorations? You’re in good company: One garage study found that among Americans surveyed, some 36 percent said their garage is so cluttered, they can no longer park vehicles inside. A weekend garage clean-out can transform this cluttered space into an organized, functional area that’s both practical and visually appealing. With a few DIY storage and organization tips, you can maximize space, streamline access, and make your garage a joy to use. Let’s dive into planning, sorting, and building custom storage that will keep your garage tidy and efficient!
Plan Your Clean-Out: Set the Stage for Success
Before tackling the mess, take an hour to plan your garage clean-out. Ask yourself:
· Do you want a workspace for DIY projects
· Is it important to have a spot for kids’ bikes and other recreational vehicles?
· Will a simply a clutter-free zone be enough – and what level of clutter-free?
A clear waste removal strategy saves time and keeps the project manageable. Start by setting goals. Grab a notebook and sketch a rough layout of your garage, noting where you’d like to place storage solutions.
Gather supplies like trash bags, boxes, labels, and cleaning tools, and plan on setting aside both weekend days. Dedicate day one to decluttering and cleaning, and the second day to building and organizing. Finally, schedule a donation drop-off or trash pickup to keep momentum going. A solid plan sets you up for a stress-free clean-out.
Declutter with Purpose: Sort, Purge, and Categorize
Day one is all about decluttering. Start by emptying the garage completely—yes, everything! Move items to your driveway or yard, grouping them by category, like tools, sports equipment, seasonal decor, and miscellaneous. This gives you a clean slate and makes it easier to assess what you’re keeping.
Use the “keep, donate, sell, toss” method. If you haven’t used that rusty golf club or broken chair in years, let it go. For items you’re keeping, check for damage and commit to tossing anything beyond repair. Recycle what you can, like old batteries or scrap metal, to keep sustainability in mind. Once sorted, sweep and clean the garage floor, walls, and shelves to create a fresh canvas for organization.
Aim to finish decluttering by mid-afternoon, leaving time to start planning your storage solutions. This step typically takes 4–6 hours, depending on the garage’s size and clutter level.
DIY Storage Solutions: Build Smart, Save Space
With a clean garage, it’s time to create custom storage that maximizes space and keeps items accessible. These DIY projects are simple, budget-friendly, and perfect for a family weekend effort.
- Pegboard Tool Wall: Install a pegboard on one wall for tools and small items. A 4×8-foot pegboard costs about $20 at hardware stores. Paint it a fun color (let kids choose!) to add personality. Attach hooks, baskets, and shelves to hang tools, paint cans, or extension cords. This keeps items off the floor and easy to find.
- PVC Pipe Sports Storage: Use PVC pipes to create vertical storage for sports gear like bats, hockey sticks, or pool noodles. Cut 4-inch diameter pipes into 2-foot sections, sand the edges, and mount them to a wooden board or directly to the wall.
- Overhead Storage Racks: For seasonal items like holiday decorations, build overhead racks using 2x4s and plywood. Secure the frame to the ceiling joists, ensuring it can hold up to 200 pounds. Store items in clear, labeled plastic bins for easy access. Supervise kids for safety, but they can help label or organize bins.
These projects use affordable materials and can be completed by Sunday afternoon, leaving your garage organized and spacious.
Organize Efficiently With the Group and Label Technique
Once storage is in place, organize items strategically. Group similar items together—tools near the workbench, sports gear by the door, seasonal items overhead. Use clear plastic bins for visibility or repurpose old crates for a rustic look. Label everything with waterproof labels or a label maker; kids can help write or stick labels, turning it into a learning activity.
For small items like screws or craft supplies, use mason jars or tackle boxes mounted on shelves. Create a “quick access” zone near the entrance for frequently used items like bikes or gardening tools. If your garage doubles as a workshop, set up a foldable table for projects, stored against the wall when not in use. This organization step takes about 2 hours and ensures everything has a place.

Keeping Clutter at Bay: Tips for Long-Term Order
To keep your garage organized, establish a maintenance routine. Set a family rule: Every item goes back to its spot after use. Schedule a quick 15-minute tidy-up every month to prevent clutter buildup. Kids can help by sweeping or checking bins, making it a family habit. Store hazardous items like chemicals or sharp tools in locked cabinets, out of reach of young children. If your garage sees heavy use, consider a seasonal clean-out (twice a year) to reassess storage needs.
Rescue Your Garage from Permanent Storage Duty
A weekend garage clean-out is more than a chore. It’s a chance to create a functional, organized space that your family can enjoy. With DIY storage solutions like pegboard walls, PVC pipe racks, and overhead shelves, you can maximize space while keeping things accessible. Add sustainable touches and involve kids in the process to make it a fun, educational project. A tidy garage sets the stage for future crafts, games, and projects. So grab your tools, haul away the waste, and transform your garage into a clutter-free haven this weekend!
