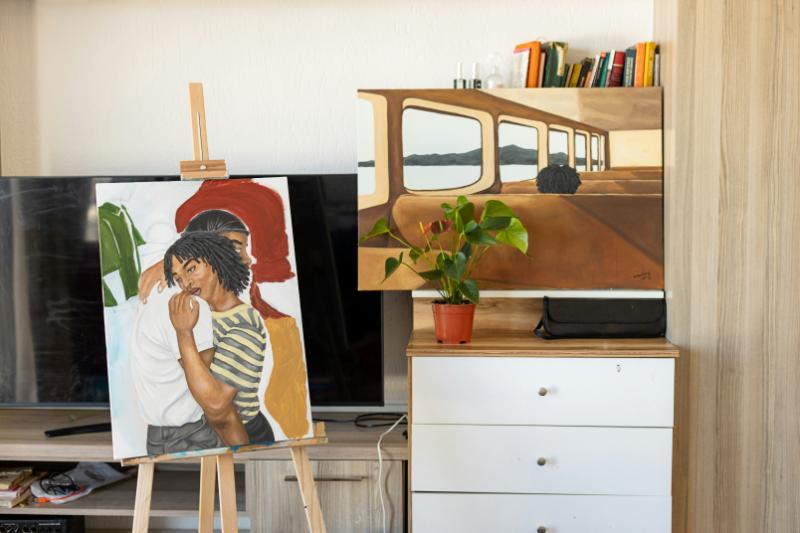
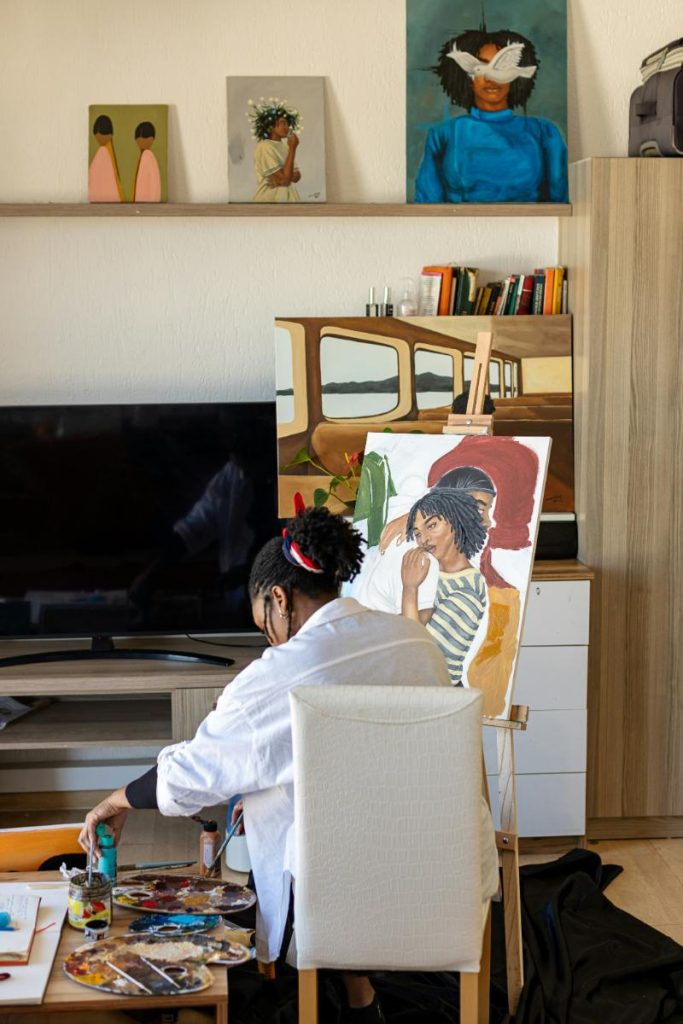
Bringing your creativity into your living space is a fulfilling way to personalize your home. DIY art projects provide a unique touch that reflects your personal style and passion. However, once you’ve completed these projects, the next step is showcasing them in your home effectively. Here are some innovative ideas for displaying your DIY art projects that will enhance your decor and make your creations the focal points they deserve to be.

Floating Shelves for Flexibility
Floating shelves offer a versatile way to display art of various sizes and shapes. These shelves can be installed at any height and in any arrangement, allowing you to tailor the display to fit the dimensions and style of your artwork. Whether showcasing sculptures, ceramics, or framed pieces, floating shelves make it easy to switch out items as you create new works or wish to refresh the seasonal decor.
They’re particularly effective in spaces where you want to maintain a clean, uncluttered look while still enjoying the freedom to highlight your creative projects. By painting or decorating the shelves to complement your interior, they become an integral part of your home’s artistic expression.
Gallery Wall with a Twist
A gallery wall is a classic choice, but give it a twist by mixing your DIY art with other items like vintage finds, mirrors, and small shelves holding decorative objects. Instead of sticking to traditional prints and frames, consider incorporating unexpected items such as small mirrors, ornamental plates, or antique finds that add depth and texture to your display. Mixing media and materials brings a dynamic element to your wall, allowing each piece to stand out while contributing to a cohesive whole.
Arrange these different items around your DIY art pieces to balance the composition and create a captivating visual story. Before you begin hanging, lay out your collection on the floor to experiment with arrangements, ensuring each piece complements the others. This method not only showcases your artistic flair but also makes your decor a conversation starter, reflecting your unique creative vision.
Repurposed Frames
Old frames can be found at thrift stores or garage sales and repurposed to give your DIY art a chic and cohesive look. Incorporating repurposed frames into your home decor is an innovative way to add a touch of creativity and history to your living spaces, enhancing the overall appeal of your wall art. These frames, often picked up from thrift stores, flea markets, or discovered in your own attic, can be transformed with a little imagination and some DIY flair. Here’s how you can elevate your interior design with repurposed frames:
- Personalized Paint Jobs: One of the simplest ways to revitalize an old frame is with paint. Choose colors that complement your existing decor or go bold with contrasting hues to make a statement. Chalk paint, for instance, can give a vintage frame a shabby chic look, while metallic paints can add a touch of glamour.
- Fabric and Wallpaper Backdrops: Instead of traditional artwork, use fabric or wallpaper samples to fill your frames. This can be a cost-effective way to introduce interesting patterns and textures into your room, especially if you coordinate these with other elements like cushions or curtains.
- Mixed-Media Displays: Combine framed art with items like small shelves or hooks. This allows the frame to serve as both decoration and functional space. For example, a frame surrounding a set of hooks becomes an artistic key holder, or a frame around a small shelf can display decorative items or plants.
- Clustered Gallery: Gather multiple frames of different sizes and styles, and paint them in a unifying color. Arranging them in a clustered gallery wall can create an impactful visual display. Mixing shapes and textures adds interest and allows each piece to capture attention.
- Seasonal Updates: Use these frames as part of your seasonal decor by changing out the contents according to the time of year. For fall, you might feature autumn leaves or Halloween-themed artwork, while spring could bring floral prints or Easter designs.
Using repurposed frames not only enhances your decor but also aligns with sustainable practices by giving new life to old items. This approach to decorating encourages creativity and can be a fun family activity, resulting in a home that truly reflects your personality and values.

Magnetic Charm
For an easily changeable display, paint a wall or a section of a wall with magnetic paint. Then, use magnets to hang your DIY art. This method is fantastic for kids’ artwork, temporary displays, or an ever-evolving art project. It allows you to switch out pieces frequently and without damage to the wall.
Artistic Ledges
Art ledges are similar to floating shelves but are typically narrower and have a slight lip to prevent art from slipping off. They’re perfect for leaning paintings, framed photographs, and other flat artworks. You can layer multiple pieces on these ledges, creating depth and interest. Art ledges can be staggered across a wall or used in a single long row for a modern look.
Window Frame Wonder
Transform an old window frame into a stunning art display frame. Whether it’s painting it to match your decor or leaving it rugged for a rustic look, the glass panes can be used to frame individual pieces of art or collages. This not only recycles old materials but also adds a story to your decor.
Light It Up
Adding lighting to your art displays can dramatically change how they look and feel. Use clip-on spotlights, string lights, or even integrated LED strips around or behind your artworks to highlight your DIY projects. This can turn artwork into a nighttime focal point and adds an atmospheric element to your room.
Digital Displays
In our digital age, why not include a digital photo frame in your art displays? You can scan your smaller artworks or take high-quality photos of larger pieces and have them rotate through the digital frame. This is especially useful if you’re short on space but still want to showcase a wide range of creations.
Creative Groupings
Think outside the box by grouping your DIY art projects by theme, color, or medium. You can create themed walls or corners in your home, such as a nature-inspired area with art made from natural materials or a modern art section featuring abstract pieces. Groupings can help create a cohesive aesthetic and make even the smallest artworks stand out.
Displaying your DIY art projects (and the kids’ art projects) in creative ways not only enhances the beauty of your home but also gives you the joy of seeing your own work every day. These ideas should inspire you to get those projects up on the walls and into the spotlight, turning your living space into a personal gallery that you and your visitors can admire.
