
Busy facilities put storage systems under constant strain. Users open and close doors, quickly load compartments, and move carts or equipment through narrow aisles. A locker that shifts, sticks, or falls out of alignment creates daily problems and may require early repairs. Long service life depends on material choice, room layout, secure anchoring, and careful assembly. Professional installation addresses these factors before a room opens and helps lockers withstand routine use.
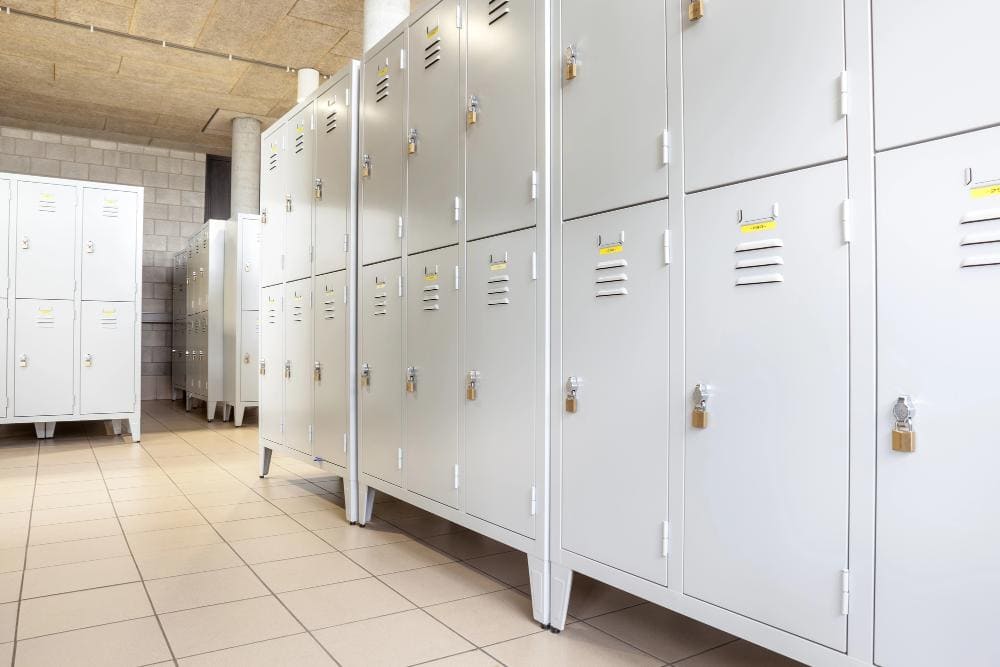
Before a project starts, the team should review the plans, locker material, floor condition, and room layout. During locker installation, installers position each unit, align its doors, connect adjoining frames, and anchor the assembly to the specified support. This sequence limits movement and uneven loading that can loosen fittings. It also keeps aisles clear for cleaning and repairs.
Material Selection for Actual Conditions
Locker materials respond differently to moisture, impact, and cleaning routines. Common options include powder-coated steel, solid plastic (HDPE), plastic laminate, phenolic, wood, and stainless steel. The facility’s conditions and project specifications should guide the choice.
A changing room with wet floors needs lockers that can handle frequent moisture exposure. An office storage area may prioritize appearance and easy surface care. Matching the material to its surroundings prevents swelling, corrosion, and surface damage. Facility managers should also consider how users handle stored items and how staff clean the room.
Alignment and Anchoring
A level installation helps doors swing freely and keeps locker frames even. Installers check each unit against the planned layout, then align adjoining sections before fastening them. Small positioning errors can leave gaps, uneven door lines, or pressure on neighboring units.
Anchoring prevents lockers from shifting during repeated use. The right attachment method depends on the specified design and the condition of the floor or wall. Installers should secure each unit as the project plans require, rather than relying on its weight alone. Proper anchoring also keeps adjoining frames connected and stable.
Before fastening, installers should check floor level and confirm each row matches the approved dimensions. Uneven floors can leave doors misaligned even when frames connect correctly. Specified shims correct minor differences without stressing locker bodies. Installers should also confirm that fasteners suit the supporting surface and remain accessible for inspection.
Layout for Busy Rooms
Locker configuration affects storage capacity and movement through the room. Single-tier lockers accommodate larger personal items, while double-tier, triple-tier, and Z-tier units divide storage space differently. The choice should reflect what users store and how they move through the area.
Door clearance matters as much as compartment count. Locker doors need room to open without blocking aisles, benches, or access points. A well-planned layout also leaves space for cleaning and routine repairs. Reviewing room dimensions before delivery helps installers place units according to the intended traffic pattern.
Coordinating the Work
Locker projects often fall under new construction, renovation, or upgrades to occupied facilities. In each case, installers need current plans and specifications before assembly begins. Clear coordination prevents conflicts with other work and reduces the chance that units will need repositioning.
Benches and locks also affect how a locker room functions. Coordinating their placement with locker rows keeps seating and access points usable. For specialty storage, such as sports lockers, cell phone lockers, or storage cages, the layout should account for the items users need to secure. A final check confirms that doors work properly and aisles remain clear.
Timing matters in busy facilities. Project teams should agree on room access and work sequencing before installation day. During a renovation, that planning helps limit disruption to staff and users. Once the lockers are secured, a walkthrough can identify alignment, access, or clearance problems before the room returns to regular use.
After assembly, an inspection gives facility staff a record of the work. The check should cover door swing, latch operation, gaps, and anchor points. Staff can record any adjustments before users return. Keeping installation details with maintenance records helps teams identify the locker layout and attachment method for later repair work.
Conclusion
Facility managers should include locker installation in the room’s operating plan, rather than treating it as a final cosmetic task. Before scheduling the work, they can provide current plans, confirm material and configuration choices, and note floor or wall conditions that affect anchoring. They should also coordinate benches, locks, and access routes with other trades. A documented walkthrough after installation can catch alignment or clearance problems before the room opens for regular use.