A high-end room does not come from a single statement pendant. It comes from control, the kind you notice at night when the room still feels balanced, and in the day when the furniture still looks intentional.
If you are furnishing with Bonaldo, that control matters even more. Bonaldo presents its collections around the way people actually live, moving from dining to living to sleeping zones.
Lighting should follow the same logic, because lighting is what makes proportion, texture, and material contrast readable. What follows is a practical method you can apply room by room. It starts with the furniture layout, then builds a lighting plan that makes Bonaldo furniture look sharper, richer, and more designed, without making the space feel staged.
The High-End Pairing Rule in One Sentence
Use lighting to repeat the same design logic as the furniture, then use layers and dimming to keep that logic consistent all day. That sounds abstract, so let’s make it concrete.
Step 1: Start with the Furniture Zones, Not the Fixtures
Before you pick any lamp or pendant, mark the zones your furniture creates:
- Dining zone (table, chairs, sideboard).
- Conversation zone (sofa, lounge chairs, coffee tables).
- Media or storage zone (wall units, shelving).
- Sleep zone (bed, nightstands, wardrobes).
- Transition zone (entry, hallway).
This is not just a planning trick. It matches how Bonaldo frames its own collections across dining, living, and sleeping spaces. Once you see the zones, you stop trying to light the room and start lighting how the room is used.
To keep the flow clean, decide one thing now: where do you want the eye to land first when someone walks in? Usually, it is the dining table base, the sofa composition, or a sculptural storage wall. Your lighting plan should support that first impression.
Step 2: Choose a Consistent Lighting Family Approach
High-end interiors feel calm because the lighting is related, even when it is not identical. Bonaldo’s lighting range is structured in a way that supports this.
The brand offers a lighting category centered on suspension and floor lamps, and some lighting designs are offered in multiple formats, including suspension, floor, and table versions, with certain lines also extending into wall or ceiling variants.
That matters because it lets you repeat the same shapes and finishes across zones. Instead of mixing unrelated fixtures, choose two or three linking decisions:
- One dominant metal tone (for example, warm metal or cool metal).
- One recurring shape language (globes, linear bars, soft cones, geometric frames).
- One diffuser approach (opaque, frosted, fabric shade, or exposed source with glare control).
When the lighting repeats these decisions, the furniture reads as part of one composition, not isolated purchases.
Step 3: Build Three Layers, Then Connect Them with Controls
A high-end look is not brighter. It is more adjustable. Most designers rely on a layered approach, combining ambient, task, and accent lighting. To keep the room from feeling busy, treat the layers like a system.
Layer 1: Ambient Light (the Base)
- Ambient light should make the room navigable and comfortable. It should also keep the furniture from floating in the darkness.
- High-end ambient light usually avoids a single harsh ceiling source.
- Use multiple softer sources, and put them on dimmers wherever possible.
Practical check: sit where you actually sit, then look for glare on glossy furniture surfaces, screens, and glass.
Layer 2: Task Light (the Functional Layer)
- Task light supports reading, cooking, grooming, and work.
- It also makes the room feel lived-in, which is essential if your furniture has strong modern lines.
- Place the task light where hands and faces are, not in the center of the ceiling.
- That means floor lamps near seating, table lamps on consoles, and focused light at prep areas.
Layer 3: Accent Light (the Depth Layer)
Accent light creates hierarchy; it tells the eye what matters. This is where you make Bonaldo pieces feel expensive. Use accent light to reveal:
- The edge profile of a tabletop.
- The curvature of an upholstered form.
- The texture of fabric or leather.
- The rhythm of shelving or storage fronts.
A reliable way to do this is to light vertical surfaces. Wall washing is commonly used to create an even glow across a wall, which can make a space feel larger and more refined.
Wall grazing is used when you want texture and shadow to become part of the design language. You do not need to overcomplicate it. One wall-washed surface and one accent focal point are often enough.
Step 4: Get the Light Quality Right, Kelvin, and CRI
Once the layers are defined, light quality is what keeps the room from looking almost right.
Color Temperature: Use It to Protect the Mood
- Color temperature is typically described using correlated color temperature (CCT), which the Illuminating Engineering Society defines in relation to the color appearance of a reference blackbody radiator.
- In residential interiors, warm white light is widely recommended for relaxing spaces.
- Many Italian brands like Armeniakos place that comfort range around 2700K to 3000K.
- Cooler temperatures are often used where clarity matters, but if you mix warm and cool sources randomly in the same sightline, the room looks inconsistent.
High-end rule: pick a primary CCT per zone, then stay consistent within that zone.
CRI: Use It to Protect the Materials
- Use higher CRI sources in rooms where you care about textiles, wood tone, skin tone, and finishes.
- Use dimming so the room can shift from functional to atmospheric without changing lamps.
It’s recommended to aim for CRI 90+ for living areas when you want color to look more natural. If you cannot verify CRI for a bulb, do not assume it is high.
Step 5: Measure Placement Like a Designer, Not Like a Shopper
Most lighting mistakes come from buying fixtures before confirming placement.
Wall Washing Distance: Keep It Deliberate
Wall washing guidance often places fixtures away from the wall to reduce shadows and create a smoother glow. The positioning should be around 2.5 feet from the wall, which is 30 inches, and that converts to 76.2 cm.
Ceiling height, beam angle, and wall finish all shift the ideal distance. The point is that wall washing is a measured technique, not a random downlight row.
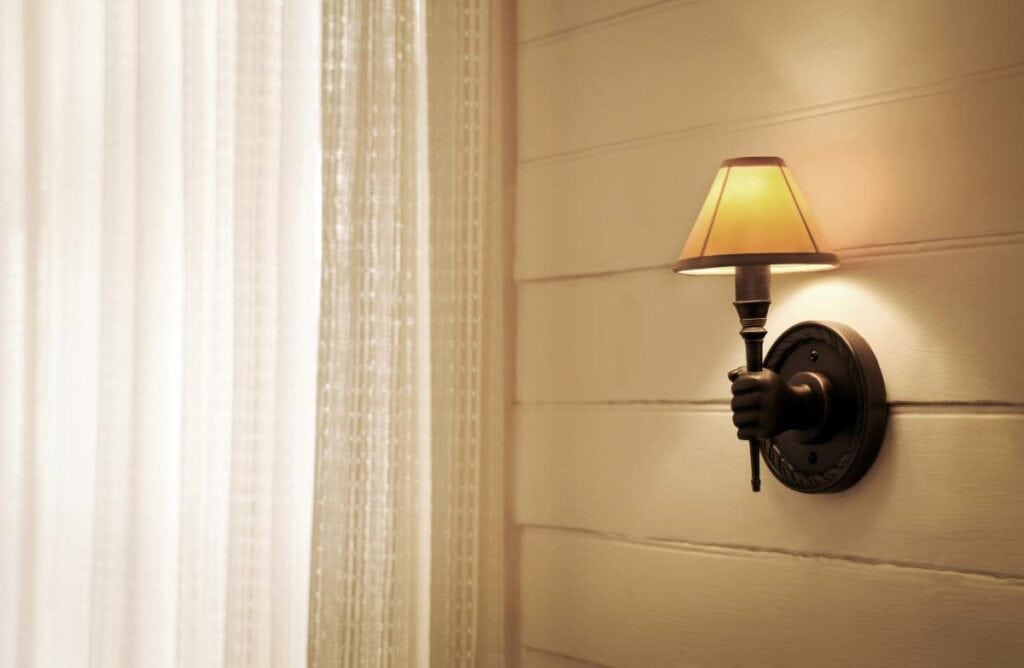
Floor and Table Lamps: Set Them by Eye Comfort
A high-end room protects the eye. If a seated person can see the bare light source, you will get glare. Use shades, diffusers, or placement that keeps the source out of direct view.
Pairing Lighting to Bonaldo Materials and Forms
Now you have the structure. Next, you match light behavior to furniture behavior.
Metal Bases and Frames
- Metal looks premium when it has controlled highlights, not blown-out reflections.
- Use diffused sources and aim the light so it skims across edges.
- Repeat metal tone across at least two elements, for example, a lamp detail plus a table base, so the finish looks intentional.
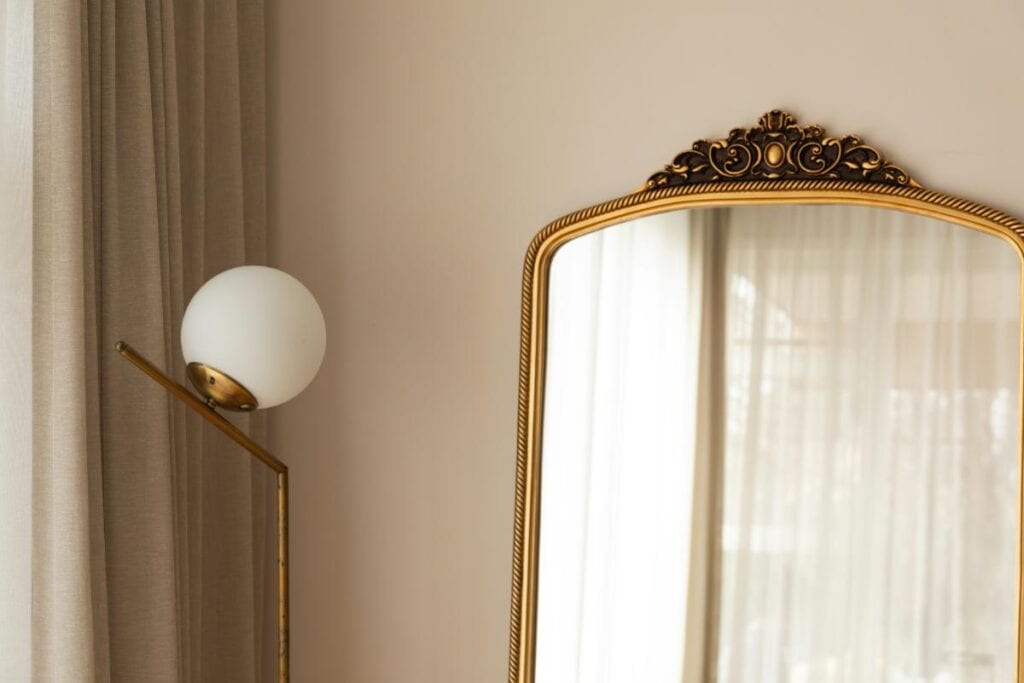
Glass Elements
- Glass can sparkle or glare. The difference is diffusion.
- Choose frosted or shaded light where glass is dominant.
- If you use a clear shade, keep the source concealed or well-controlled, so the light reads as a glow, not as a visible bulb.
Matte Surfaces and Soft Upholstery
- Matte finishes and textiles need enough light to show texture, but not so much that they look flat.
- A warm source with diffusion often performs well here, especially when paired with a gentle accent from the side to reveal weave and contour.
Stone, Ceramic, and High-Contrast Tops
- Hard surfaces can look dead under perfectly even overhead light. Add a side light or a controlled accent to reveal depth and edge profile.
Room-by-Room Pairing Guide
Dining room with Bonaldo Dining Pieces
Start with a one-statement pendant or a linear suspension that relates to the table geometry.
Then add two quiet supports:
- A soft ambient layer for the room.
- A secondary layer that flatters faces, often from wall lighting or nearby lamps.
Keep control central. The dining zone should dim down without turning into darkness.
Living Room with Sofas, Storage, and Compositions
A living room fails when it has only overhead lighting. Layer it so the room can shift.
- Ambient layer on dimmer.
- Task light near the primary seat.
- Accent light on one vertical surface, such as shelving, art, or a textured wall.
If you have screens, test for reflections from every seat before you finalize angles.
Bedroom with Beds and Nightstands
- The bedroom should prioritize calm and local control.
- Use bedside lighting that supports reading without lighting the whole room.
- Keep the sleep zone warm and dimmable, then separate wardrobe lighting on its own switch so it can be brighter without disturbing the rest of the space.
Entry and Hallway
- These spaces look expensive when they feel guided, not overlit.
- Use a base layer for safety, then add a softer side glow.
- Wall washing can work well here because it reduces harsh shadows and makes the space feel more open.
The Mistakes That Make a Modern Room Look Cheap
- One ceiling light that does everything.
- It creates glare and flattens furniture.
- No relationship between fixtures.
- Random shapes and finishes make the room look assembled, not designed.
- Mixed color temperature in the same view.
- Consistency reads as premium.
- Low-quality light on high-quality materials.
- If CRI is unknown or poor, finishes can look wrong, even if the furniture is excellent.
- No dimming and no scene control.
- High-end rooms change throughout the day. Without control, they cannot.
A Practical High-End Checklist Before You Buy Anything
- Every zone has ambient, task, and accent coverage.
- The pendant height is measured, not guessed.
- One primary Kelvin choice per zone, consistent within the zone.
- CRI is known for key bulbs and fixtures, especially near textiles and wood.
- Dimmers and separate switches exist for each layer.
- At least one vertical surface is intentionally lit, wall-washed, or accent.
Bring It All Together
Bonaldo pieces are designed to live across the home, from dining to living to sleeping zones. When your lighting plan follows the same zoning logic, the furniture looks sharper, and the room feels calmer.
Start with zones. Choose a consistent lighting language. Layer the light. Then control it with dimming and quality sources. That is how you get a high-end look that holds up at 9 pm, not just at noon.