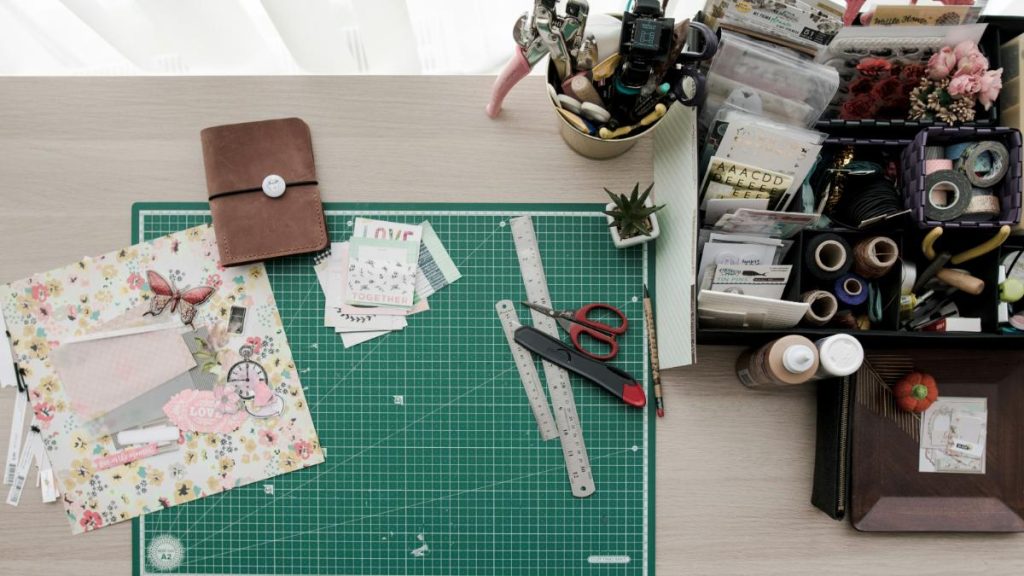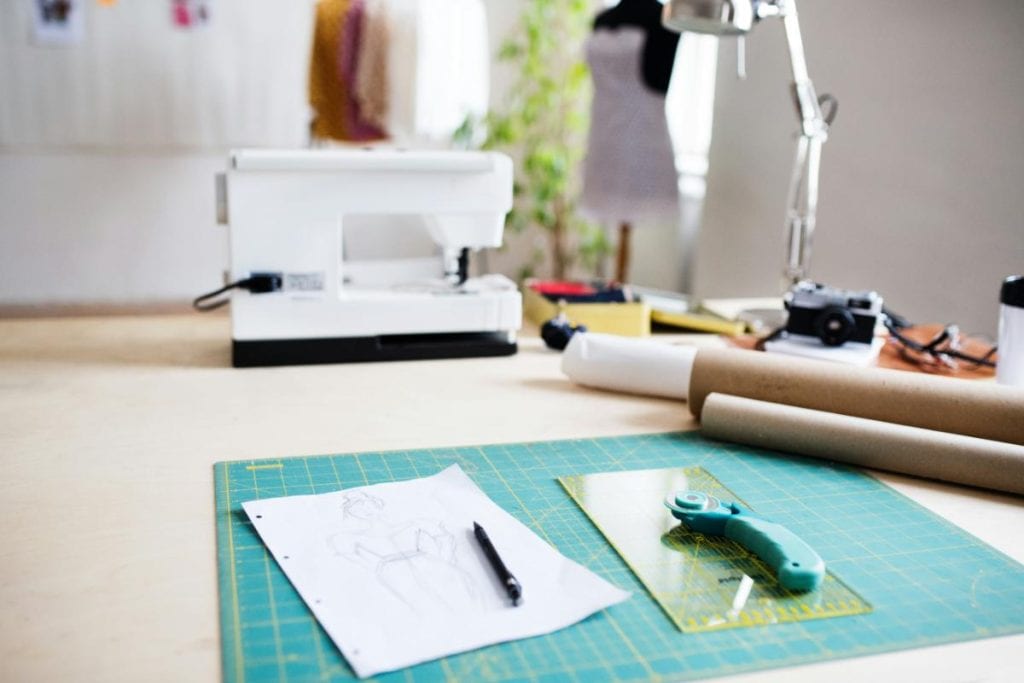
Struggling with a cluttered craft room? You’re not alone. Overflowing bins and scattered supplies can stifle creativity and productivity, making it hard to focus on your projects.
But you can begin reclaiming your space today. Some decluttering sessions paired with quick, efficient waste pickup can transform chaos into calm, letting you get creative without distraction.
With Same Day Rubbish Removal, you get fast, reliable service to clear out clutter instantly. Don’t wait—clear out your creative space and save your sanity all in one go.
Steps to Declutter Craft Rooms
Feeling overwhelmed by the chaos in your craft room? Let’s tackle it together by breaking down the process into manageable steps to reclaim your creative space.
- Start by Emptying: Pull everything out from shelves, bins, and drawers. Seeing it all in one place helps you assess what you truly have.
- Sort and Edit: Be ruthless about what to keep. Haven’t used that fabric in years? Donate it to someone who will.
- Group Like Items: Put similar supplies together—paints with paints, yarn with yarn. It’s easier to see duplicates and decide what stays.
- Trash the Useless: Toss dried-out markers or broken tools. Clearing the junk makes space for what sparks joy in your crafting.
Once you’ve sorted through the mess, the next step is organizing what’s left. A clutter-free craft room where everything has its place is well worth the effort and time it will save later.
Essential Materials for Organization
Getting the right tools can transform your craft space. Here’s a list of handy items that’ll keep everything neat and accessible for your projects, but remember to use what you have first before purchasing anything new.
Choosing the Right Bins
Lidded bins are fantastic for small items like beads or buttons. They stack nicely and keep dust out, making storage a breeze.
Zipper Pouches for Portability
For smaller kits or tools, grab some zipper pouches. They’re perfect for organizing on the go and fit into larger bins easily.
Open Bins for Easy Access
Use open bins for frequently used items like paper or scissors. They allow quick grabs during creative bursts without rummaging around.
Labels for Clarity
Don’t skip labeling your containers. A quick glance tells you where everything is, saving time when inspiration strikes unexpectedly.
Simplifying Your Craft Area
Simplifying your craft area doesn’t have to be intimidating. Focus on cutting clutter and creating a space that inspires rather than stresses you out.
- Remove Bulky Packaging: Ditch oversized boxes from kits. Transfer contents to smaller containers to save space and reduce visual clutter.
- Limit Categories: Keep only what you use regularly. If you’ve got ten types of glue, pare it down to essentials.
- Create Zones: Assign specific spots for different crafts. Painting supplies go here, sewing stuff there—it keeps everything streamlined.
- Declutter Regularly: Set a monthly reminder to review your stash. Toss or donate items you no longer need to maintain order.
With these tweaks, your craft area will feel and look lighter and more streamlined. A simplified space helps you be more creative and makes crafting sessions so much more enjoyable.
Effective Sorting System Tips
Sorting your craft supplies is key to maintaining order. Try these quick tips to create a system that works for you.
Start with Categories
Break supplies into broad groups like paper, tools, or fabric. This initial step makes it easier to go deeper with specific sorting.
Prioritize Frequency of Use
Keep often-used items within arm’s reach. Store seasonal or rarely used supplies higher up or in less accessible spots for efficiency.
Use Clear Containers
Use transparent bins so you can see contents at a glance. It saves time and prevents buying duplicates of hidden items.
Involve the Kids
If you’re sorting the kids’ craft materials, let them help decide what to keep. Their input ensures the system works for their creative needs too.
Creating More Usable Space
Running out of room in your craft area? Here are a handful of clever ways to create more usable space without needing a bigger room.
Repurpose Furniture
Consider using an old dresser for storage. Drawers can hold supplies, while the top serves as a workspace for small projects.
Declutter Surfaces
Keep worktables clear by storing tools off the surface. A tidy workspace feels larger and invites more creative energy.
Utilize Underused Areas
Look under tables or beds for storage spots. Flat bins can slide in, holding less-used items out of sight but accessible.
Rotate Supplies
Swap out seasonal crafts to free up space. Store holiday items away during off-seasons to keep your active area functional.
Maximizing Vertical Storage Ideas
Vertical storage can be a game-changer in tight craft spaces. Let’s talk about how to use height to your advantage for organization.
- Install Wall Shelves: Mount shelves above your workspace for easy access to supplies. They’re perfect for bins or decorative storage jars.
- Use Pegboards: Hang a pegboard for tools and small containers. It keeps items visible and frees up valuable counter or drawer space.
- Stacking Bins: Purchase a few stackable containers to build upward. They maximize height while keeping everything neat and within reach.
- Over-Door Racks: Add racks on the back of doors for extra storage. Great for wrapping paper or lightweight craft kits.
Going vertical opens up so much potential. Check out more ideas at Just a Girl and Her Blog for inspiration on maximizing vertical space.
Setting Clear Decluttering Goals
Before you begin decluttering, set clear goals to stay focused and avoid overwhelm or organizing fatigue. Having a purpose keeps you motivated to transform your craft space effectively.
Define Your Vision
Picture your ideal craft room. Is it a minimalist haven or a colorful, organized chaos? This vision guides your decluttering decisions.
Set a Timeline
Give yourself a deadline, like one weekend, to finish. A time frame prevents the task from dragging on and becoming overwhelming.
Focus on Functionality
Aim for a space that works for your crafting style. Prioritize easy access to tools over keeping everything just for sentiment.
Track Progress
Celebrate small wins as you go. Clearing one shelf or bin keeps momentum high and makes the process feel rewarding.

Planning Your Organization Strategy
Having a solid strategy is crucial for lasting organization. Let’s map out a plan to keep your craft space tidy long-term.
- Assess Your Space: Measure shelves and drawers to know what fits where. This helps when buying containers or planning layouts.
- Prioritize Accessibility: Place daily-use items in easy spots. Less frequent supplies can go in harder-to-reach areas without hassle.
- Schedule Maintenance: Plan a quick tidy-up weekly to prevent clutter buildup. Consistency keeps your space ready for creativity.
- Adapt as Needed: Revisit your system every few months. As projects change, so should your setup—stay flexible for best results.
For more inspiration on organizing your craft room, take a look at this piece by Reset Your Nest. A little planning now ensures your craft room stays functional and inspiring.
Wrap Up Neatly
With these strategies, you can transform your messy, chaotic craft room into a calm, inspiring pace that’s perfect for creativity. For hassle-free cleanup, try Same Day Rubbish Removal to handle excess clutter that you don’t plan to donate. If you get started today, you can reclaim your room and enjoy a tidy, inspiring environment that fuels your passion for crafting.
