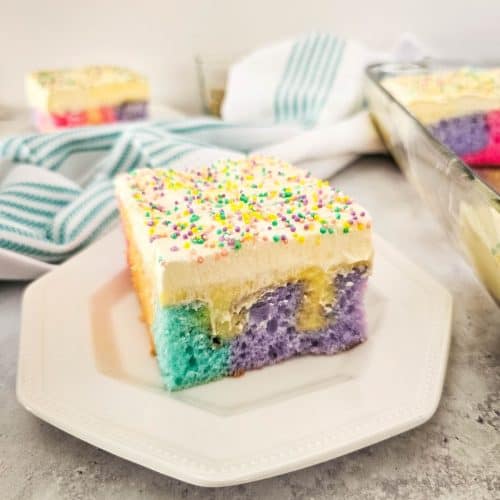
Bake up some cheer with this fun and vibrant Rainbow Poke Cake. It’s the perfect spring dessert with beautiful colors and just the right amount of sweetness. Make it for Easter or anytime for a pick-me-up!
Baking has never been more colorful! This Rainbow Poke Cake is a tasty springtime dessert that promises to lift spirits with its playful rows of color. It’s a joy to make, and here’s the best part: no Jello needed. Just a few basic ingredients like boxed cake mix, instant pudding, and Cool Whip, and you’ve got a dessert that’s as fun to look at as it is to eat. We have la list of other cute rainbow treats, too!
And if you love poke cakes, don’t miss our roundup of 13 poke cake recipes for every potluck and picnic.
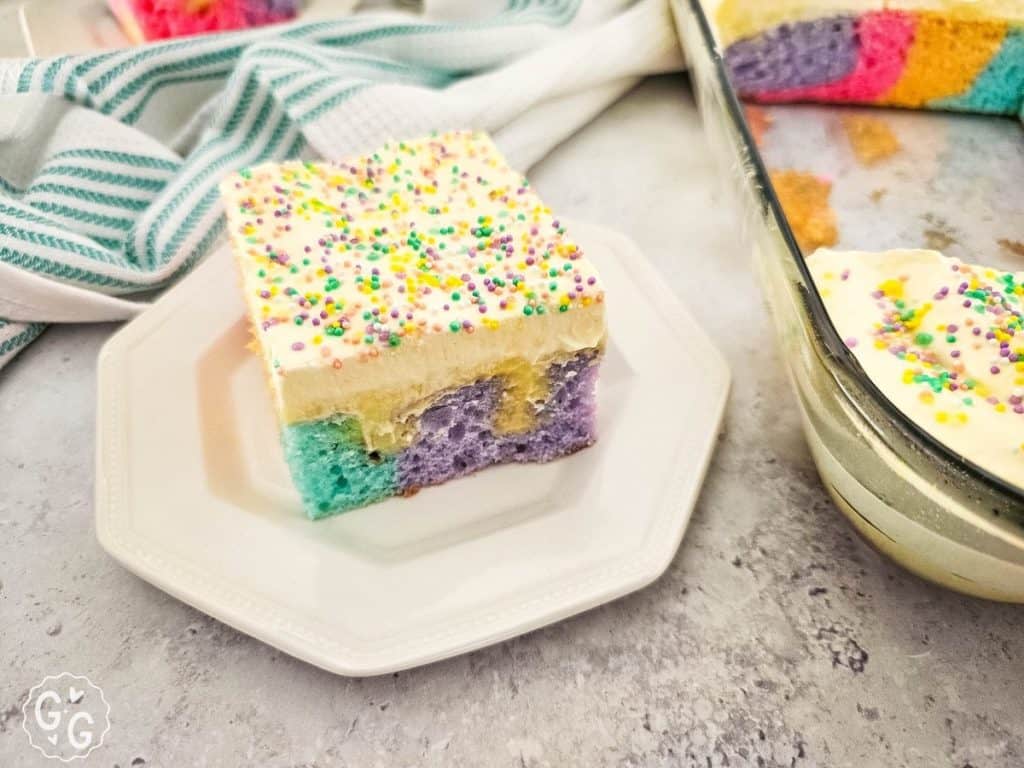
This cake is an absolute crowd-pleaser, especially with the little ones. Their eyes light up at the sight of those bright, colorful layers, and the sweet, mellow flavors are met with eager forks and happy giggles. Whether it’s to celebrate Easter, St. Patrick’s Day, or to brighten a rainy day, this easy Spring Poke Cake is the way to go.
Ready to bake it? Here’s what you’ll need:
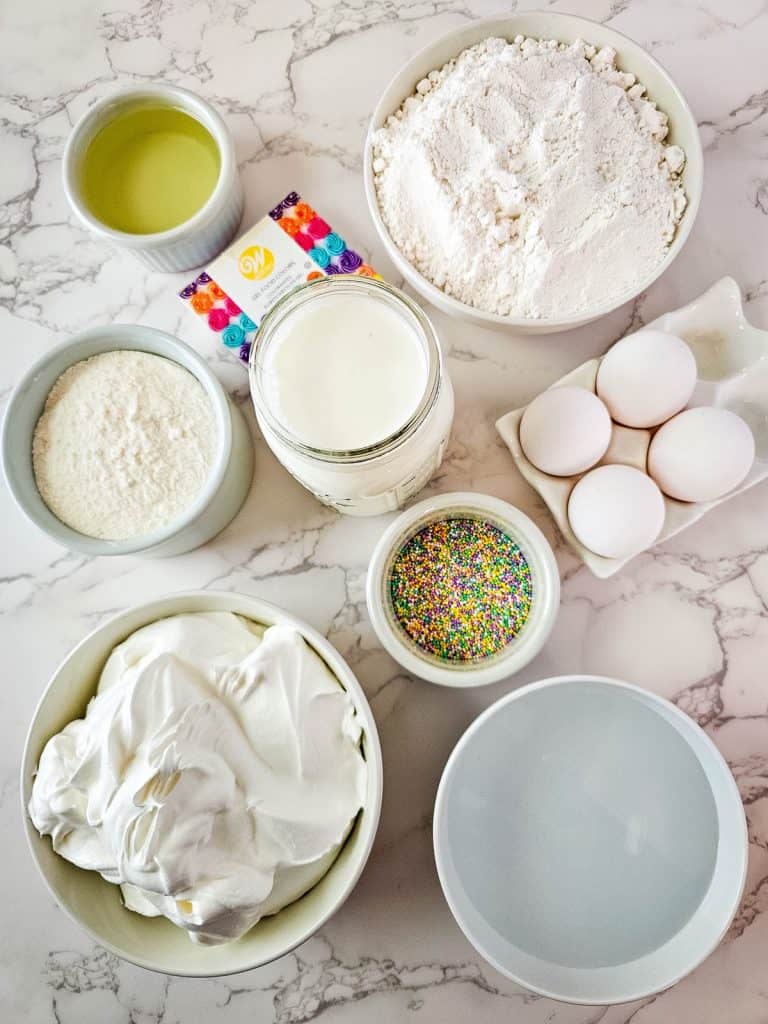
Ingredients
This section is meant to provide an overview of the ingredients required for the recipe. For specific amounts and instructions, please refer to the recipe card at the bottom of the post.
- White Cake Mix + Ingredients On Box — You’ll need all the ingredients called for on the box instructions. Mine called for 1 ½ cups water, ½ cup oil, and 4 egg whites.
- Neon Gel Food Coloring — Wilton brand has vivid colors.
- Vanilla Instant Pudding Mix — Make sure you grab instant pudding mix, and not the kind you have to cook.
- Milk — I typically use whole milk or 2% for desserts.
- Whipped Topping — Cool Whip or store brand.
- Sprinkles — Pastel colors work best for this spring poke cake recipe, but you can use any colors you like!
How to Make an Easter Poke Cake
This section provides a brief overview of the instructions but the steps are not detailed. For exact step-by-step instructions, refer to the recipe card below.
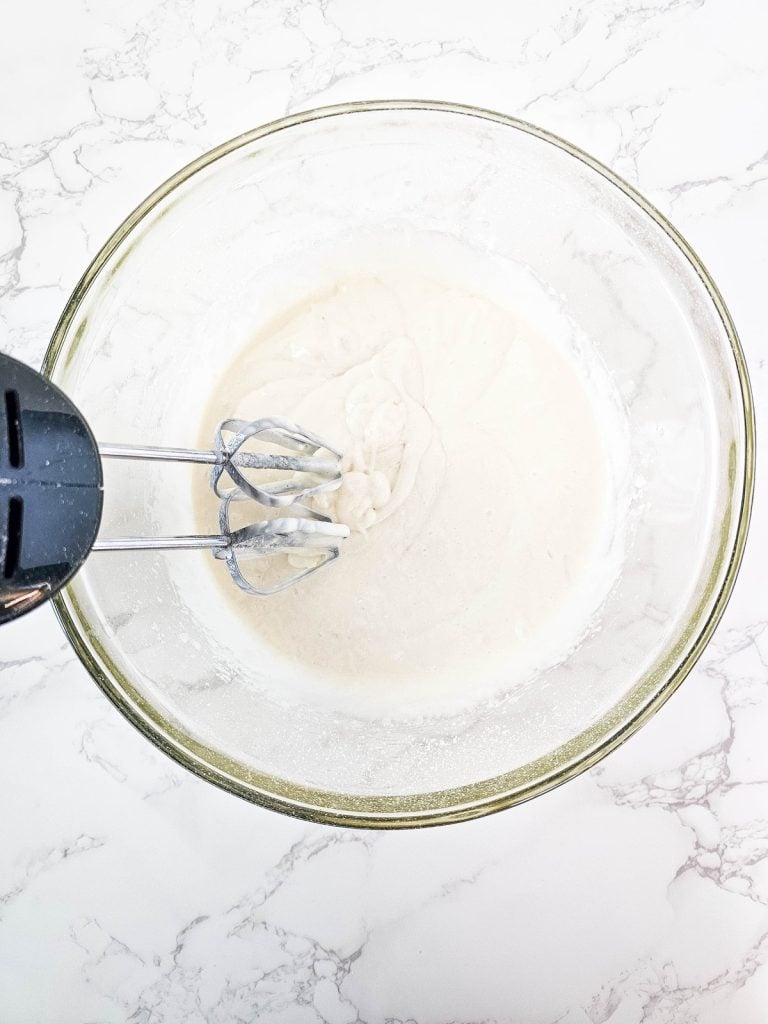
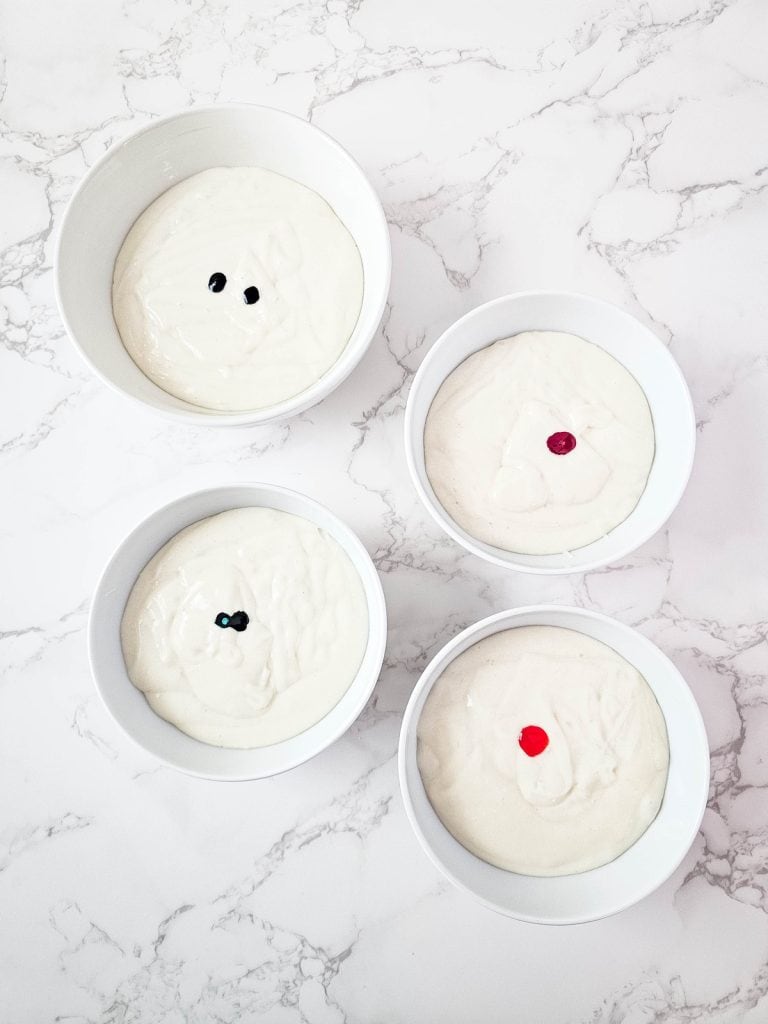
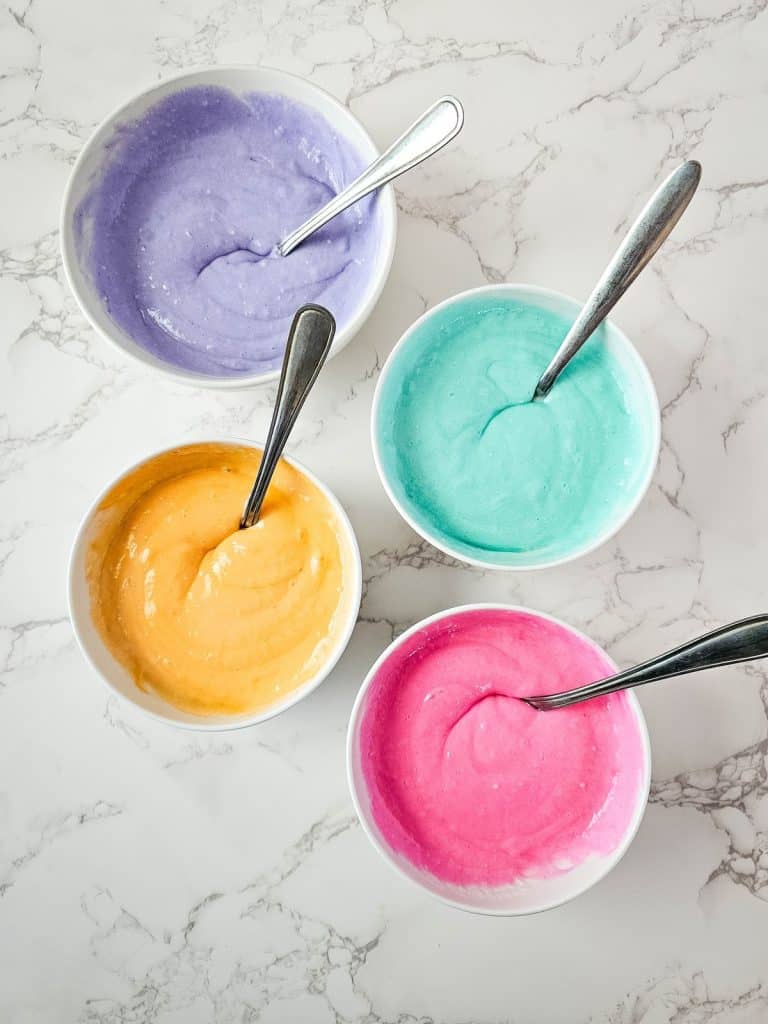
Step 1: Preheat the oven and grease your pan.
Step 2: Prepare the cake mix according to the directions on the box. Divide it equally between 4 small bowls, and add 2 drops of gel food coloring to each bowl, using a different color for each bowl. Stir well to mix the color in.
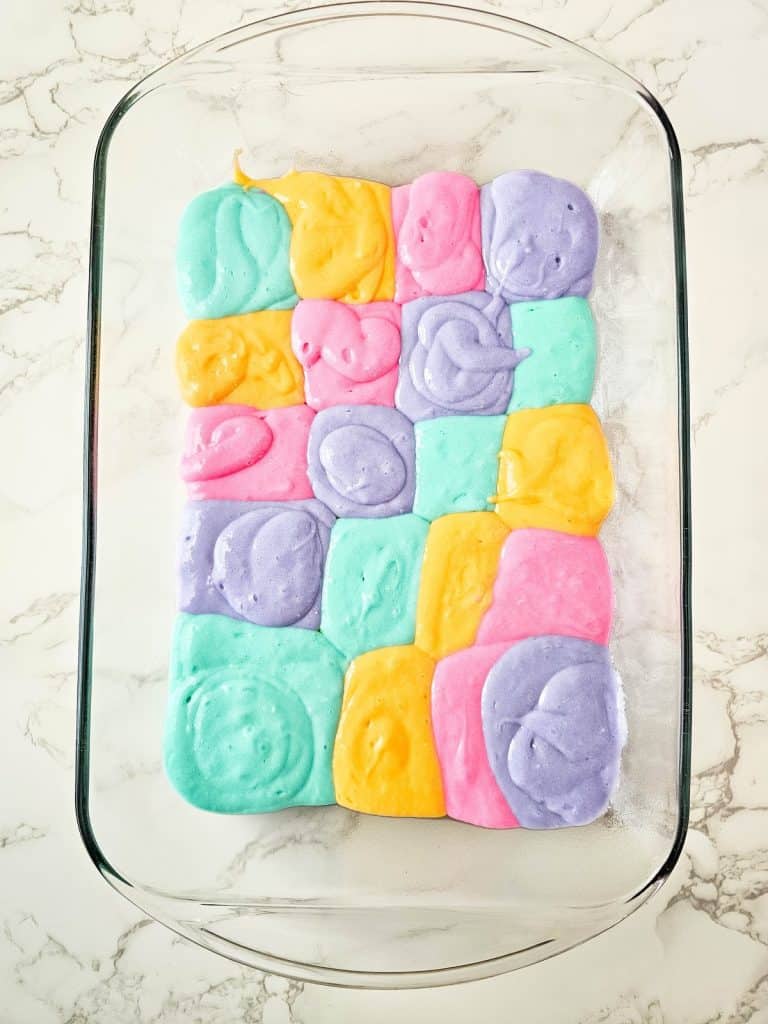
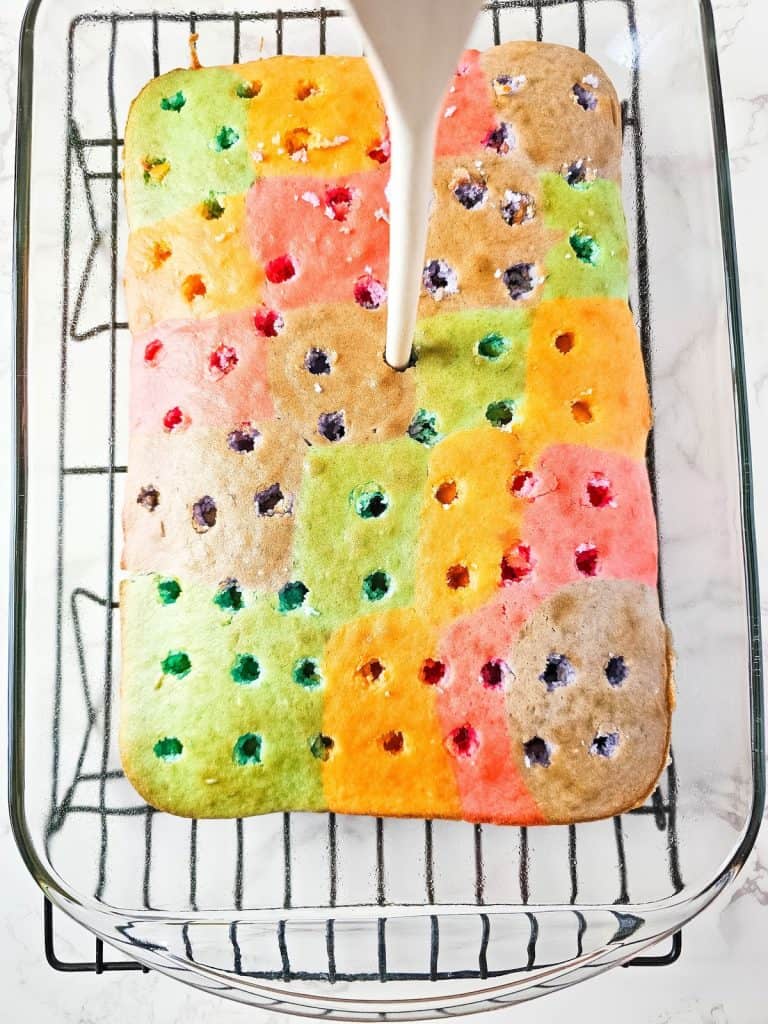
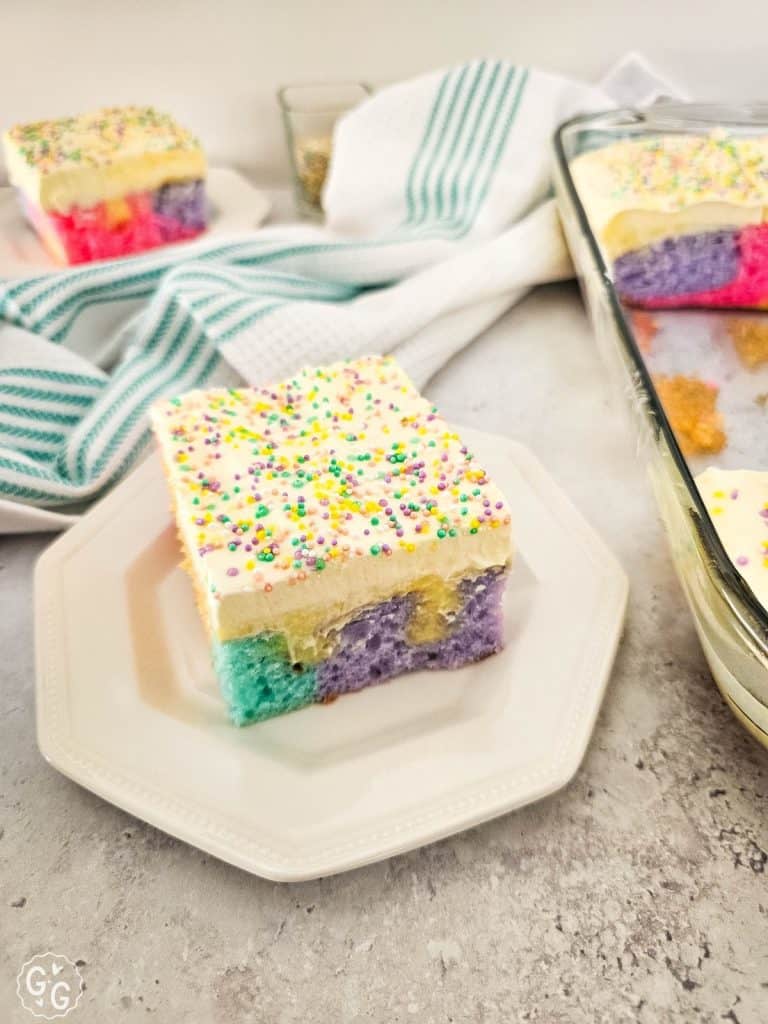
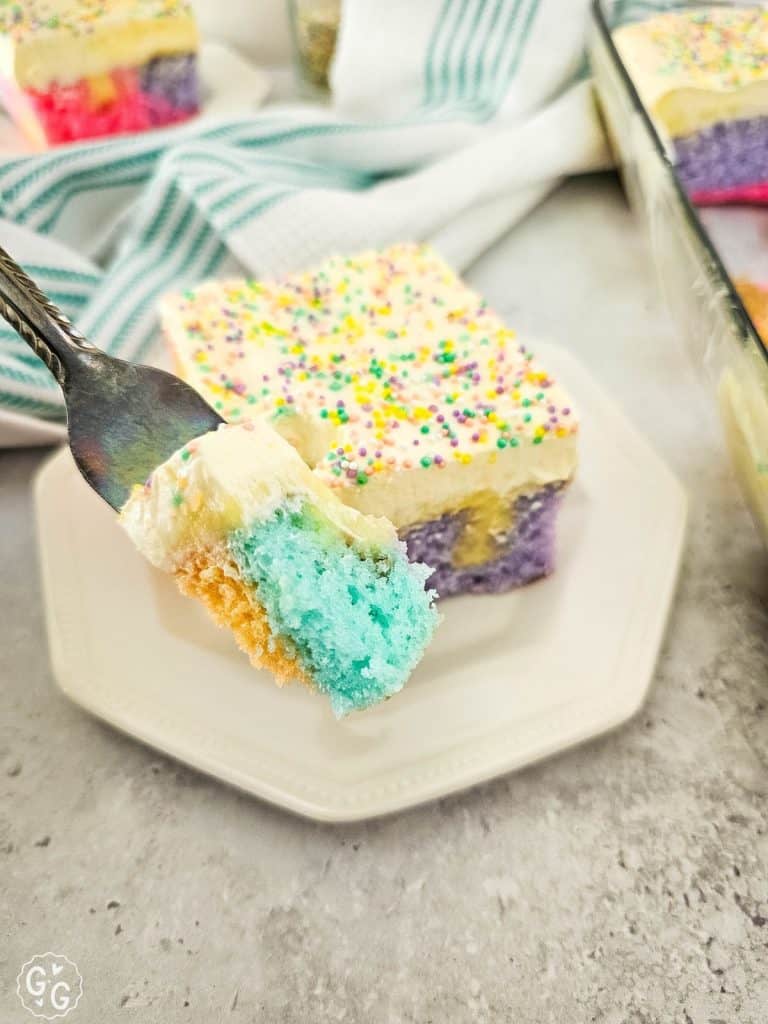
Step 3: Add each color of the batter to separate pastry bags, or spoon the colors in by hand, creating rows of colors. We ended up with 5 rows. See picture for example.
Step 4: Bake the cake according to package directions or until a toothpick inserted in the center comes out clean.
Step 5: While the cake is still warm from the oven, poke holes in the cake using the end of a wooden spoon. The holes should be about 1 inch apart.
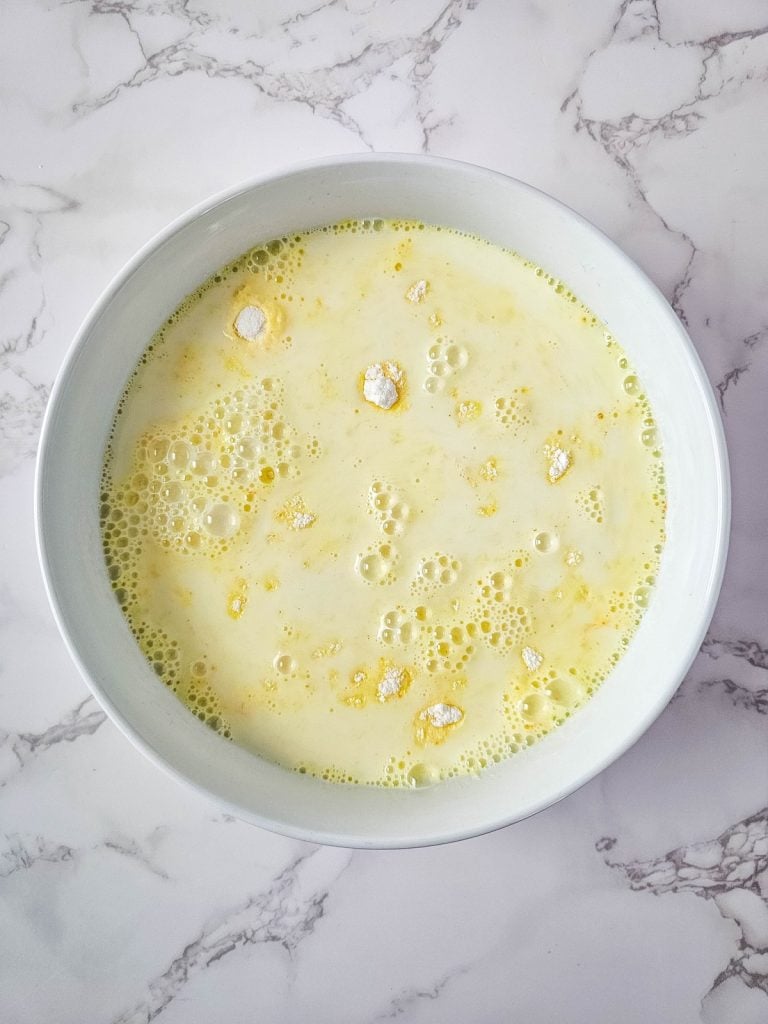
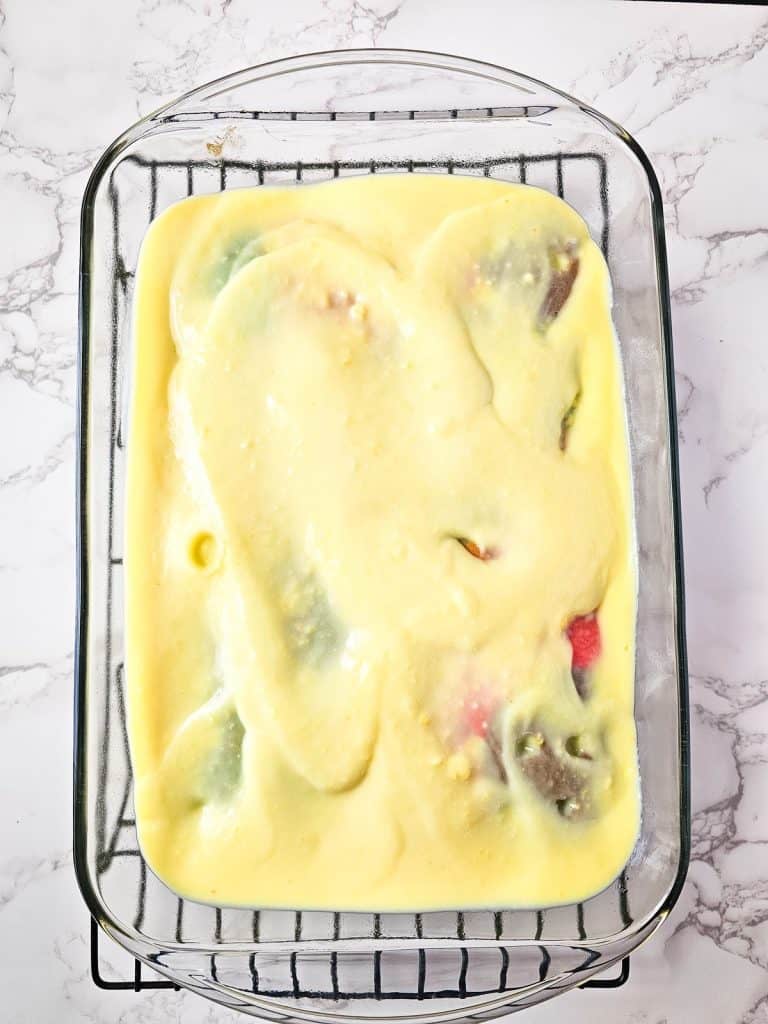
Step 6: Prepare one box of the instant pudding with 2 cups of milk in a medium bowl. Whisk for two minutes, and then pour over the cake, spreading it into the holes and evenly over the top. Refrigerate the cake for 1 hour.
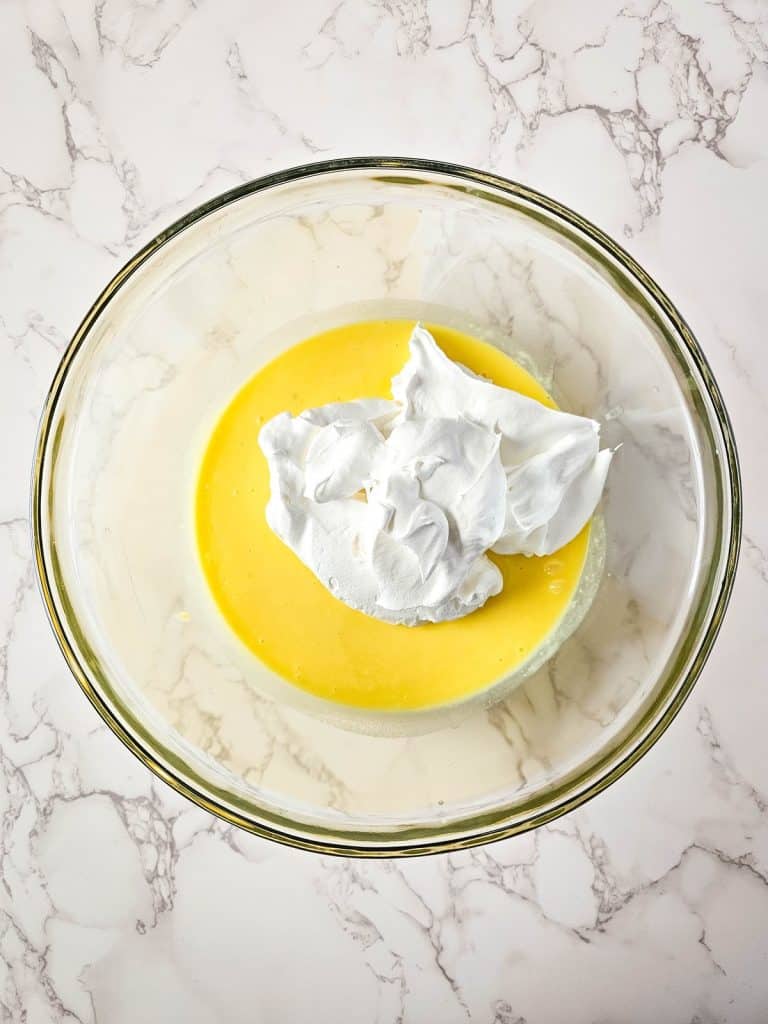
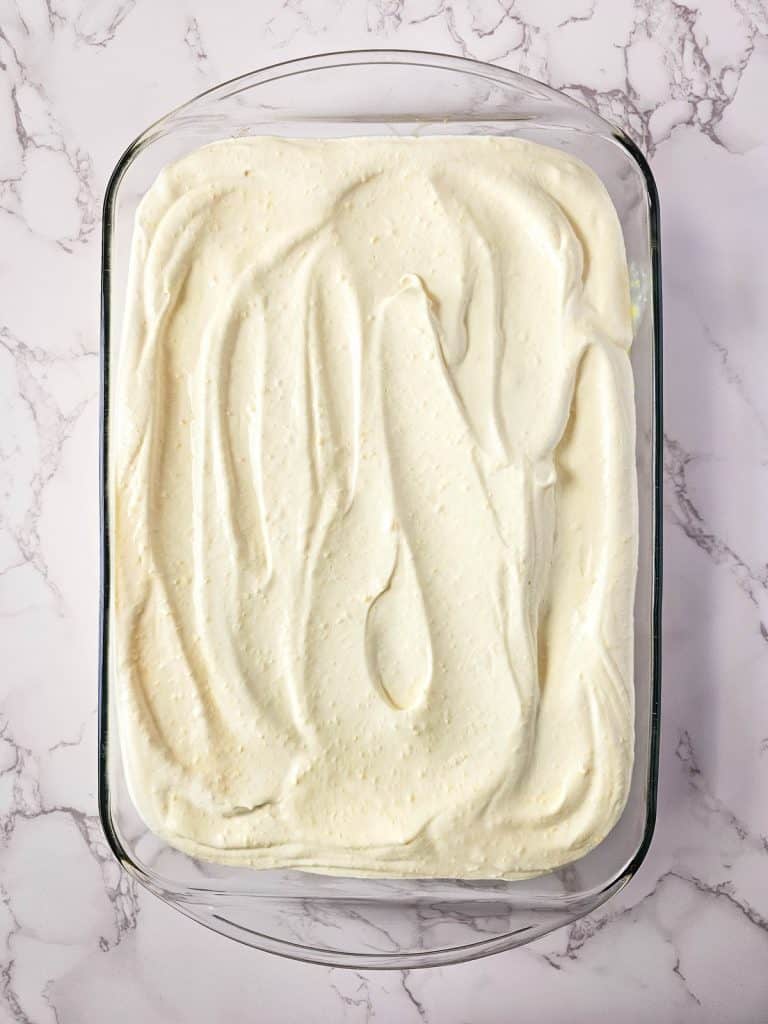
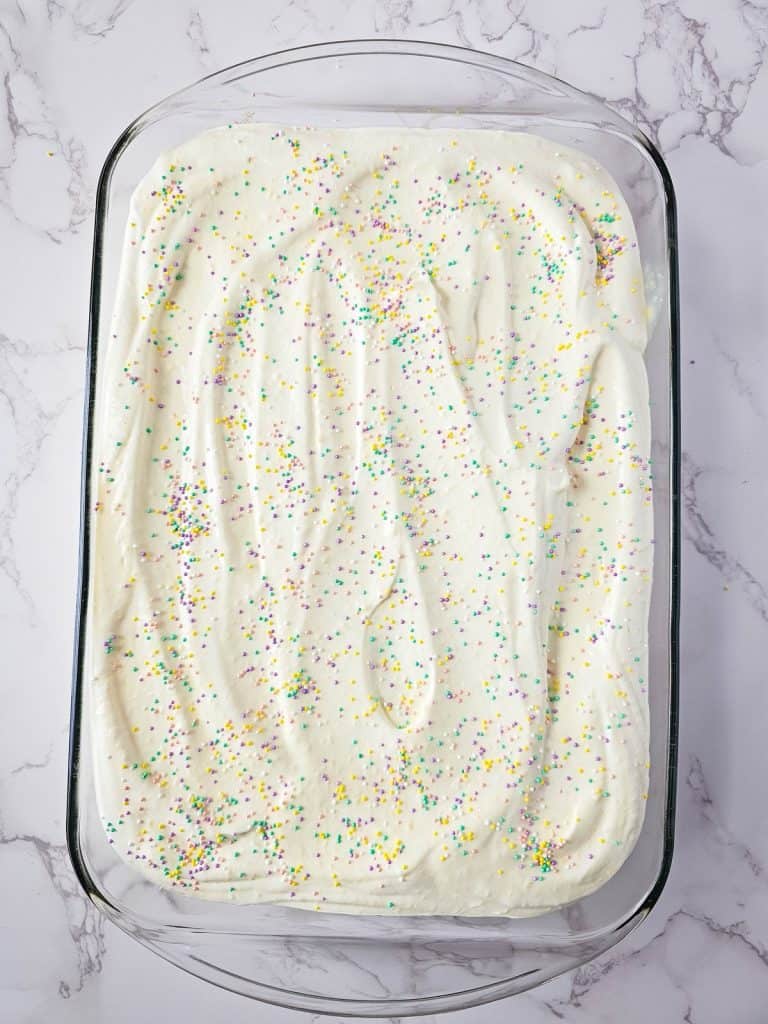
Step 7: Prepare the next box of pudding with the remaining 2 cups of milk, whisking for 2 minutes. Fold in the whipped topping, and spread the mixture over the top of the cake. Add half the sprinkles to the cake.
Step 8: Refrigerate the cake for 2 hours.
Step 9: Cut the cake into 12 slices, and add extra sprinkles right before serving. Enjoy!
Poke Cake Storage
Cover cake with an airtight lid or tightly sealed plastic wrap, and store in the fridge for 3-5 days.
Recipe Tips and Tricks
- Customize the Colors: If you’re making a themed poke cake, such as for a holiday or sports team, choose your colors accordingly. You can easily adapt the cake to suit any occasion.
- Let the Cake Cool a Bit: Allow the cake to cool slightly before adding the pudding. If the cake is too hot, the pudding may become too thin and run off the sides rather than soaking in.
- Serve Chilled: Poke cakes are best served cold. Make sure to chill the cake for the recommended time to allow the flavors to meld together and the pudding to fully set.
Additions and Variations
Coconut Cream: Swap out the vanilla pudding for coconut cream pudding and sprinkle toasted coconut flakes on top of the whipped topping for a tropical twist.
Citrus Twist: Incorporate some citrusy flavor by adding a teaspoon of lemon or orange zest to your batter. This works especially well with vanilla pudding, giving it a subtle but refreshing citrus note.
Spring Poke Cake FAQ
Can I use regular food coloring instead of gel food coloring?
You could, but I don’t recommend it. Regular food coloring is not as vibrant as gel food dye, so it would take a lot more to get the color you want.
What if I don’t have pastry bags to pipe the batter into the pan?
If you don’t have pastry bags, you can carefully spoon the colored batter into the pan or use a zip-top bag with a corner snipped off to pipe the batter.
Can I make this poke cake in advance?
Yes, you can make this cake a day in advance—the flavors are even better the next day. It will stay fresh for up to 3-5 days if kept covered and refrigerated.
Rainbow Poke Cake for Spring
Equipment
- liquid measuring cups
Ingredients
- 1 box white cake mix plus ingredients on package directions
- Wilton neon gel food coloring
- 2 boxes instant vanilla pudding mix 3.4 oz for each box
- 4 cups milk
- 8 oz whipped topping
- 2-3 tbsp sprinkles
Instructions
- Preheat the oven to 350F, and grease a 9×13 cake pan.
- Prepare the cake mix according to package directions. Mine called for 1 1/2 cups water, 1/2 cup vegetable oil, and 4 egg whites, but please adjust those quantities if your box mix says something different.
- Divide the mixture between 4 small bowls, and add 2 drops of food coloring to each bowl. (You should have 1 bowl of each color) Stir well to mix the color.
- Add the batter to pastry bags, or use a spoon to add the batter to the pan. You’re going to do rows of colors, alternating the colors in each row. We did 5 rows, but you could do more, or less, depending on how you want the cake to look.
- Transfer the pan to the oven, and bake according to package directions (we did 25 minutes), or until a toothpick inserted into the center of the cake comes out clean.
- Once baked, remove the cake from the oven.
- Use the end of a wooden spoon to poke holes all over the cake, about 1 inch apart.
- Prepare one box of pudding with 2 cups of milk in a medium bowl, and whisk for 2 minutes. Pour over cake, spreading it into the holes, and evenly on top of the cake.
- Refrigerate for 1 hour.
- After 1 hour, prepare the next box of pudding with the remaining 2 cups of milk, and whisk for 2 minutes. Fold in the whipped topping, and spread over the cake.
- Add half the sprinkles all over the cake. They'll dissolve a bit, but that's OK because it will make the cake more colorful.
- Refrigerate for 2 hours.
- Cut the cake into 12 slices, add extra sprinkles right before serving, and enjoy!
Notes
- Remember you’ll need the oil, water, and egg whites called for on your box of white cake mix. These amounts can vary by brand.
- Keep covered and refrigerated for 3-5 days.
- Serve chilled.

