Meal prepping is a game-changer for anyone who wants to save time, reduce food waste, and maintain a healthy diet throughout the week. One must-have tool for any kitchen is a good vacuum sealer. This appliance can help you extend the freshness of your food, lock in flavor and nutrition, and help you prep your meals for the week (or the month). With a vacuum sealer, you can efficiently manage your meals for the week, turning what could be a cumbersome daily chore into a simple, streamlined process that saves both time and money.
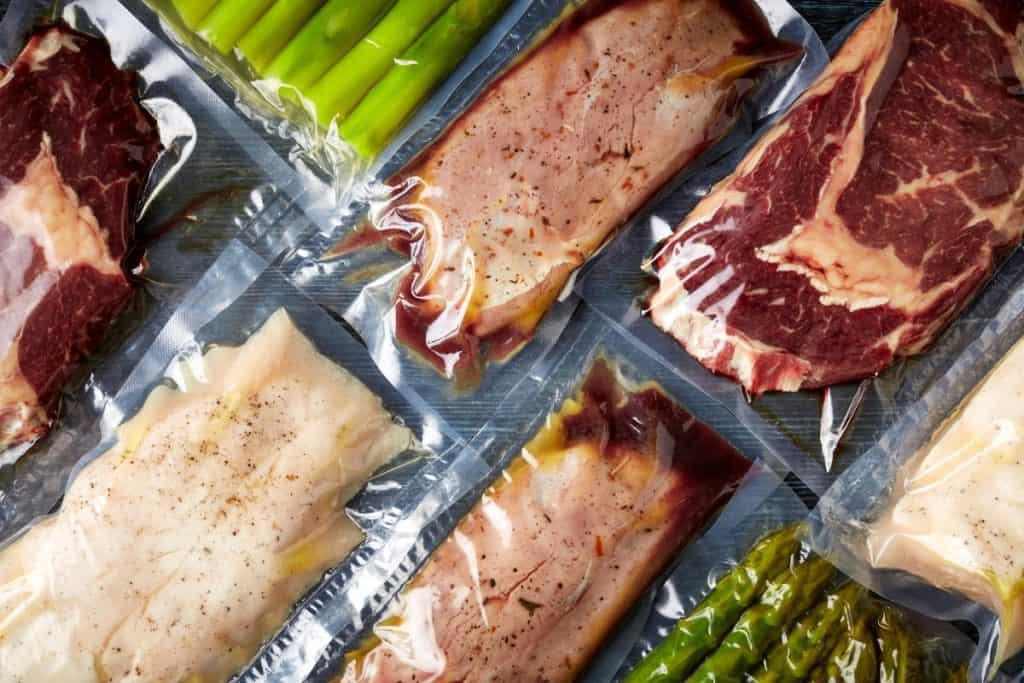
1. Prepping Bulk Meat Purchases
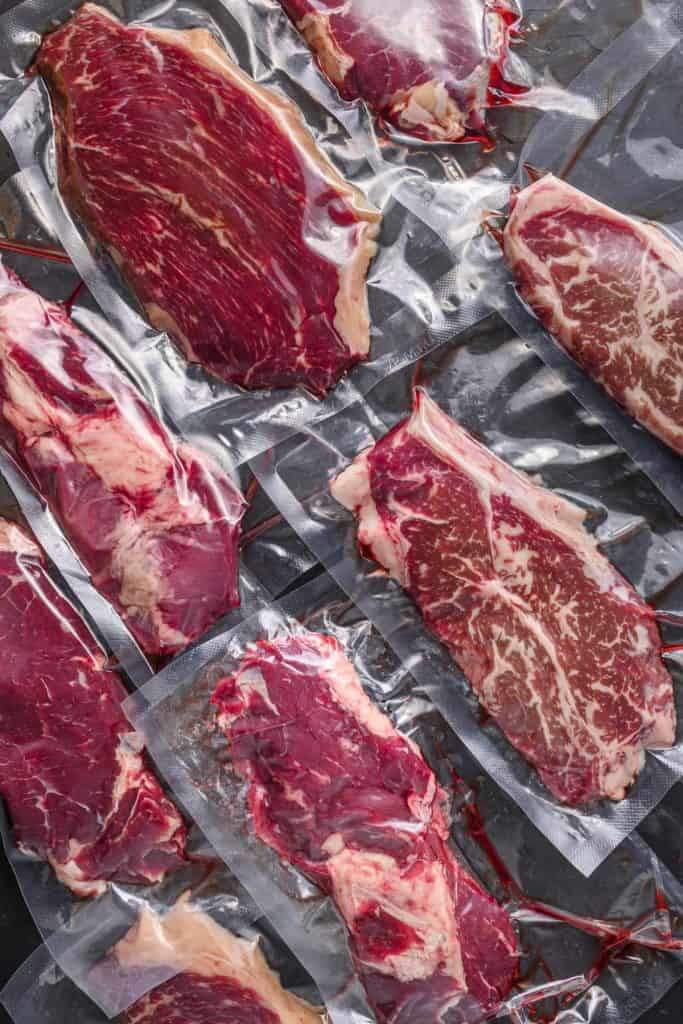
Buying meat in bulk is cost-effective, but managing its storage can be a real headache. This is where your vacuum sealer steps in. Start by portioning your meat into meal-sized servings—think individual chicken breasts, steak cuts, or portions of ground meat. Each piece can then be seasoned or marinated if you’d like.
Once you’ve got your portions sorted, use your vacuum sealer to pack each portion separately. This will help prevent freezer burn and, if you added marinade, will let the flavors seep more deeply into the meat. When it’s time to cook, simply select a packet from the freezer, thaw, and prepare.
2. Sealing Individual Meal Servings
One of the best ways to harness the power of your vacuum sealer during meal prep is to prepare and seal individual meal servings. Cook a batch of your favorite recipes—perhaps a hearty chili, a vegetable stir-fry, or a savory casserole—and allow it to cool.
Once cooled, portion the meals into single servings, arranging them in a vacuum seal bag. Seal each portion, making sure to remove as much air as possible to prevent freezer burn and preserve freshness. Label each bag with the date and contents. These ready-to-go meals can be stored in the freezer and are perfect for quick lunches or dinners.
Reheating is easy—simply warm the meal in a microwave or a gently simmering water bath, and you have a healthy, homemade meal in minutes, with minimal cleanup required.
3. Creating Smoothie Packs
For a quick, nutritious start to your day, smoothie packs are incredibly convenient. Gather your favorite smoothie ingredients—such as berries, sliced bananas, spinach, and protein powder. Portion out what you would typically use for a single smoothie into a vacuum seal bag. You can also add a handful of oats or chia seeds for extra fiber.
Once your ingredients are in the bag, use your vacuum sealer to tightly seal them, ensuring they remain fresh and tasty. Store these packs in the freezer. When you’re ready for a smoothie, simply grab a pack, add your liquid of choice (like almond milk, juice, or water), and blend.
4. Storing Chopped Vegetables
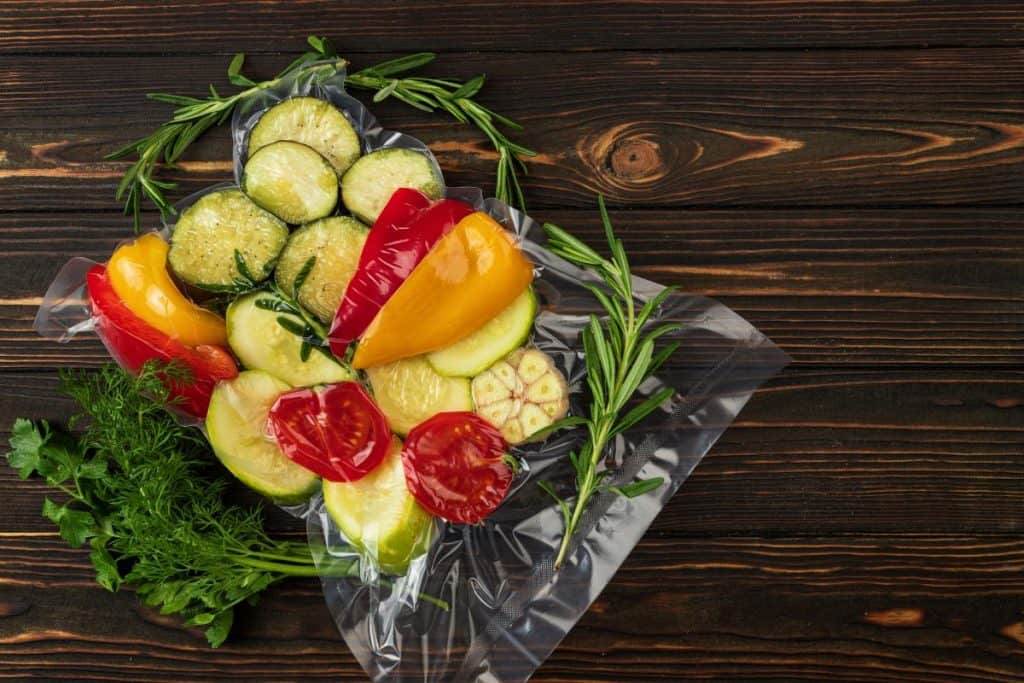
Pre-chopping vegetables for the week is a great time-saver, and with a vacuum sealer, you can extend their freshness significantly. Start by washing and drying your vegetables thoroughly. Chop them according to how you’ll use them in meals—diced onions, sliced peppers, grated carrots, or halved cherry tomatoes.
Arrange them in meal-specific or mixed portions in vacuum seal bags. A key tip here is to place a paper towel in the bag with veggies like tomatoes or cucumbers that contain more moisture; this helps absorb any excess liquid and prevents them from getting mushy. Seal the bags, ensuring they are airtight. This method keeps your vegetables crisp and ready for use in salads, stir-fries, or as quick snacks.
5. Making Your Own Snack Packs
Creating personalized snack packs is another excellent use for your vacuum sealer. Mix your favorite healthy snacks—nuts, dried fruits, pretzels, or granola—into individual portions. Vacuum sealing these mixtures keeps them from going stale and makes it easy to grab a snack on the go without the temptation of overeating.
This approach not only helps in controlling portion sizes but also ensures you have a variety of snacks on hand, tailored to your dietary preferences and needs.
6. Prepping and Sealing Homemade Soups and Sauces
Soups and sauces can be made in large batches and preserved using your vacuum sealer for future meals. Cook your favorite soups, stews, or sauces and let them cool completely. Pour the cooled liquid into vacuum seal bags, but make sure to leave some room at the top of the bag for expansion. Seal the bags and lay them flat in the freezer. This flat-packing method saves space and makes it easy to stack multiple servings.
When you’re ready to enjoy, simply reheat your soup or sauce directly in the bag in a pot of simmering water, or pour it into a pan to heat through. This technique is particularly useful for busy nights when you need a quick meal without the hassle of extensive cooking.
7. Preserving Cheese and Deli Meats
Vacuum sealing is a fantastic way to extend the shelf life of cheese and deli meats, which tend to spoil quickly once opened. Wrap cheeses in wax paper before sealing to maintain their flavor and texture, then vacuum seal them. This prevents the cheese from drying out and keeps mold at bay.
For deli meats, arrange them in a single layer on a piece of parchment paper, then roll the paper up tightly before placing it in the vacuum seal bag. This method keeps the slices from sticking together and makes it easy to grab only what you need later. Both cheese and deli meats can last several weeks longer when sealed properly, reducing waste and saving money.
8. Sealing Dough and Baking Mixes
For those who love to bake, prepping dough in advance can save a lot of time. Prepare your dough for bread, cookies, or pizza and divide it into the portions you’ll use for each baking session. Vacuum seal each portion, then freeze. The lack of air in the vacuum bags prevents freezer burn and keeps the dough fresh for months.
Similarly, you can mix dry ingredients for pancakes, cakes, or bread in advance and seal them. Write the wet ingredients needed and the baking instructions on the bag with a permanent marker for easy reference.
9. Pre-cooked Grains and Legumes
Cooking grains and legumes in bulk and then vacuum sealing them in meal-sized portions is an efficient way to prepare for the week. Cook grains like rice, quinoa, or barley, and legumes like lentils or chickpeas. Allow them to cool completely before sealing them in individual portions.
You can quickly throw together a healthy salad, warm up a comforting grain bowl, or add them to soups and stews. Each sealed portion heats up in just a few minutes, making it a quick and nutritious addition to any meal.
10. Herbs and Spices
Fresh herbs and spices can transform a meal, but they often have a short shelf life. To keep them longer, you can vacuum seal small batches. For herbs, wash and thoroughly dry them first. For spices, it’s best to buy in bulk and seal in smaller portions to retain their potency over time. By removing the air from around these aromatic ingredients, you prevent oxidation and degradation of flavors, ensuring that they remain as fresh as the day you bought or picked them.
Adding a vacuum sealer to your kitchen routine helps simplify meal prep as well as a more sustainable way of living. Whether you’re sealing berries for a smoothie, prepping your proteins, or keeping your coffee beans fresh, the possibilities are nearly endless.
We’ve explored some of the top ways to make your vacuum sealer work for you, but the real magic comes in discovering new uses and hacks. Have you found a clever way to use your vacuum sealer? You can even use them for non-food items! Share your tips and tricks in the comments below—we’d love to hear how you’re making the most of this versatile tool!

