Spring has sprung, and the flowers are blooming! But let’s face it; there are plenty of rainy days when you need a fun activity to do indoors. This is an excellent time to get your kids involved in crafting with you. That’s where this Garden Paper Plate Craft for Spring comes in! It’s perfect for Easter, Mother’s Day, or anytime you want to add a little spring cheer to your day. This spring paper plate craft will get your kids excited about the warmer weather, blue skies, green grass, and buzzy little bees going from one flower to the next. All you need are paper plates, colored paper, scissors, glue, and a pencil to get started.

Why Crafting with Your Kids Is Important
Crafting is a great way to teach patience and perseverance when trying new things, as well as providing an outlet for creativity. The process of creating with your hands develops fine motor skills in kids and helps them explore their world by using all five senses.
Related: 3 Seed Starting Activities for Kids
It’s important that you have some time each day where you’re not focused on anything else but your kids. Spending time with them now can help create a lifelong bond, so don’t be afraid to carve out some time and spend it making memories with the whole family!
But you’re here for the tutorial, right? Let’s get started on this paper plate garden!

How to Make a Cute Spring Paper Plate Craft
To make the spring paper plate flower garden craft, you’ll need a few supplies.
Supplies:
- Paper plate
- Colorful craft paper
- Pencil
- Black marker pen
- Scissors
- Glue
- Flower Garden Template
Instructions for the Paper Plate Garden

Step 1: Measure the size of the paper plate’s inner circle.
- Cut the grass and the sky out of the colorful craft paper according to the size of your paper plate. They need to go all the way across the diameter of the plate.
- Cut out a half-circle shape in the blue craft paper for the sky.
- Cut another half-circle of the green shade of craft paper.
- Then cut out the rest of the grasses from two different shades of green paper. These last two pieces will have spikes on the top and they will be slightly shorter than the first layer of grass.

Step 2: Glue the blue piece inside the plate to make the sky.

Step 3: Glue the larger green craft paper on the bottom to create the first layer of grass.

Step 4: Glue the rest of the green papers one over another to create a layered grass look.

Step 5: Now, use the template to cut out the pieces for the flowers.

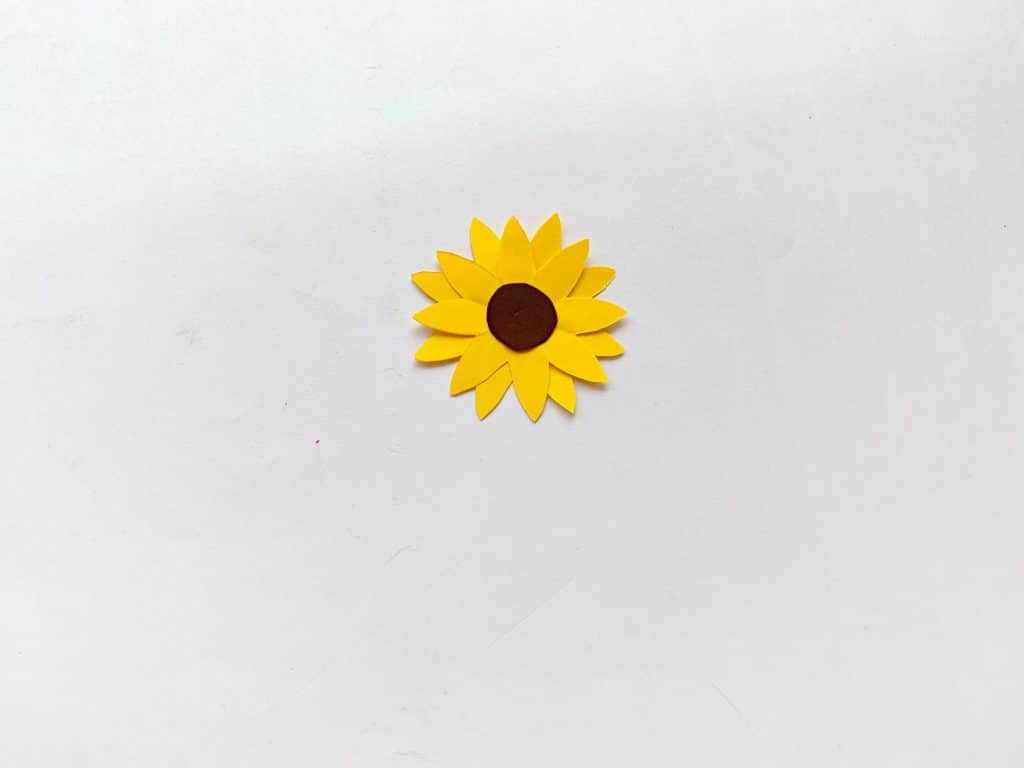
Step 6: Glue the larger petals first, then add the smaller petals on top of those.

Step 7: Then glue the brown circle to the middle of the flower.

Step 8: Cut out the stem and the leaf for the flower from the template.

Step 9: Glue the stem on the flower.

Step 10: Finish off the flower by gluing the leaf to the stem.

Step 11: Cut out the insects for the garden using the templates, then arrange the flowers and insects inside the paper plate.

We hope you enjoyed this paper plate garden for spring. If you’d like to try more of our paper plate crafts, check out the posts below:

Lorna
Thursday 21st of September 2023
Thanks for sharing, Donella!
Is it too much to ask for the template for the animals and flowers?
Donella Crigger
Thursday 21st of September 2023
Oh my goodness. I didn't realize I never uploaded the template. I've just added it, and you can find the link under the "Supplies" list. Thanks for letting me know!