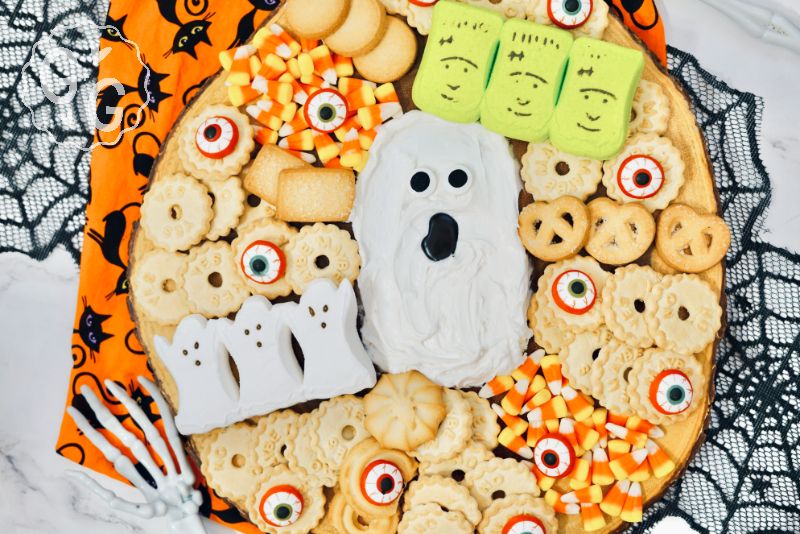
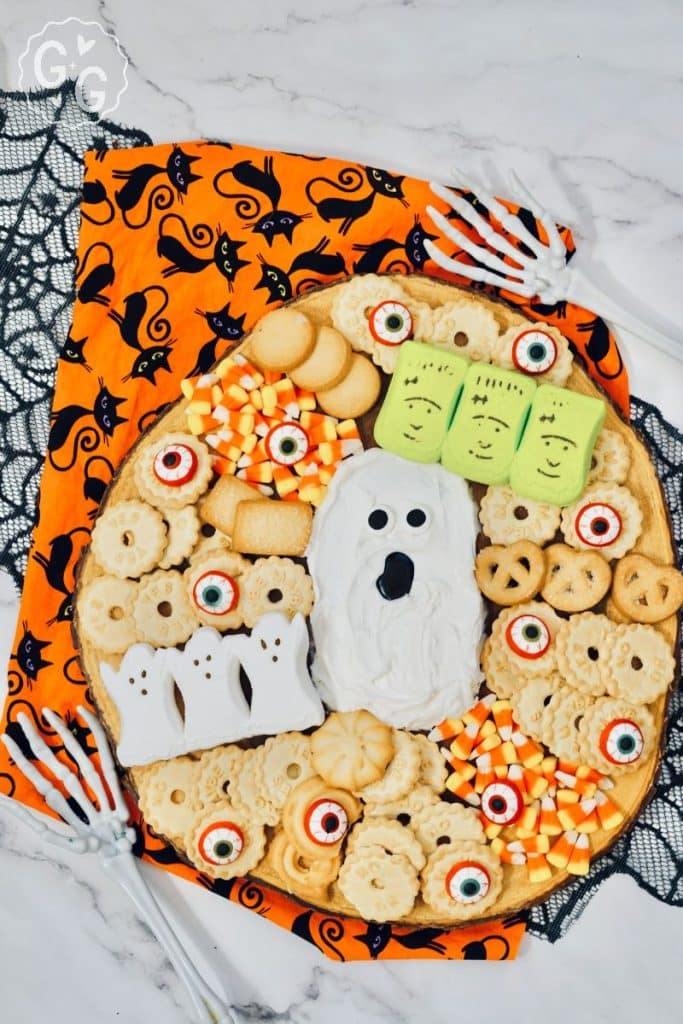
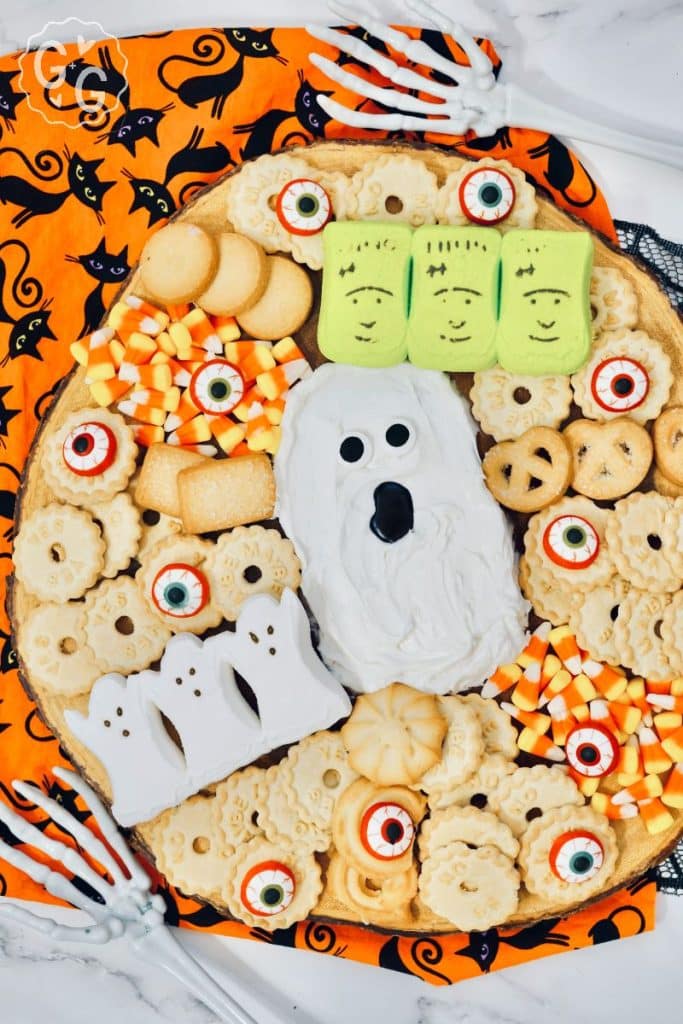
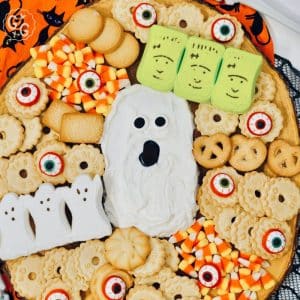
With Halloween sneaking up, I’ve got just the thing to make your Halloween party a tad more spirited: our ghost-themed Halloween frosting board! It’s a creamy frosting ghost surrounded by those oh-so-cute Ghost and Monster Peeps, bright candy corn, and an array of yummy treats ready for dipping.
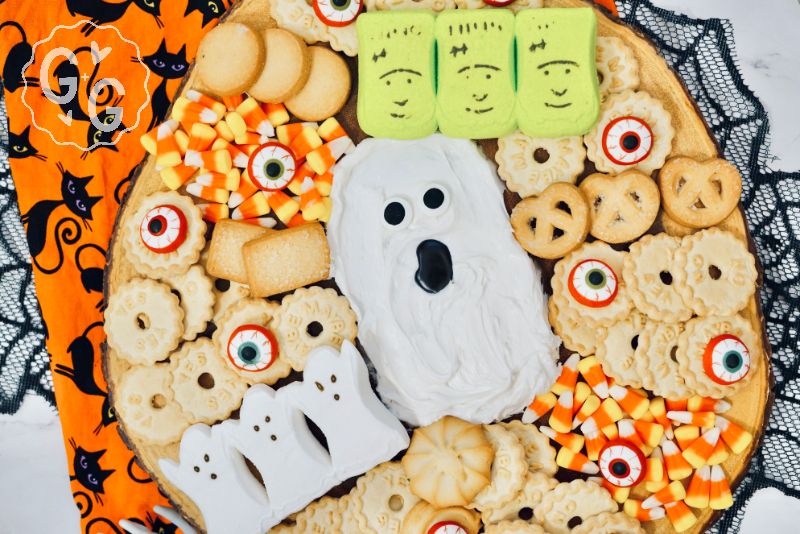
This Halloween frosting board is simple, fun, and totally Instagram-worthy. Your kiddos will love dipping into the friendly ghost, and honestly? The grown-ups will be lining up too. Let’s dive into how you can create this crowd-pleaser for your spooky celebration.
Ingredients for a Ghost Frosting Board
This section is meant to provide an overview of the ingredients required for the recipe. For specific amounts and instructions, please refer to the recipe card at the bottom of the post.
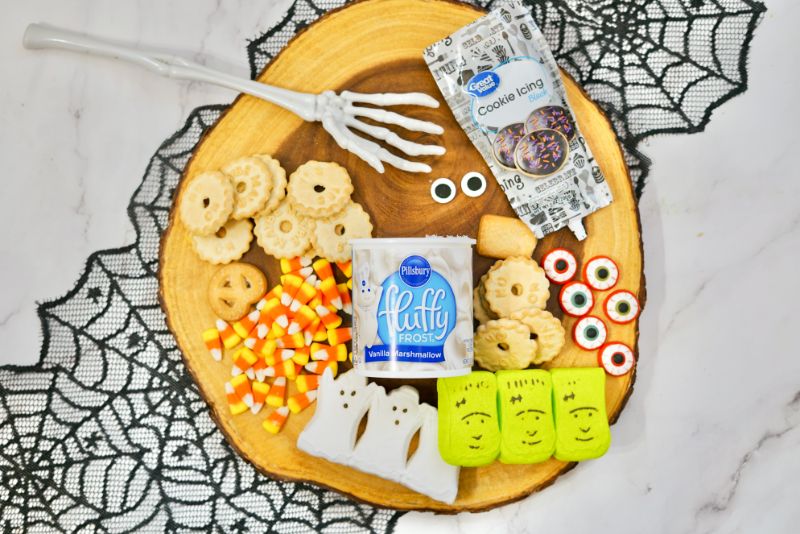
- Frosting — Use canned frosting or your favorite recipe for buttercream frosting. You’ll need a lot of white frosting and a little bit of black to make the ghost’s mouth.
- Candy Corn — This is to add color to your spooky frosting board, but you can swap them out with another candy if you prefer.
- Candy Eyes — You can use the bloody Halloween candy eyes or just regular ones, depending on the look you’re going for.
- Halloween Peeps — You can find these in most stores like Walmart, Target, Dollar General, and your local supermarkets at Halloween time. Sub them with marshmallows or cookies if you can’t find them.
- Cookies — Get a good variety of cookies! The ones in the tins are great for pairing with frosting, but any sort of “plain” cookies will do, such as vanilla wafers.
Equipment Needed
Grab a charcuterie board, a knife for spreading frosting, and your cookies. That’s it!
How to Make a Halloween Frosting Board
This section provides a brief overview of the instructions but the steps are not detailed. For exact step-by-step instructions, refer to the recipe card below.
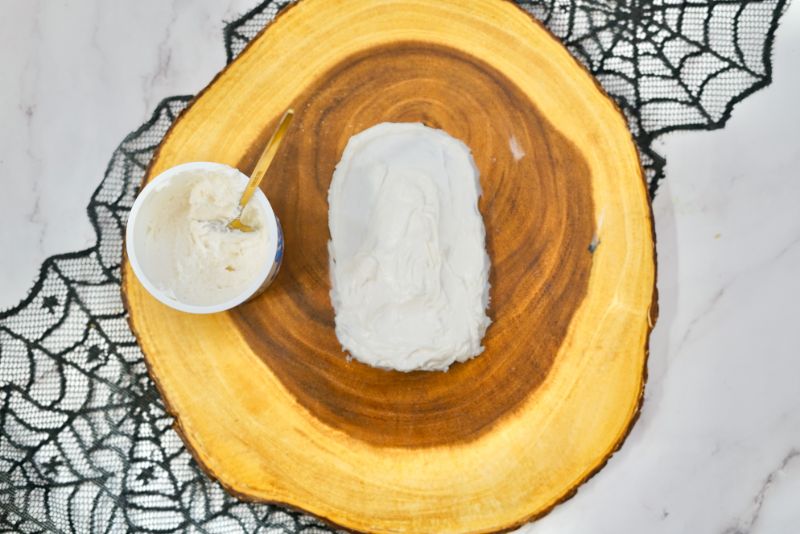
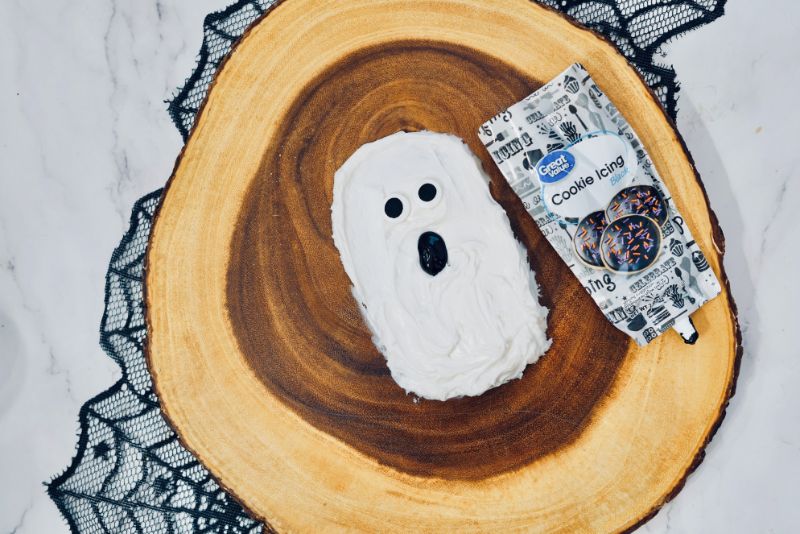
Step 1: Using a butter knife, spread the white frosting on the middle of your board in a ghost shape.
Step 2: Place two candy eyes on the ghost (or use your black frosting to make eyes).
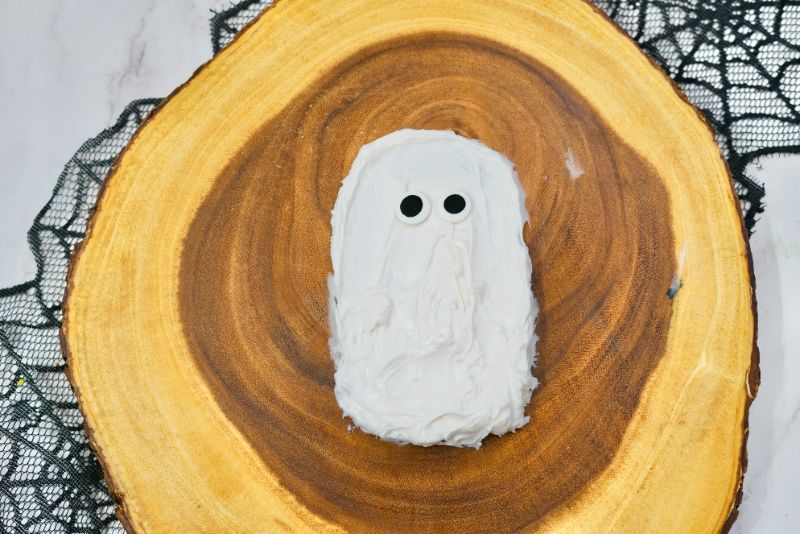
Step 3: Create a mouth using the black frosting. You can use a piping bag to do this, but it’s simple enough with a knife or spoon.
Step 4: Arrange cookies, marshmallows, candy corn, and other dunking and dipping foods around the ghost. Voila! You’re done with your spooky sweet frosting board.
Storage and Freezing
Once assembled, it’s best to consume your ghost frosting board within a day or two. If you have lots of leftover goodies, though, store the cookies, marshmallows, and other ingredients in separate zip-top baggies or containers to keep them fresh.
The cookies and marshmallows can be stored at room temperature, but the frosting ghost should be wrapped in plastic wrap and stored in the fridge.
Ghost Frosting Board Tips and Tricks
- Frosting Temperature: If your frosting is too hard to spread, let it sit at room temperature for a while or give it a few seconds in the microwave. Conversely, if it’s too runny, pop it into the fridge for a bit.
- Decorative Add-ons: Consider adding other Halloween-themed candies or small toys around the board to fill in gaps and add to the festive vibe. Think mini pumpkins, plastic spiders, or even small skeletons!
- Serving Tip: Provide small plates or napkins for guests to make grabbing treats easier. If children are around, ensure any non-edible decorations are safely out of their reach.
Additions and Variations
Cookie Variety: The more the merrier! Different shapes, sizes, and flavors can add visual interest and taste variety to your board.
Other Candies: Add gummy worms, chocolate-covered pretzels, licorice sticks, or any other favorite Halloween candies.
DIY Candy Eyes: If you can’t find candy eyes at the store, you can make your own with white chocolate discs and a dot of dark chocolate for the pupil.
Incorporate Dips: Consider adding a bowl of chocolate or caramel dip to the side. This will give your guests more dunking options and elevate the whole experience.
Nuts & Seeds: Pumpkin seeds (pepitas) or roasted almonds can offer a crunchy texture and balance out the sweetness.
Seasonal Fruits: Slice up some seasonal fruits to give guests some healthy-ish choices. Grapes can provide a touch of color, and sliced apples could be a fantastic dunking choice.
Halloween Frosting Board FAQ
Can I make the ghost frosting board a day ahead?
While you can prepare some components a day in advance, it’s best to assemble the board on the day you plan to serve it to ensure the cookies remain crisp and the frosting maintains its shape. However, if you need to prep in advance, consider storing the frosted ghost separately in the fridge and adding the cookies and candies right before serving.
Can I use homemade buttercream?
Absolutely! That would make your frosting board even more delicious. Just ensure it’s thick enough to hold its shape when laid out. However, using canned frosting, as you see here, is a great time saver.
What kind of cookies work best for this board?
You can use a variety of cookies, depending on your preference! Shortbread, sugar cookies, ginger snaps, and even graham crackers work well. Opt for cookies that don’t crumble easily when dipped, and consider including a mix of flavors and textures to make the board more interesting.
More Halloween Party Foods
Looking for more fun treats for your Halloween party? Try these goodies!
Halloween Ghost Frosting Board
Ingredients
- 1 can White Frosting
- 1 tbsp Black Frosting
- 14 Candy Eyes
- 1 cup Candy corn
- 36 Cookies
- 12 Halloween Peeps
Instructions
- Using the white frosting, create a ghost on a large tray.
- Place two eyes on the ghost.
- Create a mouth using the black frosting.
- Spread the cookies and other dunkables around the candy corn.
