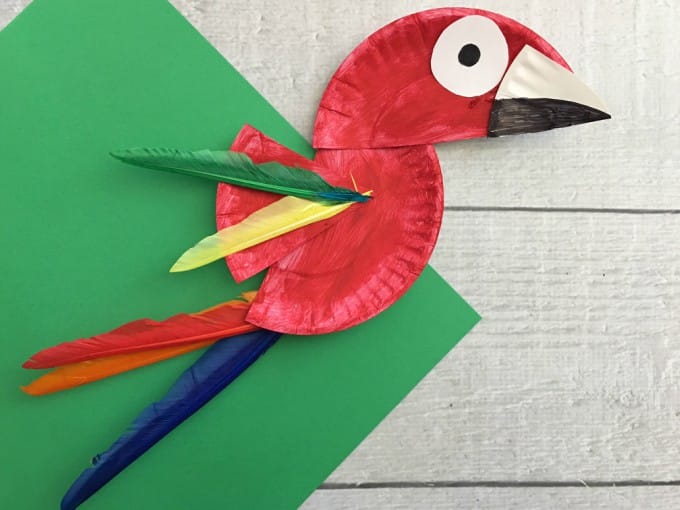
This parrot paper plate craft is a fun activity to do with the kids when you’re studying rainforest animals or birds. You probably have all the materials at home ready to put this cute little project together. So, what are you waiting for? Start crafting!
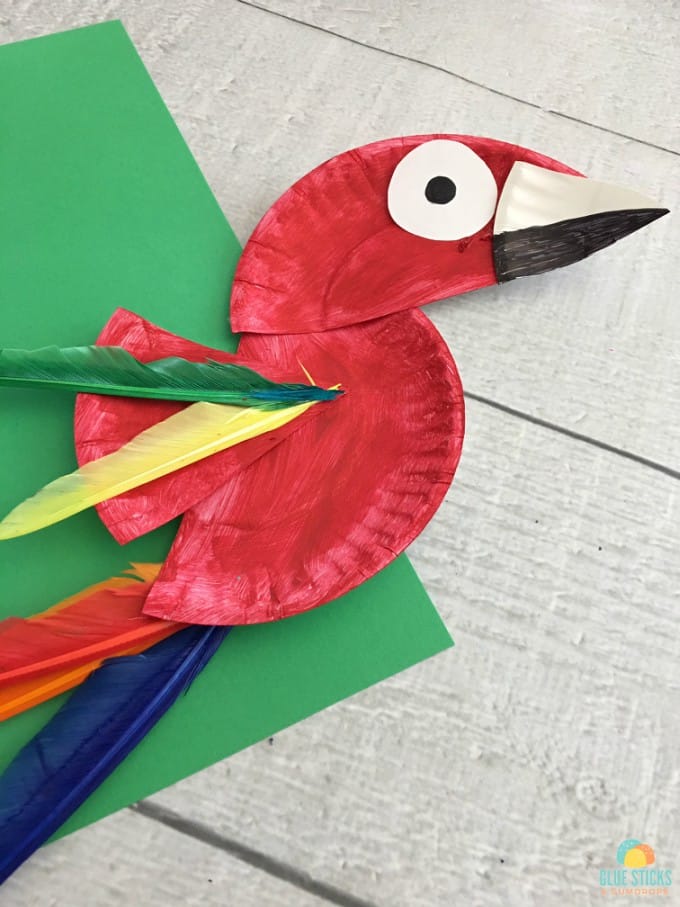
It may be spring, but we’re planning on some fun crafts and study units for summer to help the kiddo maintain what he’s learned in preschool this year before he enters kindergarten. Don’t worry, I”m not that parent who’s going to make him stay indoors and write his letters day in and day out. Nope… we’re planning a rainforest themed unit to keep on practicing his letters, numbers, adding, patterns and sequencing. So, in addition to this parrot paper plate craft, be sure to check back for the other rainforest themed projects we have in mind in the coming weeks!
If you’re ready to start, grab your paint, glue, plates, feathers and markers, and let’s hop to it!
Fun Parrot Paper Plate Craft for Kids
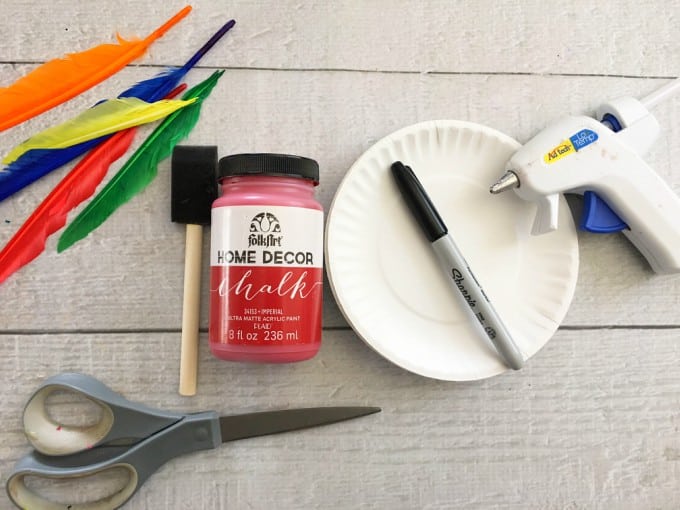
Materials for the Parrot Paper Plate Craft:
- 2 small paper plates
- Green, yellow, blue, orange, and red craft feathers
- Red craft paint
- Foam paint brush
- Black marker
- Scissors
- Hot glue/hot glue gun
Directions for the Parrot Paper Plate Craft:
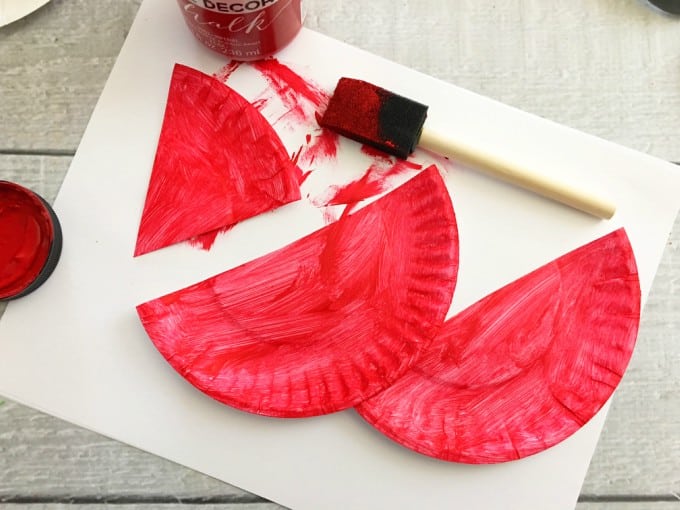
1. Cut one plate in half and cut a pizza wedge out from your other plate.
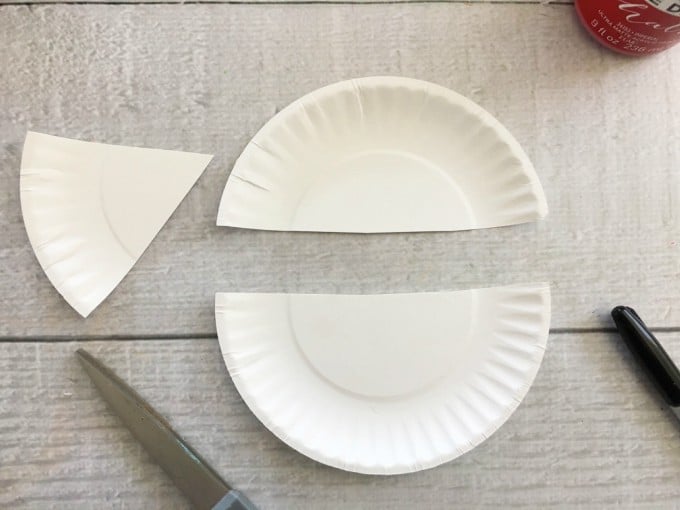
2. Paint each piece red and let dry.
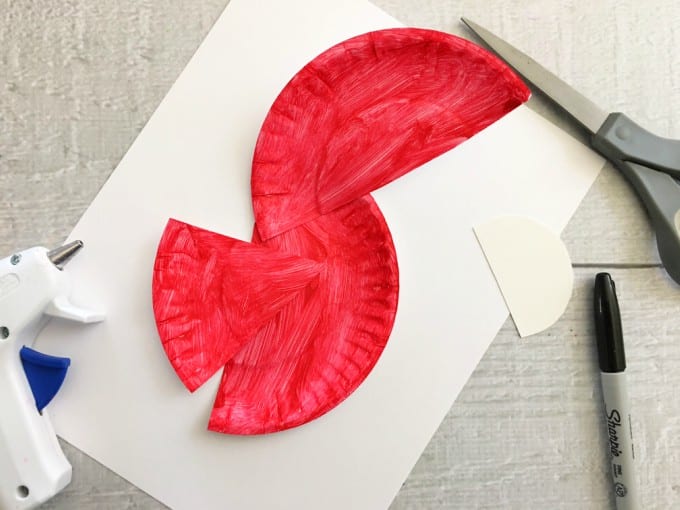
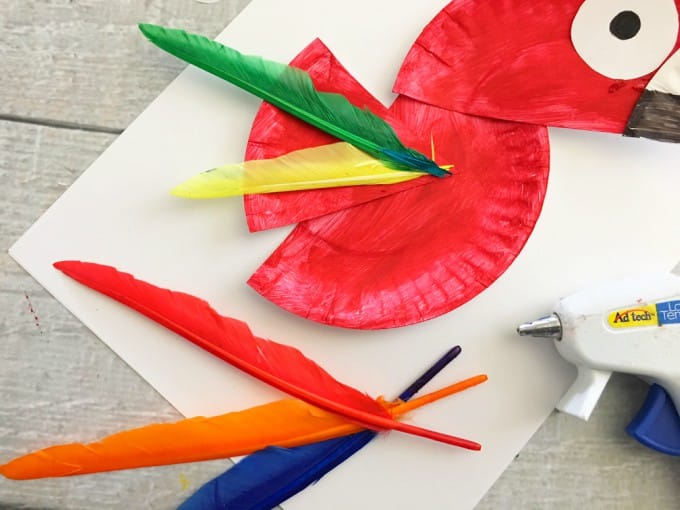
3. Place one of your red plate halves vertically with the flat side facing left for the body, turn the other horizontally with the flat side facing down for the head, and glue the corners together like pictured. Then glue the point side of the pizza wedge onto the left side of the body for the wing.
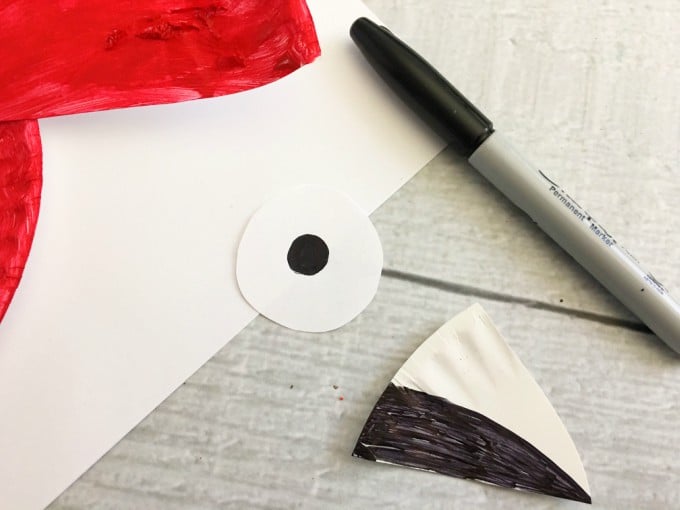
4. Cut out a small circle and triangle-shaped beak from your leftover plate, draw a dot onto the circle center, and color the bottom half of the beak black.
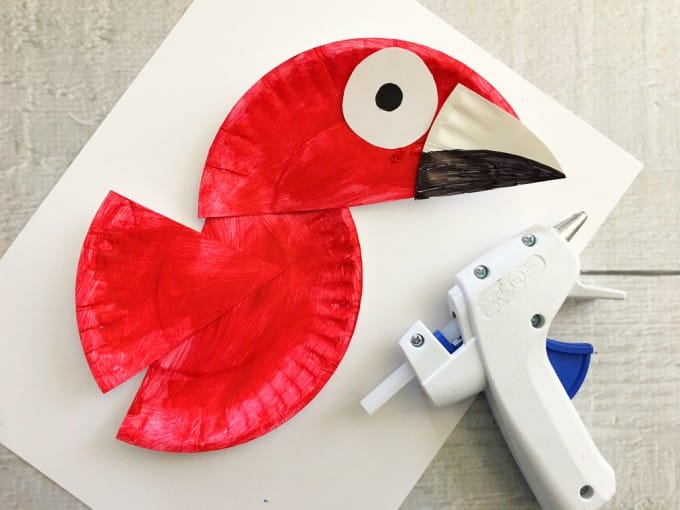
5. Glue your beak to the right side of the parrots head and the round eye to the left of the beak.
6. Carefully glue two feathers to the wing and 3 to the end of the body for the tail.
Ta-da! There you have your super cute paper plate parrot!
