When I was younger, pumpkin carving was my favorite part of autumn (except, of course, for getting candy on Halloween). My family and I would put enough newspaper down to cover most of the kitchen floor, and we would all get to work creating our own jack-o-lanterns. This tradition died after a while, as my brothers and I grew up, moved out, and started making traditions of our own. But I still held (and continue to hold) a special place in my heart for decorating pumpkins in the fall. I’ve made sure to carve or decorate at least one pumpkin a year, regardless of who joins me in the process. It just wouldn’t be fall without it! So, after a lifetime of trial and error, I’ve come up with quite a few tips to make the process go smoother to ensure that I can continue this tradition no matter how busy I may be. So, if you’re looking for ways to make pumpkin decorating a bit easier, or if you’re trying your hand at it for the first time, these 11 Pumpkin Decorating Tips are sure to help you out, whether you’re carving or going a less traditional route.
Easy Pumpkin Decorating Tips
Look for pumpkins with the stem still attached.
There are so many fun and practical things you can do with a stem while decorating. Stems work great as handles if you’re carving your pumpkin, and you can also use the stem as a nose, hair, or anything else you can think of if you plan to paint your pumpkin. Choosing a pumpkin with a fun-looking stem is definitely the way to go!
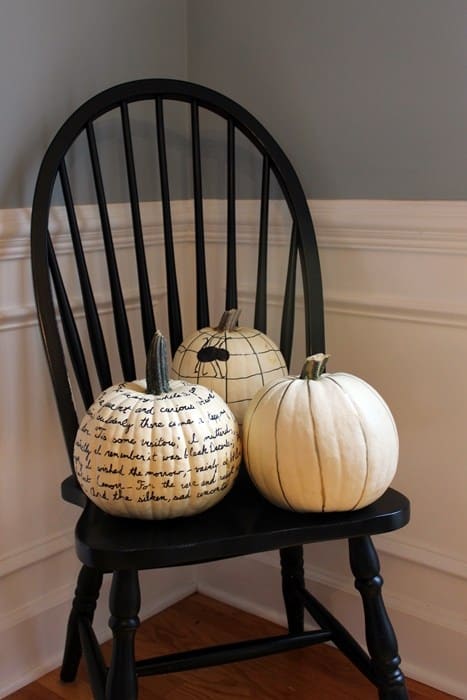
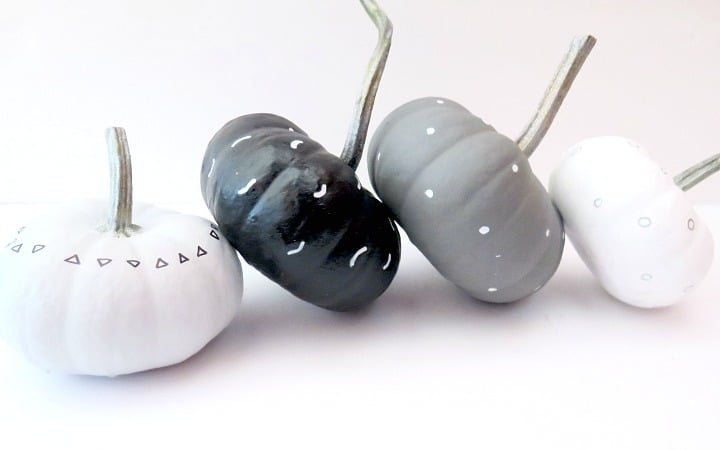
Try different colors.
When most people think of pumpkins, they think “orange”. But did you know that pumpkins come in lots of different colors as well? You could use a green pumpkin to carve out a scary witch, and white pumpkins make the perfect clean slate for painting!
Use petroleum jelly to keep pumpkins moist and fresh.
Whether you’re carving your pumpkin or decorating it another way, you probably don’t want all of your hard work to shrivel away too quickly. Putting petroleum jelly on your pumpkin (especially the parts where the inside is exposed) can make your beautiful creation looking fresh until the season is over.
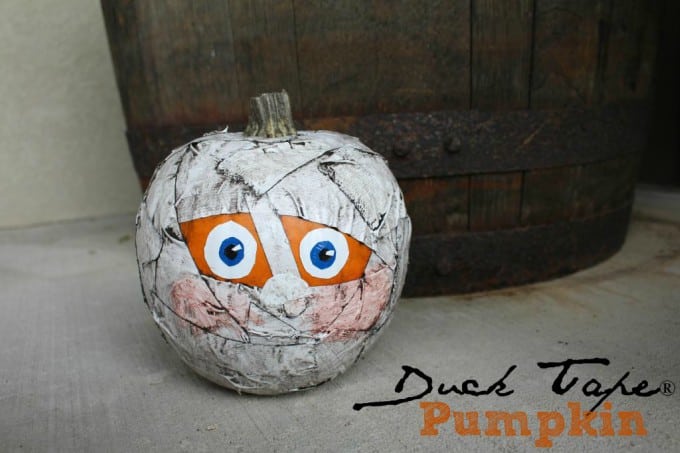
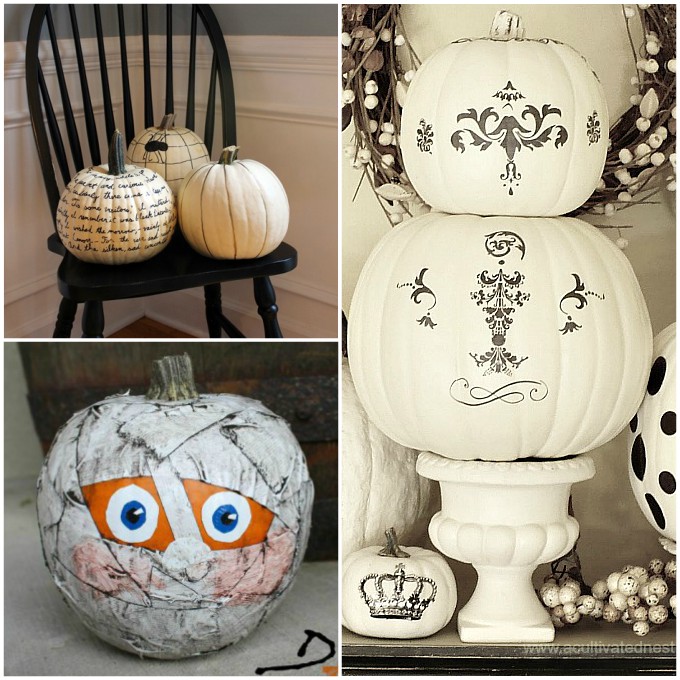
Use what you already have in your home.
Pumpkin decorating doesn’t have to be expensive. You can use things you already have lying around the house to make your pumpkin beautiful. You can use toilet paper, gauze or tape to turn your pumpkin into a mummy, melted crayons to create a colorful design, buttons to make faces, or anything else you can think of. The options are limitless!
Pick a theme.
If you’re going to be decorating more than one pumpkin, it’s easiest if you pick a theme. That way, your pumpkins look good together on display, and you don’t have to waste time and energy coming up with an entirely new idea for each pumpkin.
Use washable markers first.
Try drawing your design on your pumpkin with a washable marker before you start to carve or paint. That way, if you make a mistake, you can just wipe it away and start again.
Use a carving kit.
If you plan to carve your pumpkin, it’d be smart to invest in a pumpkin carving kit. Trying to maneuver kitchen knives around small designs just isn’t worth the risk. Most kits will come with a scooper (to get the “goop” out of the middle of the pumpkin) and a few different carving tools to make pumpkin carving extra easy.
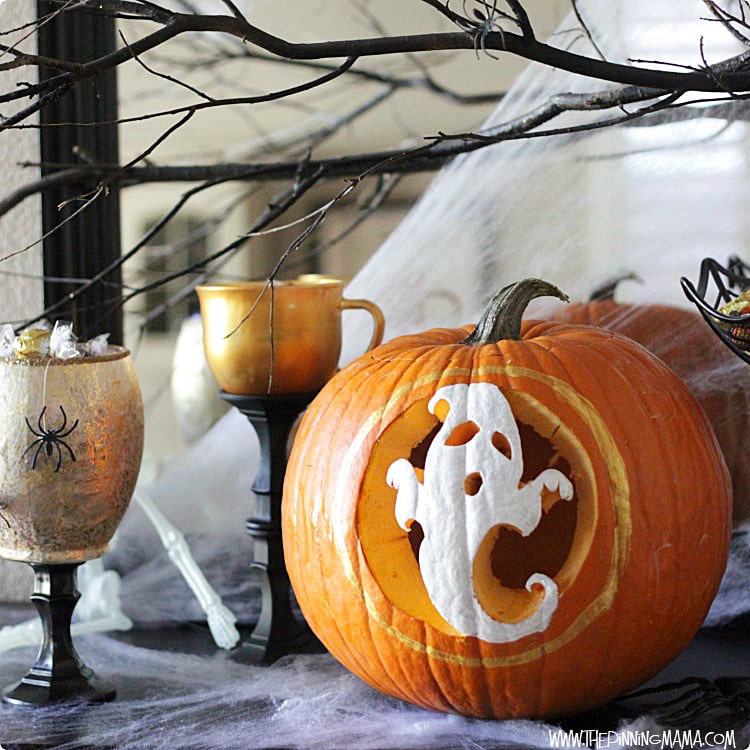
Use the whole pumpkin.
Most people just use one side of the pumpkin to make a “face” for their jack-o-lantern, but why not decorate the whole thing? You can carve or paint designs around the whole pumpkin, so it looks beautiful at every angle.
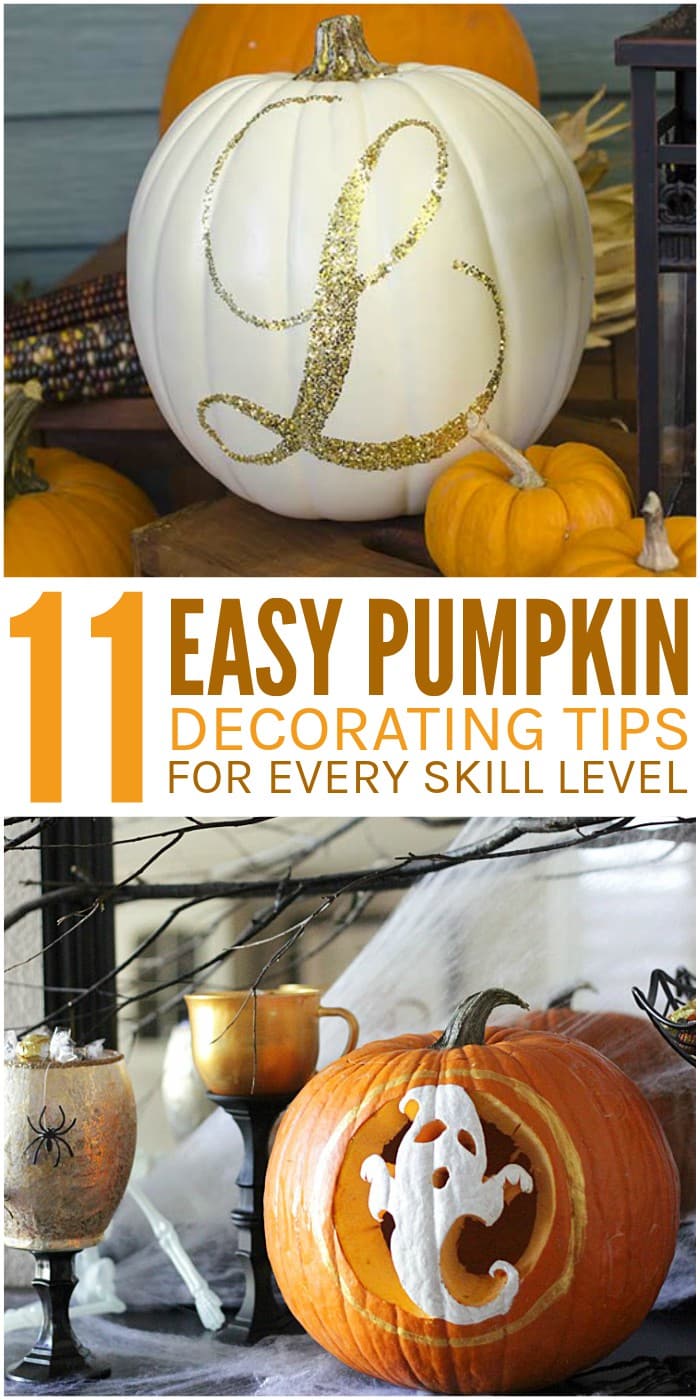
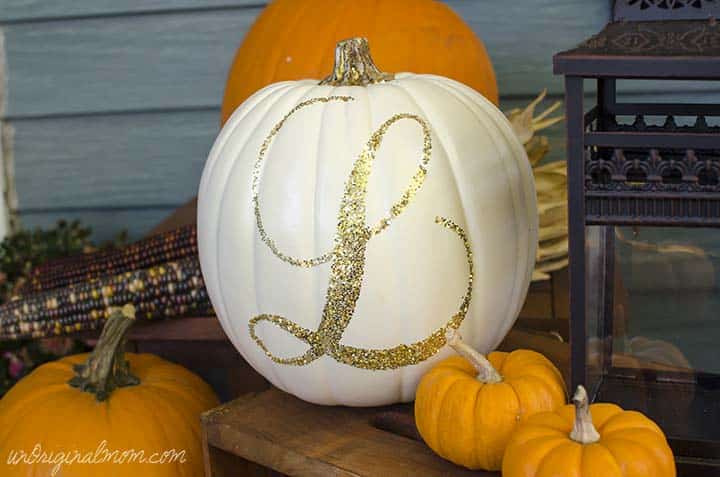
Put glitter where you want it.
If you want to make your pumpkin sparkle, glitter is the best way to do it! But, as I’m sure you know, glitter can get pretty messy. The best way to get glitter on your pumpkin without making a mess or ruining your design is to take a paintbrush, dip it in glue, and paint your desired design onto the pumpkin. When you’re done, sprinkle glitter on the pumpkin (preferably outside!) and the glitter will only stick to where you put the glue. This glitter monogram pumpkin is gorgeous!
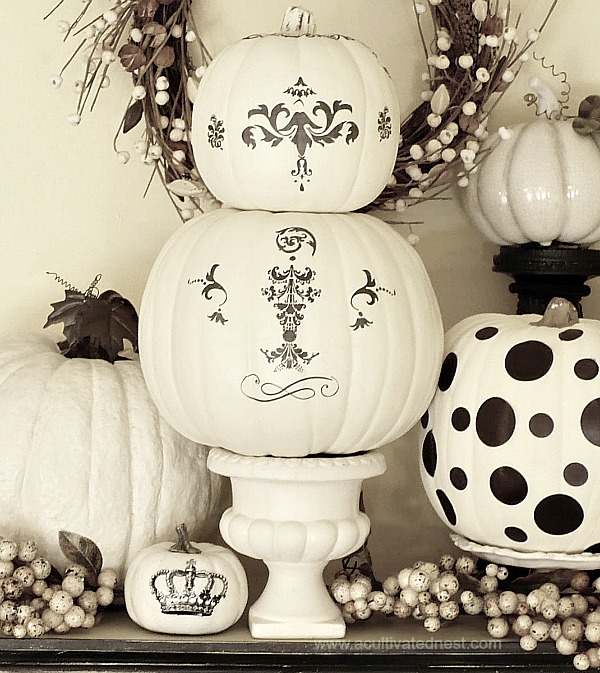
Use stencils.
Stencils are a great way to get the design you want the FIRST time around. Just place the stencil on the pumpkin, and use it to draw, paint, or carve your exact design!
Mix and match.
While your pumpkins should look good together, they shouldn’t be exactly the same! Try getting a variety of colors, shapes, and sizes of pumpkins to keep things interesting.
By keeping these tips in mind, you can keep your pumpkin decorating fun this year. No need for extra stress! Whether you’re decorating alone or with friends and family, you’re sure to have a great time getting creative. And who knows? It might just become one of your favorite traditions, too!
Samara
Thursday 12th of October 2017
This is a great roundup of pumpkin carving ideas, Donella! I'm an American living in Spain, and we don't really celebrate Halloween here, but I would like to do something. Carving a pumpkin would allow us to really get in the spirit in a way. I love the mummy pumpkin idea, and the stencils. We will give those a try this month. So creative!