Want to spruce up your door for Christmas? This DIY Grinch wreath is just the thing! It’s cute, whimsical, and based on a holiday classic. What could be better?
Make your own Grinch wreath using mostly Dollar Tree items and a recycled cereal box. Really! You’ll turn that cereal box into a pretty convincing-looking chimney with hot glue, paint, and a few creative tricks.
Ready to get started?
Here are all the materials you need and lots of step-by-step photos for recreating this Grinch stuck in the chimney wreath.

You’ll also love our paper Grinch craft and thumbprint Grinch ornament for the kids!
Supplies for the Grinch-Inspired Wreath
You can find most of the materials (or very similar) for this project at the Dollar Tree. However, Amazon affiliate links are included for similar materials in case you want to get yours online.

- 1 Wire Wreath Form
- Red Glitter Ribbon
- Green Glitter Ribbon
- 1 6-foot Pine, Glitter & Ornament Garland (any garland with glittery ornaments will do)
- 1 Empty Cereal Box
- 1 Set Elf Legs (16-20 inch)
- 10×10 inch Square Bright Green Craft Fur
- Floral Wire
- Scraps White Cottony or Furry Fabric – an old white scarf works great, too
- 10-20 Empty Plastic Grocery Bags
- Brick Red Craft Paint
- Dark Craft Brown Paint
- Light Craft Brown Paint
- White Craft Paint
- 3-5 Twisty Twirly Holiday Picks (you can find these at the Dollar Tree, Walmart, etc. easily during the holidays)

Instructions – How to Make a Grinch Wreath

- Wrap the wire wreath form with the green ribbon and hot glue it in place. Using the floral wire, attach the garland to the wire wreath form, securing it in place tightly.

2. Wrap the garland and wire wreath form with the red ribbon and garland and hot glue it in place. Set the wreath form aside.
3. Cut the flaps off the top of the cereal box. Stuff the cereal box full of empty grocery bags.

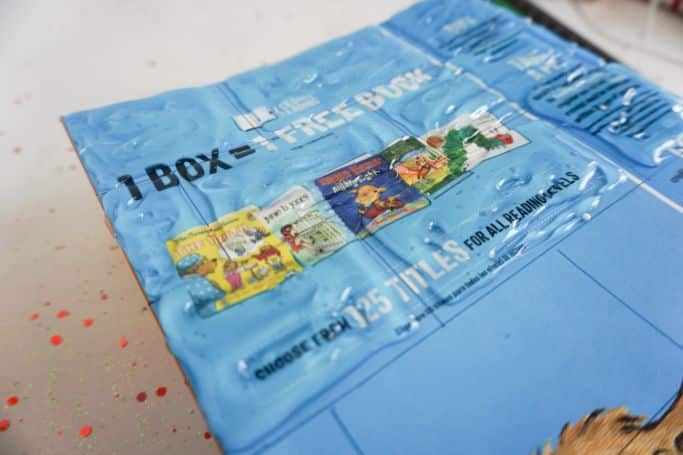
4. Using the straight edge, draw small rectangles about 3-inches by 2 inches on the cereal box, staggered on each line, as brick guides.

5. Add hot glue to each brick, about 1/8 inch from the lines you drew.

6. Allow the hot glue to cool for a moment or two until it kind of thickens, then, with the bamboo skewer, swirl the hot glue a little to make it texturized like a brick. I recommend working on one or two bricks at a time, so as not to have too much glue drying at one time.

7. Repeat with the sides of the box, wrapping the bricks around.
8. Allow the hot glue to dry completely.

9. Paint the cereal box with the red brick craft paint. Allow the paint to dry completely.
10. Use a paper towel to dry-brush/dab on some dark brown craft paint, then light brown craft paint. Allow the paint to dry completely.

11. Apply a line of white craft paint to the valleys between the bricks, then immediately wipe a little away to make it look worn. Allow paint to dry completely.

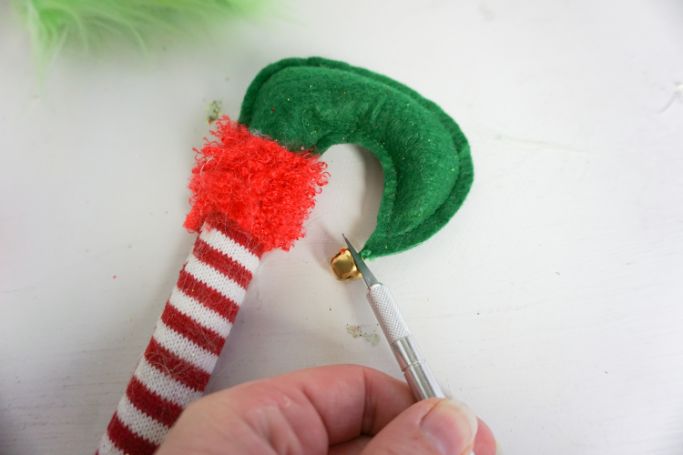
12. Cut off the bells on the end of the toes of each elf boot, if required. Some elf legs don’t have bells attached.

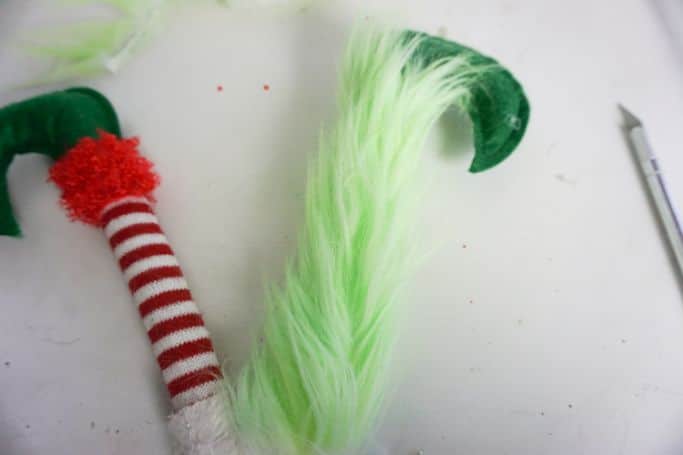
13. With the exacto knife, on the backside of the fur, cutting only the fabric, cut the fur to be just wide enough to wrap around the elf legs.

14. Hot glue the fur in place on each leg.

15. Cut a strip of white fabric about 2-inches wide and long enough to wrap all the way around the top of the cereal box. This is to create a snow-capped chimney look.

16. Hot glue the white pouffy fabric on the lip fo the cereal box, with most of the fabric showing on the outside–like snow.

17. Stuff additional empty grocery bags into the cereal box, if you can.

18. Stick the Grinch legs into the chimney.
19. With your scissors, poke two holes about an inch apart on the back of the chimney.

20. Thread a 4-inch wide section of floral wire through the two holes in the back of the chimney.

21. Affix the wires to the wire wreath form snugly so that the chimney stays in place. Feel free to add some hot glue and an additional section of floral wire if desired.
22. Hot glue the twisty twirly pick pieces onto the back of the chimney, sticking out from the side.
23. Hang on the door.


