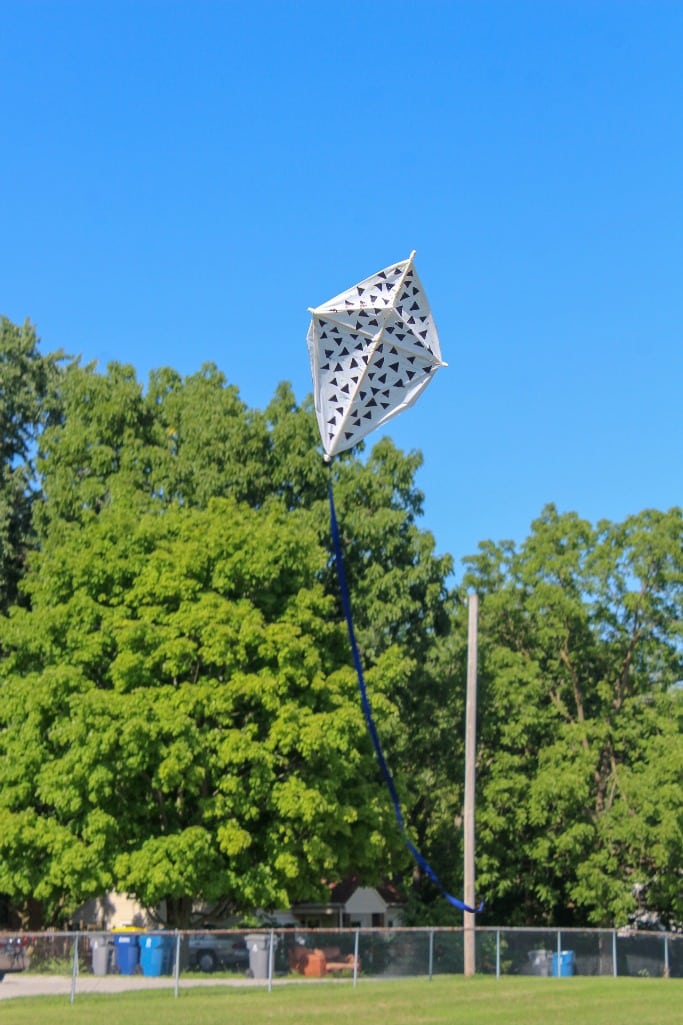
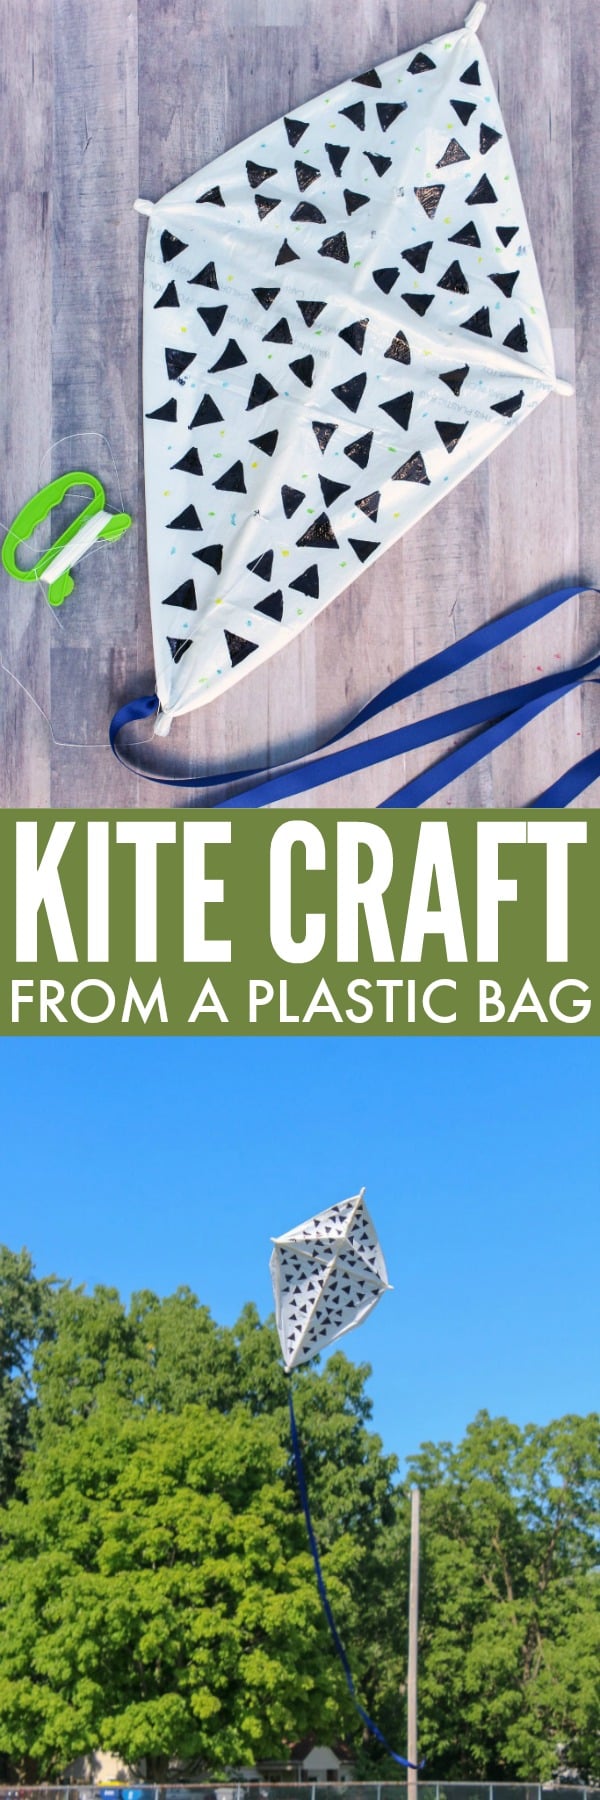
Our favorite kids activities are the ones that get our little guy out and moving around. This kite craft is the perfect thing to keep your kiddo occupied for a couple of hours. First, you get to make the craft with materials you probably already have at home. Then, if the wind conditions are right, you can go outside right away and start flying it. Warm, windy days don’t get much better than that!
SEE ALSO:
- Have even more fun in the outdoors with our lists of 13 DIY Backyard Games and 23 Outdoor Games for Kids.
- Plan fun activities for the whole summer with our printable Summer Bucket List.
DIY Kite Craft for Kids
If you have a trash bag and some markers lying around, you’ll be able to make this pretty kite craft with your kids. I’ll list the materials below, but don’t fret if you don’t have something.
No wooden dowel? Grab two sticks instead! Don’t have a ribbon? Find an old shirt you no longer want and cut/tear it into strips. That’ll make a pretty ribbon. Just make sure the fabric is lightweight.
Even the fishing line and kite string can be substituted with twine or a thin yarn in a pinch. So, use what you have, and let’s get to it!
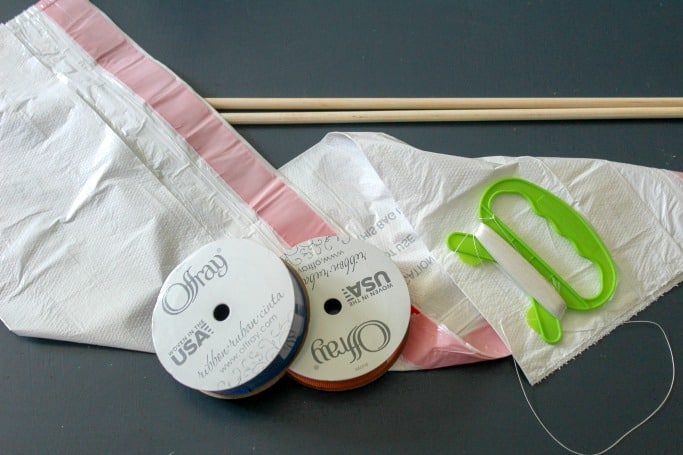
Supplies for the Kite Craft:
- 1 Trash Bag
- Wooden Dowels or Sticks
- Fishing Line
- Kite String
- Ribbon
- Markers (Permanent Sharpies are recommended, but not fine tip!)
Instructions for the Kite Craft:
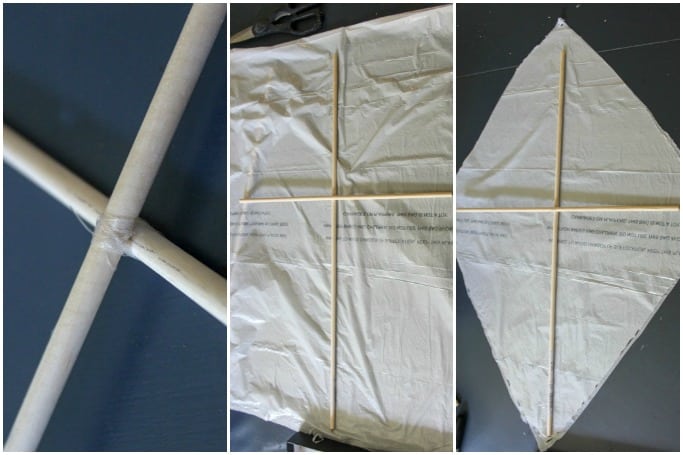
1. Open the trash bag, and cut across the top to remove the drawstring or handles.
2. Cut down the two sides to make a long sheet.
3. Form a ‘t’ shape with the wooden dowels or sticks.
4. Secure the dowels with fishing line. You can use thread or twine if you don’t have fishing line, but fishing line is preferred because it’s nice and sturdy.
5. Trace a kite shape around the dowels, leaving a little extra room at the tips of the dowels.
6. Cut the kite shape out.
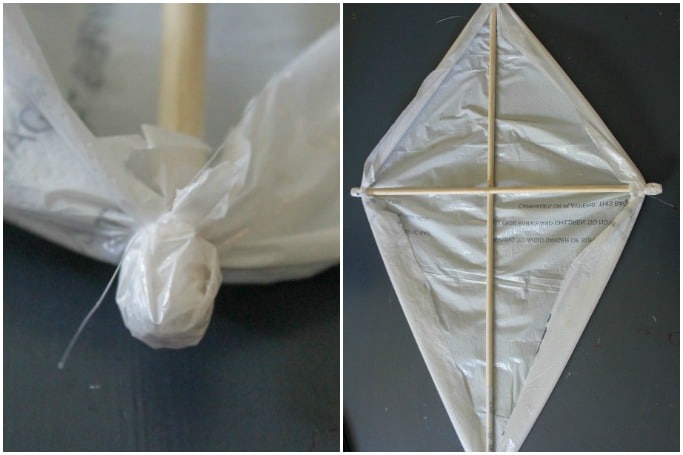
7. Fold up the corners around the dowels. Secure in place with fishing line.
8. Repeat on all 4 corners.
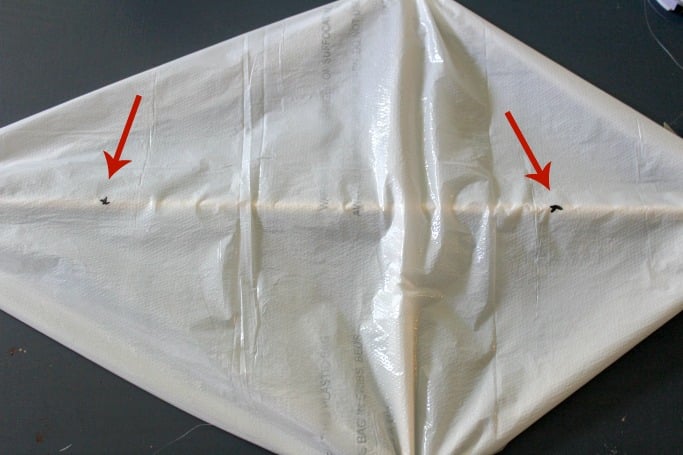
9. Turn the kite over. Cut two small holes where you see the ‘x’ shapes in the photo.
10. Tie a piece of fishing line through the plastic to the dowels.
11. Tie the kite string to the center of the string you just tied in step 10.
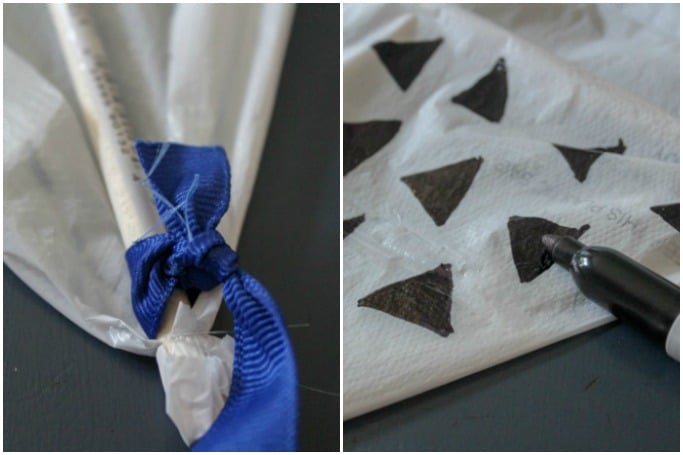
12. Tie a long ribbon kite tail to the bottom dowel of the kite.
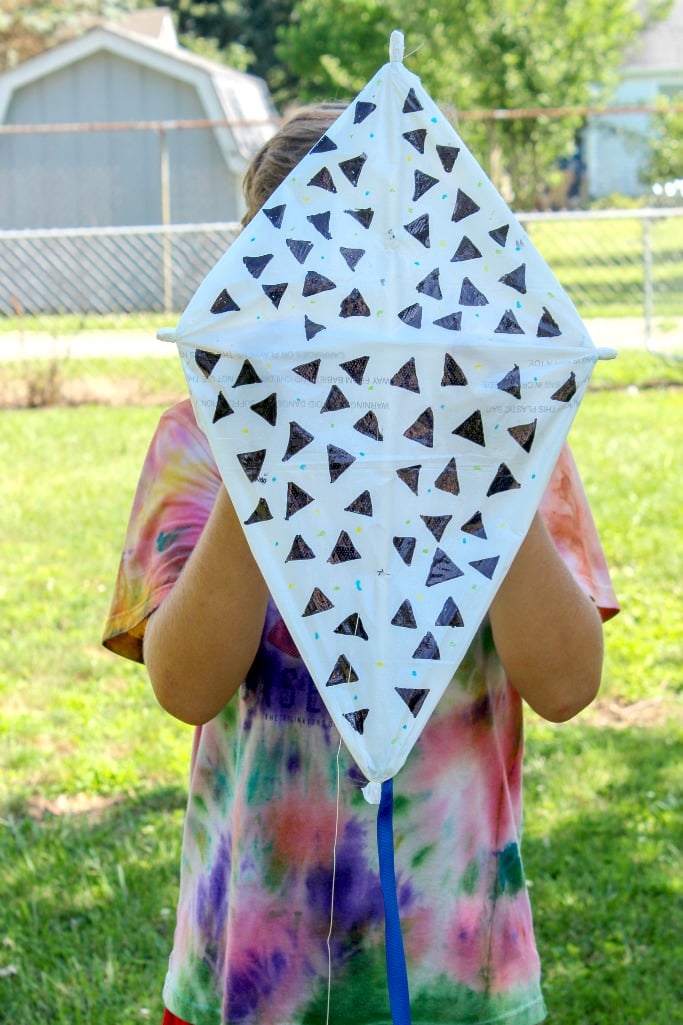
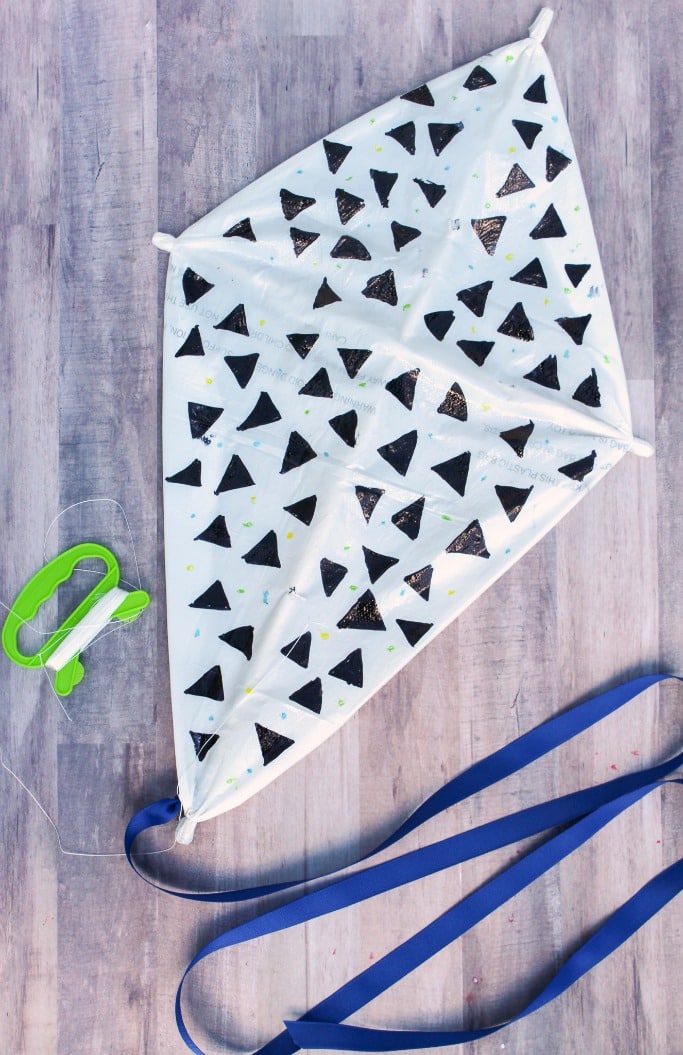
13. Decorate! We used Sharpies to color and decorate with a triangle pattern. You can use one color or a trio of colors to make fun geometric patterns. Stickers would also be a great option!
If you liked this tutorial for our kite craft, you may also enjoy:

