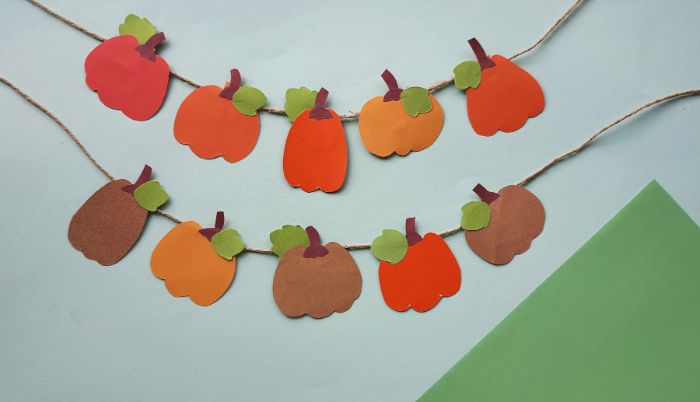
It’s that time of year again- when we’re all thinking about pumpkins and leaves, football games, and pumpkin pies. To get in the mood, let’s make a DIY paper pumpkin banner to hang up this fall season! It’s perfect for Halloween, but you can leave it up all through November, too.
This craft is easy enough for kids to make with a little help, but even teens and adults will love making this cute pumpkin garland to spruce up the decor.
With just a few supplies from your local craft store (you may even have everything you need already), you can create a festive decoration for any room. I’ll show you how…
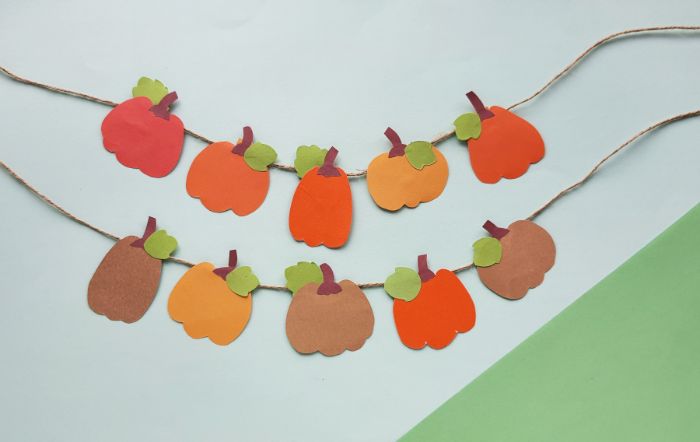
DIY Pumpkin Banner
This craft is made super easy using the printable template. Just print it out once on paper or cardstock, cut out the shapes, and use those to trace your elements on orange, brown, and green construction paper or cardstock.
Using different shades of orange and a variety of pumpkin shapes really helps this free pumpkin banner look amazing.
Materials for the Pumpkin Garland
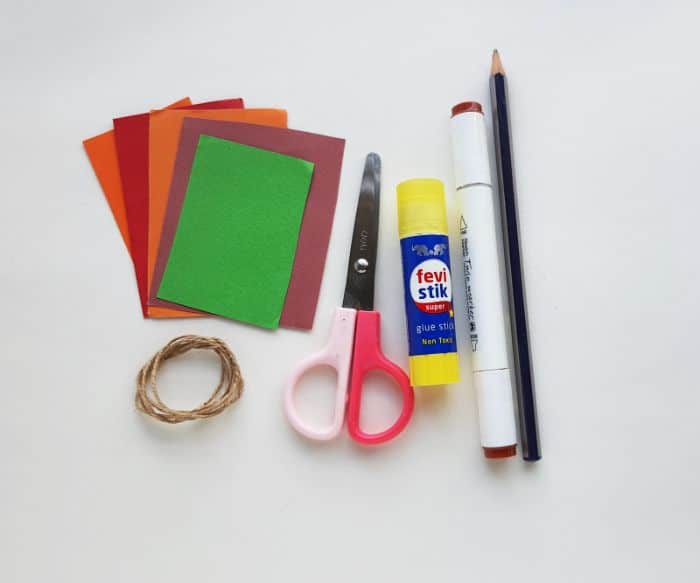
Here’s the list of supplies that you’ll need to make this pretty pumpkin banner:
(Affiliate links included for your convenience, which I earn a small commission from)
- colored craft paper (various shades of orange, brown, green)
- twine, yarn, or thick string
- craft glue
- pencil
- scissors
- printer for printing the pumpkin template
Instructions for the Pumpkin Banner
First thing’s first—gather up all the supplies mentioned above. Crafting is a lot easier (especially with your kids) when you have all your materials on the table from the start. Grab the pumpkin template here.
Step 1: Select three to four distinct hues of orange craft paper. We even have a few brown pumpkins in our garland! For the leaves, use green colored craft papers, and for the stems, use brown colored craft papers.
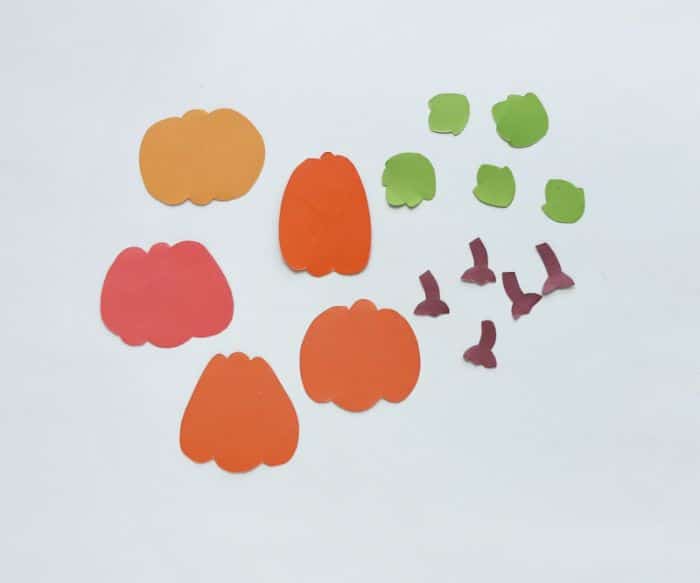
Step 2: Trace the template designs on the chosen craft papers and cut them out neatly.
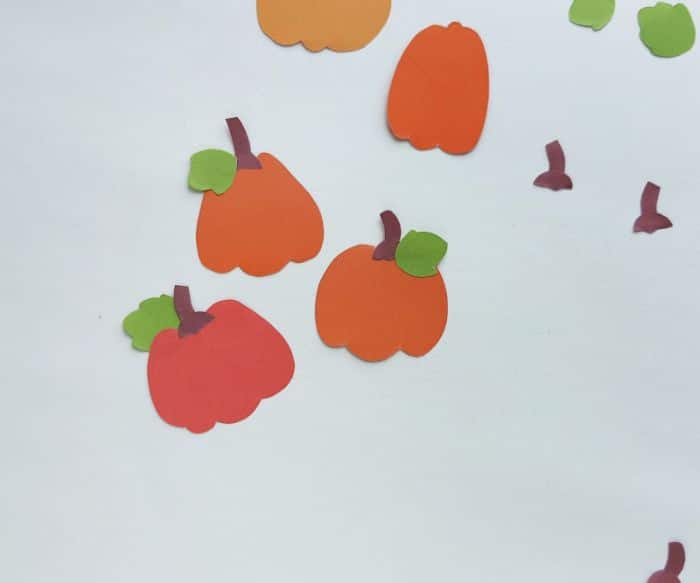
Step 3: Pair a pumpkin, a stem, and a leaf together using glue. Attach the leaf to the side of the stem.
Step 4: Make several pumpkins for the pumpkin banner.
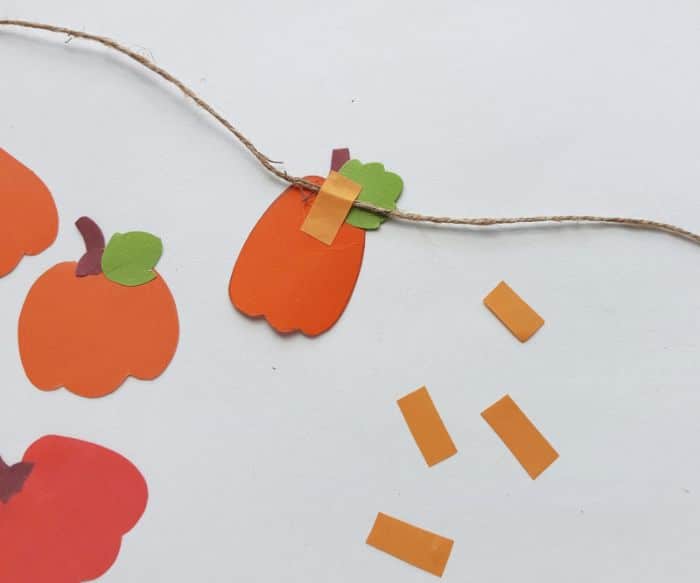
Step 5: Cut some small strips of the craft paper to create loops on the back of the pumpkins for the twine to go through.
Step 6: Flip the first pumpkin over to the back, place the twine near the top at the stem, and put glue on the two ends of the paper strip to secure the pumpkin in place. Look at the picture for a clearer explanation.
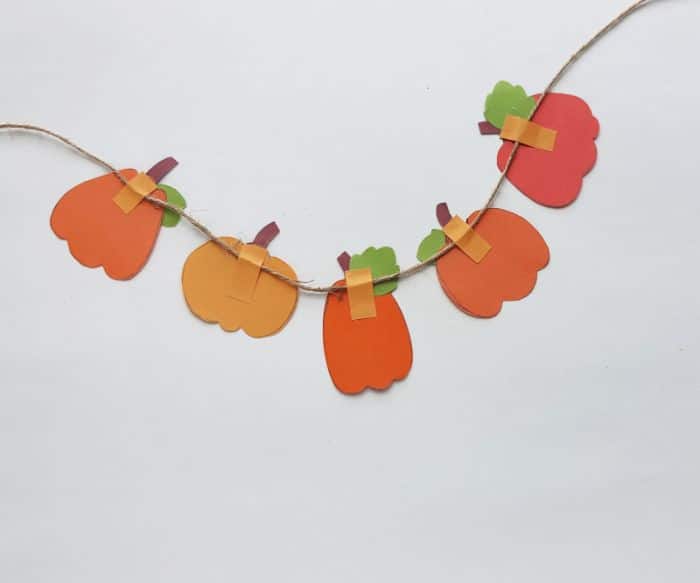
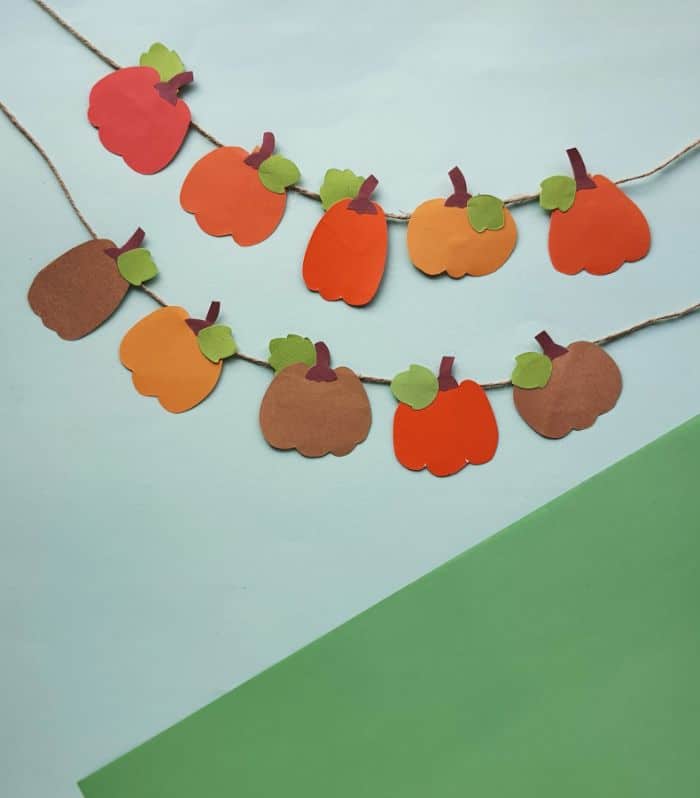
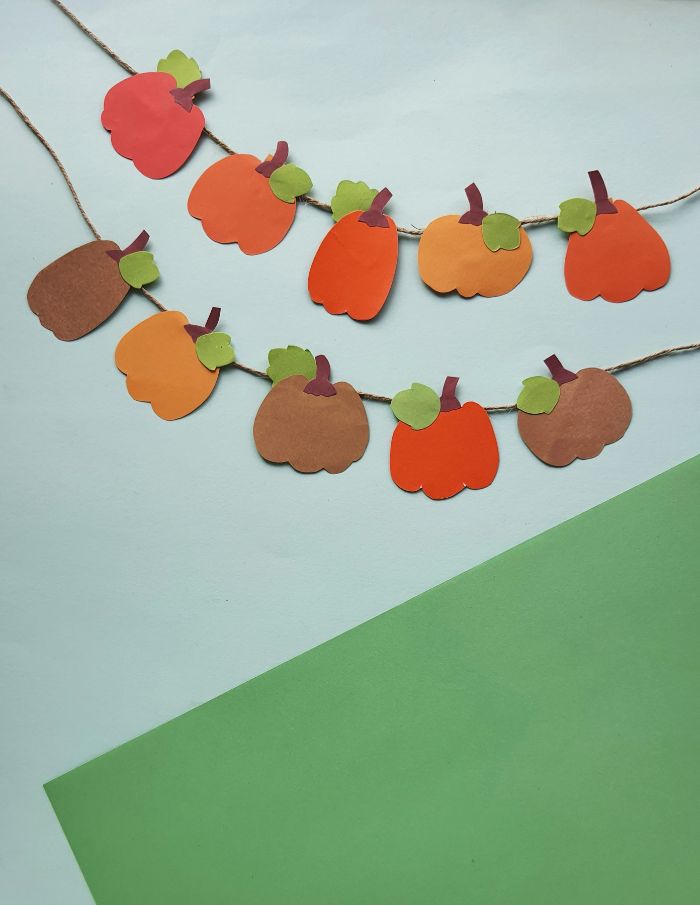
Step 7: Repeat this process with the remaining pumpkins, creating a pumpkin garland with as many pumpkins as you’d like. We suggest making two garlands for a layered look!
Step 8: Let the glue dry for several hours before flipping the pumpkin banner over or trying to hang it.
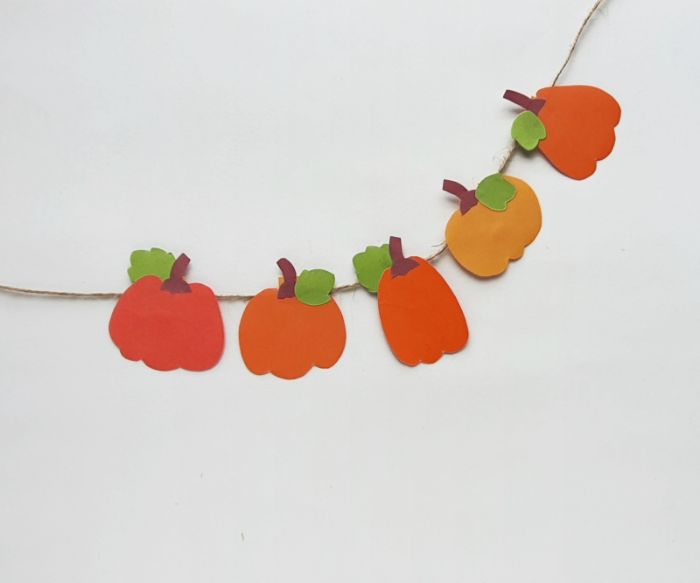
Step 9: You’re done! Enjoy looking at your beautiful pumpkin garland all autumn long. Hang it on your mantle, in a window, over a door or anywhere else you’d like.
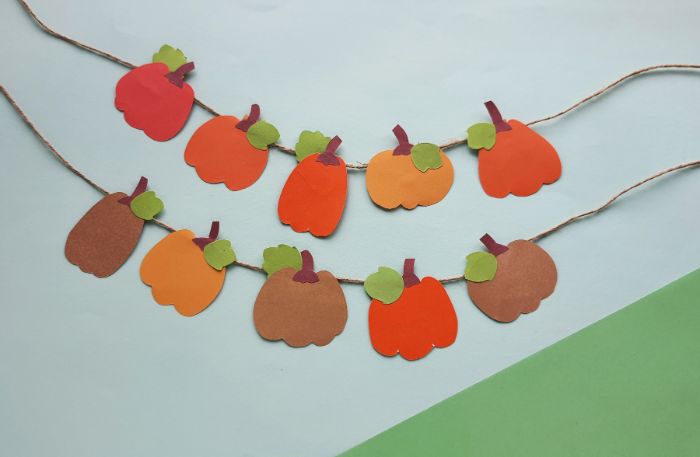
Pumpkin Banner Ideas
Wondering how to put your pumpkin banner to good use this fall? There are so many ways to use it! This pumpkin garland would be cute at a fall baby shower or birthday party.
Use it to spruce up your fireplace or mantle.
Your neighbors will love seeing your little paper pumpkins in your windows this season.
Drape it on the front of your Thanksgiving dinner table or dessert table.
Hang it up in your classroom if you’re a teacher! It would look great on the front of your desk.
Don’t forget to grab the free printable pumpkin banner template!
See more Halloween paper crafts!
More Pumpkin Crafts for Kids
Here are a few more pumpkin crafts that your kids will love making:
- Happy Paper Pumpkin Craft
- Beaded Pumpkin Craft (one of our most popular fall posts!)
- Pumpkin Cup Craft
Pin this little pumpkin banner post to come back to it later if you’re not ready to start crafting right now!
