This turkey paper bag puppet is the perfect fall craft for kids. You’ll use real leaves to make the turkey feathers, and the rest is easy as pie using our printable template. Use your turkey puppet to act out all your favorite turkey-themed books and songs!
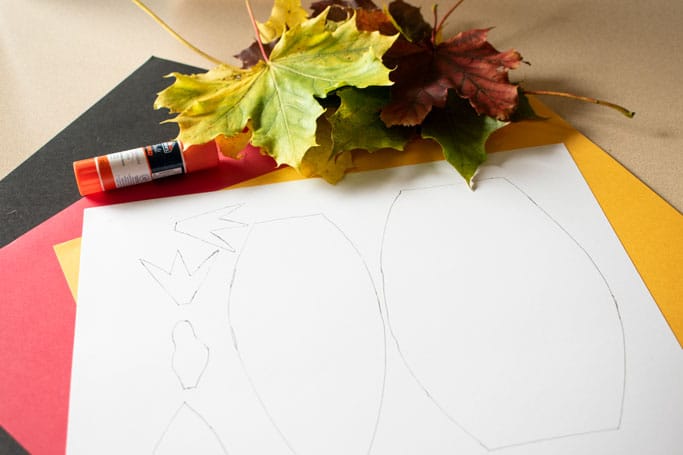
The leaves are nearly gone from all the trees here, and Thanksgiving is just around the corner. So I thought we’d take advantage of all the leaves in the yard (since it’s sadly too cold to jump in them) and make a craft. Here’s a traditional paper bag turkey puppet with leaves for feathers. You can easily cut out all the shapes from construction paper yourself, but if you’d like a template for the little ones to use, I’ve included one below. Just cut out the pieces and trace them onto construction paper. Older kids may just want to color the pieces themselves.
This is one of our favorite turkey crafts for the Thanksgiving holiday! Let’s get started.
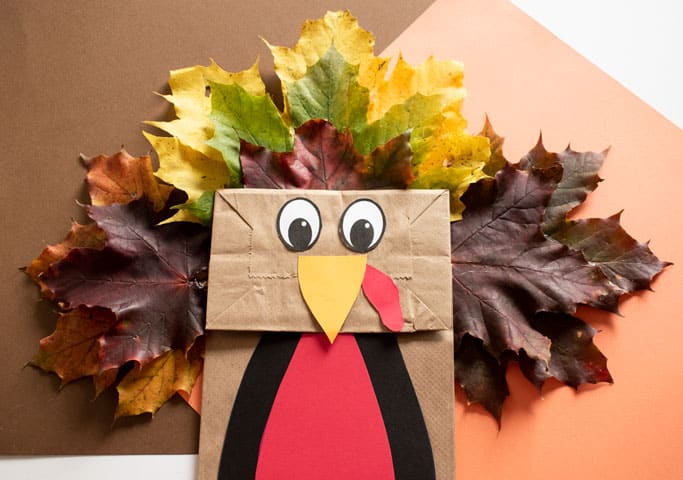
Materials Needed for a Turkey Puppet
The links below contain affiliate links. We earn a commission on qualified purchases.
- Template
- Red, Black, Orange, and Yellow construction paper (or colors of your choice)
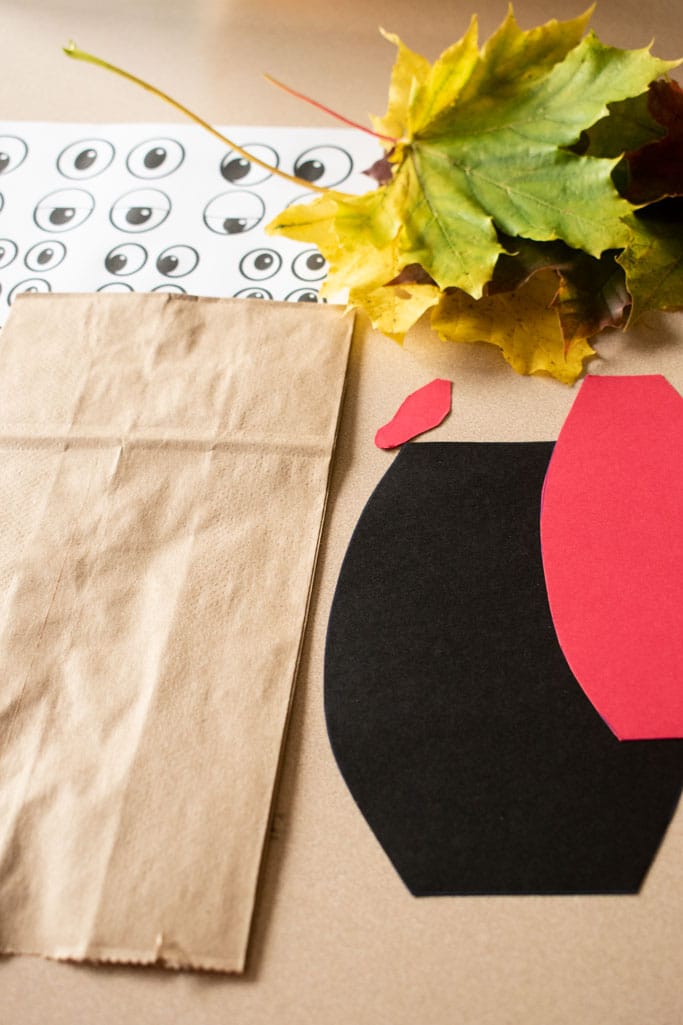
- Googly eyes (we used printable googly eyes from The Craft Train)
- Paper bags
- Scissors
- Glue
- Scotch tape
- Leaves
Instructions for Making a Turkey Paper Bag Puppet
Step 1 – Print the Turkey Template
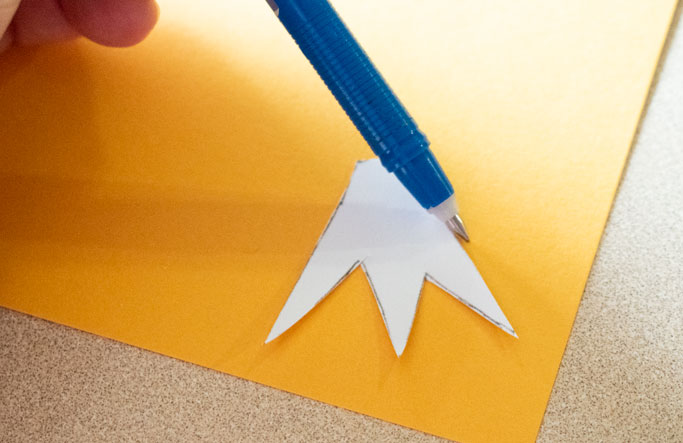
Cut out the shapes, and trace them onto the construction paper. The beak and feet are yellow (or orange), and the turkey’s body is black and red. The red is the smaller body portion. The turkey’s beard is also red.
Step 2 – Make the Body
Glue the smaller red body portion to the larger black body portion. Glue this to the paper bag.
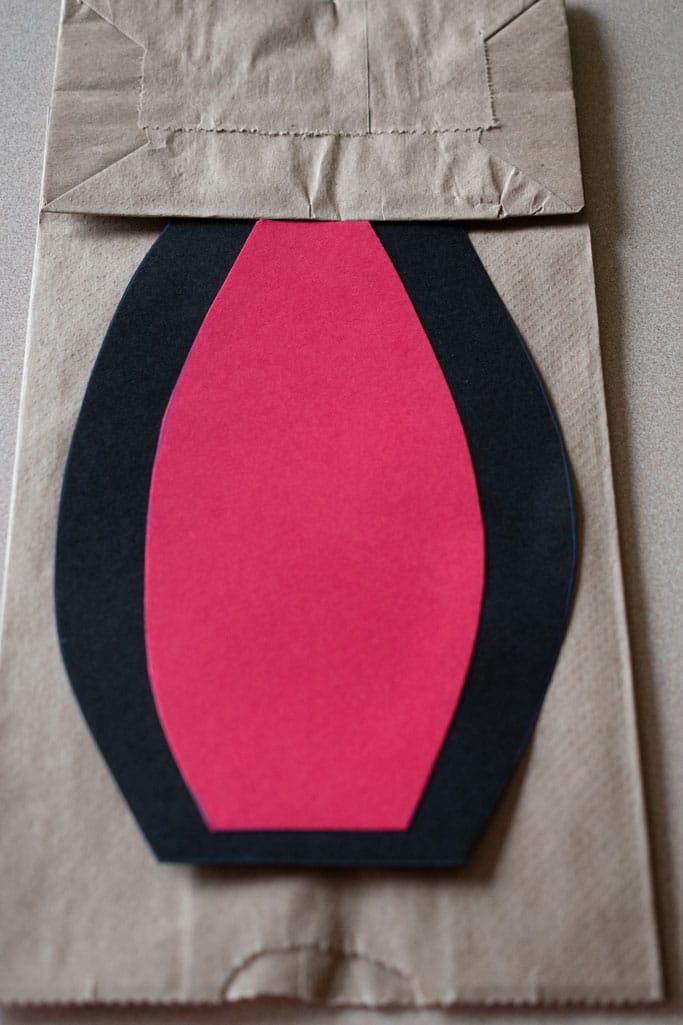
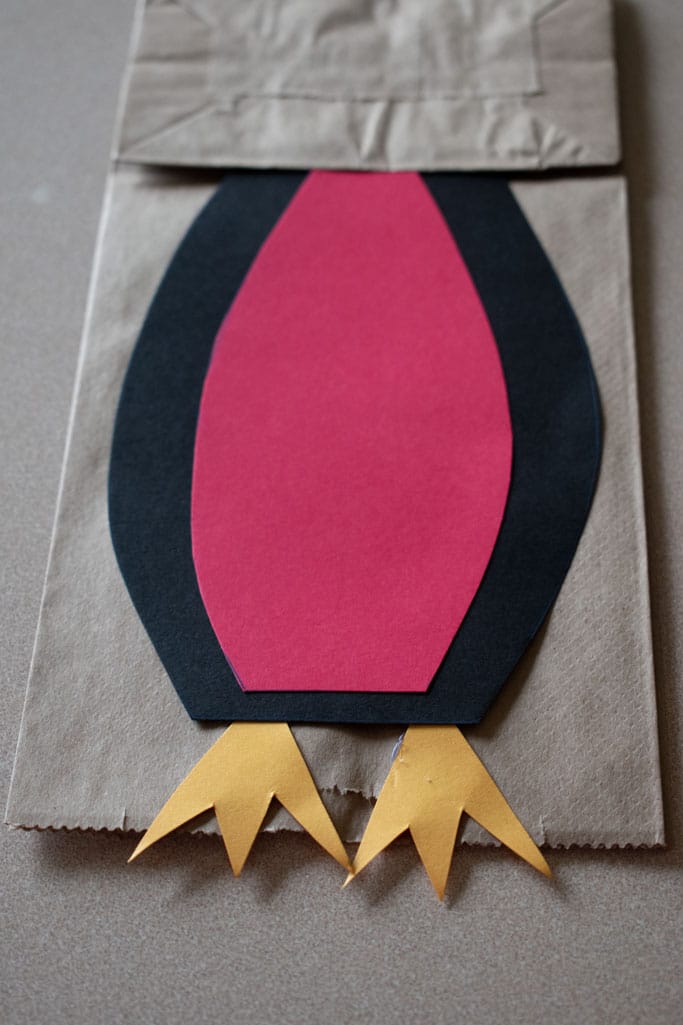
Step 3 – Add the Feet
Glue the turkey’s feet to the bottom of the bag, just under the black portion of the body.
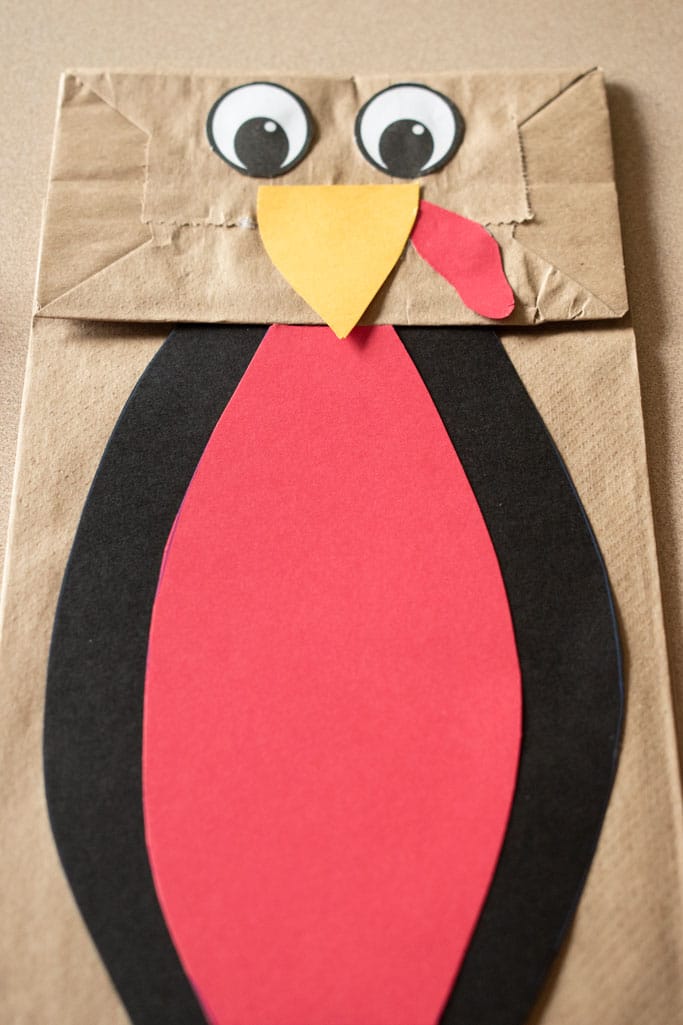
Step 4 – Assemble the Turkey’s Face
Glue the beak to the center of the upper portion of the bag with the turkey’s beard behind the edge of the beak. Add paper eyes or googly eyes.
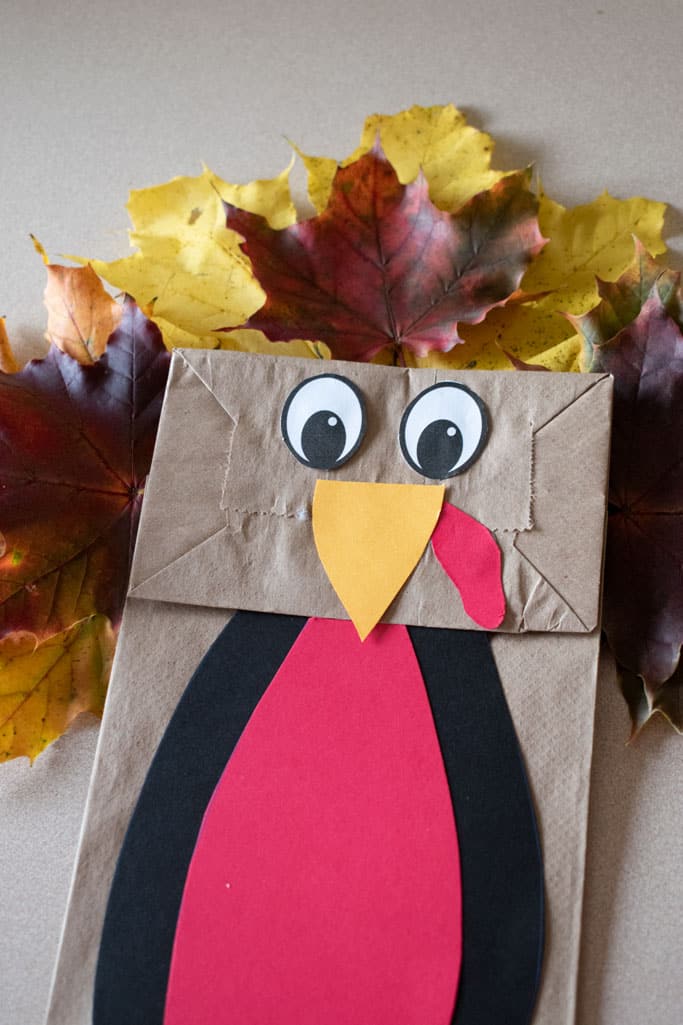
Step 5 – Arrange the Leaves
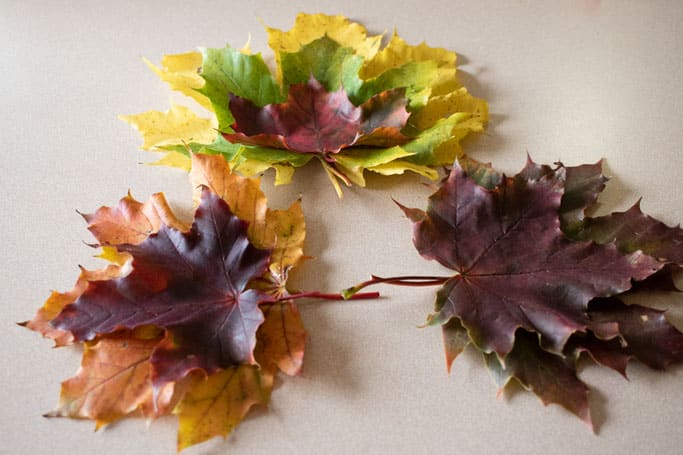
Now it’s time to arrange the leaves the way you want them. Put the smaller leaves in the front with the larger leaves in the back. Create a layered look to make the turkey look like he has more feathers. Don’t glue or tape the leaves at this point. Just get them the way you like them.
Step 6 – Glue the Leaves Together
Now that you have your leaves the way you want them, glue the layers together. You’ll need a hot glue gun at this point unless you want to allow for drying time if you’re using school glue. Glue each leaf layer together, and let dry (if applicable).
Step 7 – Attach the Leaf Feathers to the Back
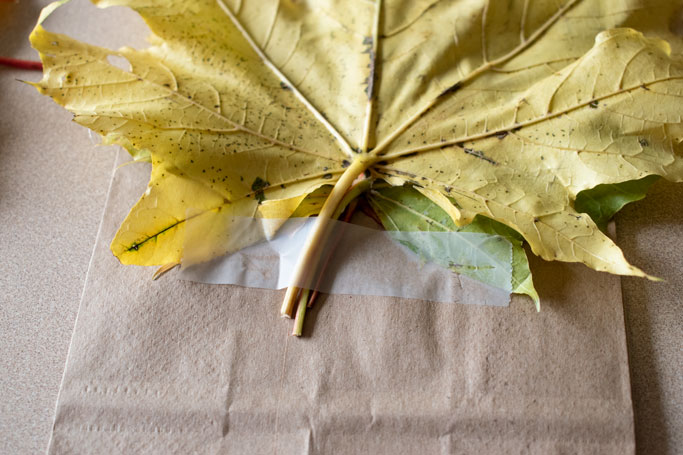
Now it’s time to give your turkey his feathers! Flip the turkey puppet over to the backside. Tape the leaves into place at the stems. Then, using your hot glue gun, add a dab of glue under each leaf layer to make it extra secure. Allow the glue to dry before flipping the turkey back over.
Step 8 – You’re Done!
Now your turkey paper bag puppet is finished, and it’s time to play.
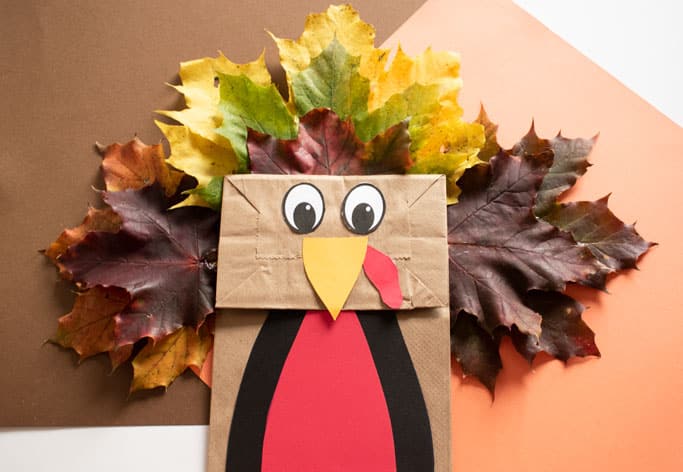
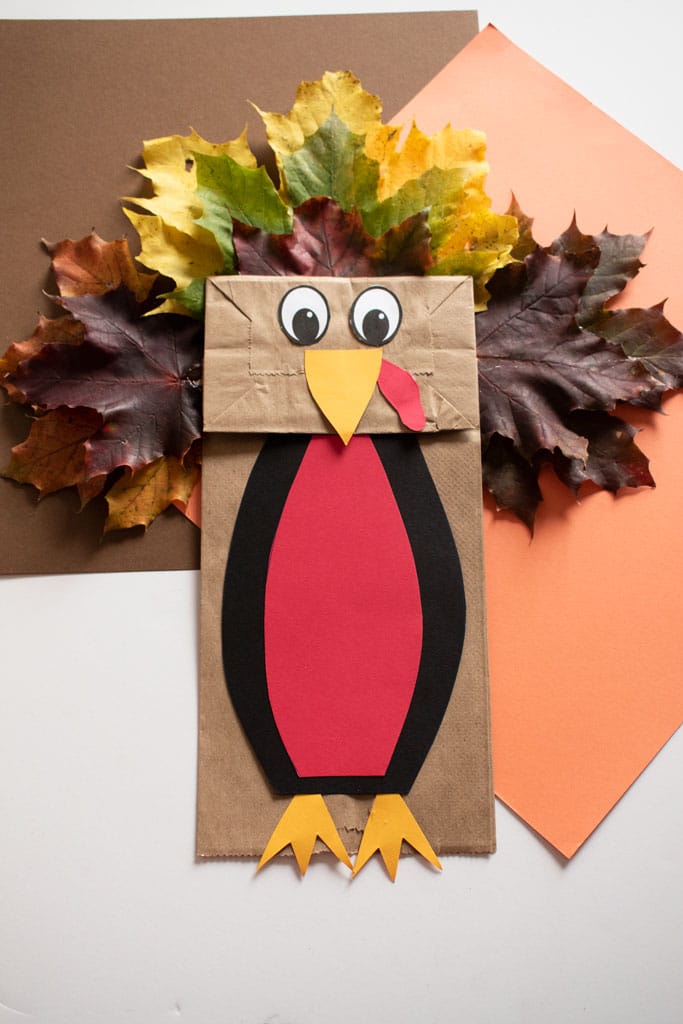
We hope you enjoyed this fun turkey craft for kids! If you make this, please send us a picture or tag us on social media.
More Thanksgiving Crafts for Kids
This craft was originally posted November 15, 2014 and was updated on October 28, 2021.

Thanksgiving Bucket List for Kids: 30 Things to Do in November
Tuesday 3rd of November 2015
[…] Easy Paper Bag Turkey by Glue Sticks and Gumdrops […]
20 Fall Craft Ideas - Pink Ninja Blogger
Friday 23rd of October 2015
[…] Easy Paper Bag Turkey Craft […]
Leprechaun Paper Bag Puppet for St. Patrick's Day - Wife. Mom. Geek.
Thursday 5th of March 2015
[…] meant to draw out a template for you like I did with this turkey paper bag puppet, but my son was eager to play with it and couldn’t wait another five minutes for me to draw […]
Michal
Saturday 15th of November 2014
That is really cute!
Donella Crigger
Saturday 15th of November 2014
Thank you, Michal!