Colorful crafts make me and my kid smile, and this fun tissue paper butterfly craft certainly fits the bill. You don’t need anything fancy to make these… I bet you have everything on hand. So grab some tissue paper, yarn or string, scissors, glue, and a marker, and let’s get to work on this cute craft!
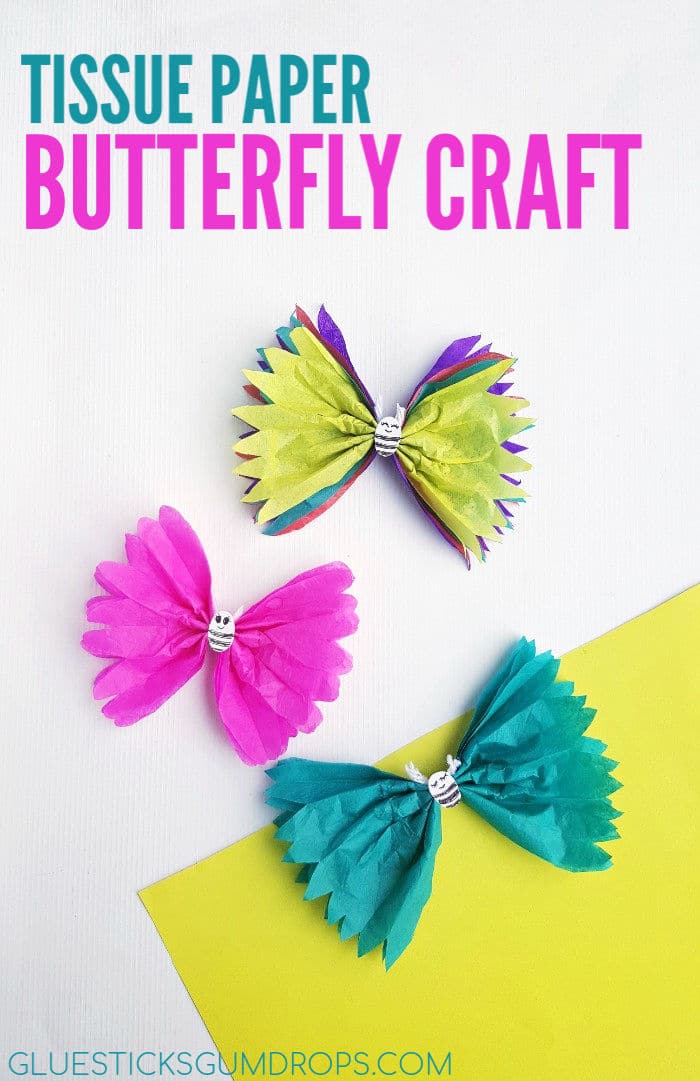
Fun Tissue Paper Butterfly Craft for Kids
If you liked our clothespin butterfly craft, I think you’ll enjoy this one, too. Who doesn’t like decorating the fridge or mantle with colorful butterflies, after all?
And if you’re anything like me, you probably have lots of tissue paper on hand already.
I keep it on hand for gift bags for birthday parties the kiddo is invited to. However, I always forget that I have some in a certain color, so I end up buying more and more and more.
At least it’s fun to use in crafts! Let’s get started…
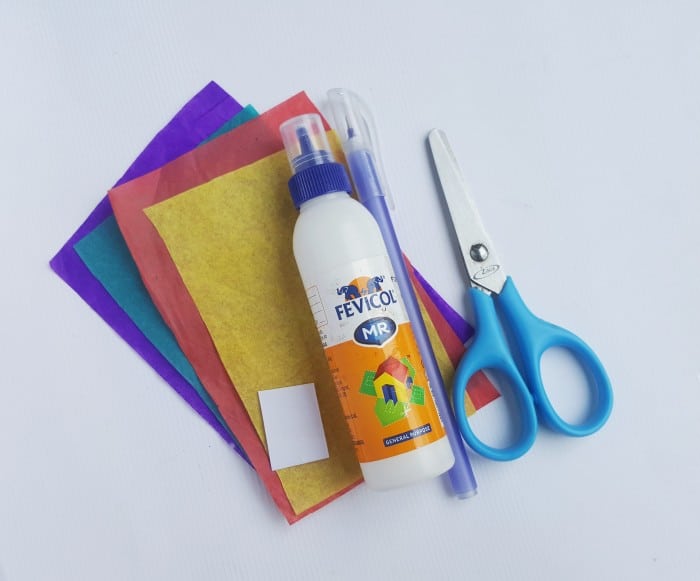
List of Supplies for the Tissue Paper Butterfly Craft:
1. Colored craft tissue paper
2. Scissors
3. Glue
4. Yarn or string
5. Black marker or pen
Instructions for the Tissue Paper Butterfly Craft:
1. Select craft tissue papers for the butterfly. You can use one color or 3 to 4 different colors if you plan on making several for a really colorful display. Determine the size of the butterfly and cut 4 sheets of tissue papers accordingly.

2. Hold all 4 sheets together, making sure that the edges are matched nicely. Start creating accordion folds with all 4 sheets along the longer side. Continue to fold until reaching the other end of the sheets. Use the entire sheets to create accordion folds.
3. Take a piece of small yarn or string and tie 2 tight knots in the middle part of the folded sheets.
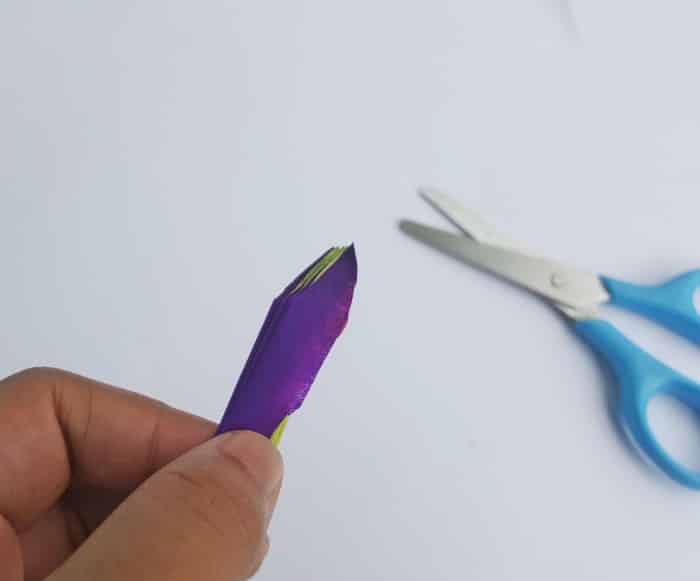
4. Hold one end of the accordion folded sheets.
5. Use scissors to cut a pointy pattern on each end of the wings. You can cut the open end of the folded sheets into any pattern you want, such as round edge.

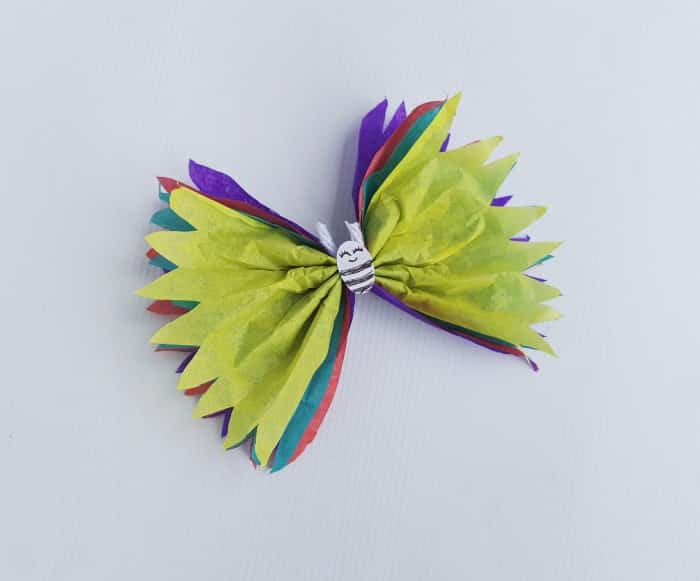
6. Unfold the open ends of the folds and spread the sides.
7. Now carefully separate each layer one by one to give them a fluffy look.
8. Satisfied with the look of the wings? Great! Let’s go to the next step.
9. Take a small piece of white paper (or another color of your choosing) and cut it into an oval shape. Draw a smiley face on it using a black marker or pen.
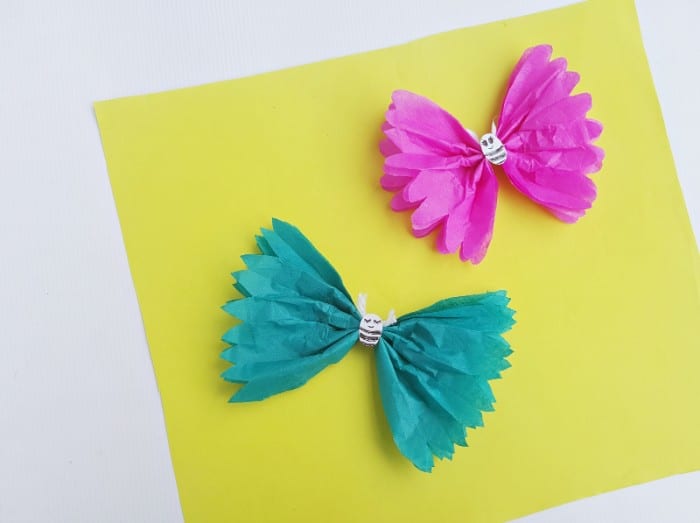
10. Glue the smiley face on the middle part of the accordion folded fluffy pattern.
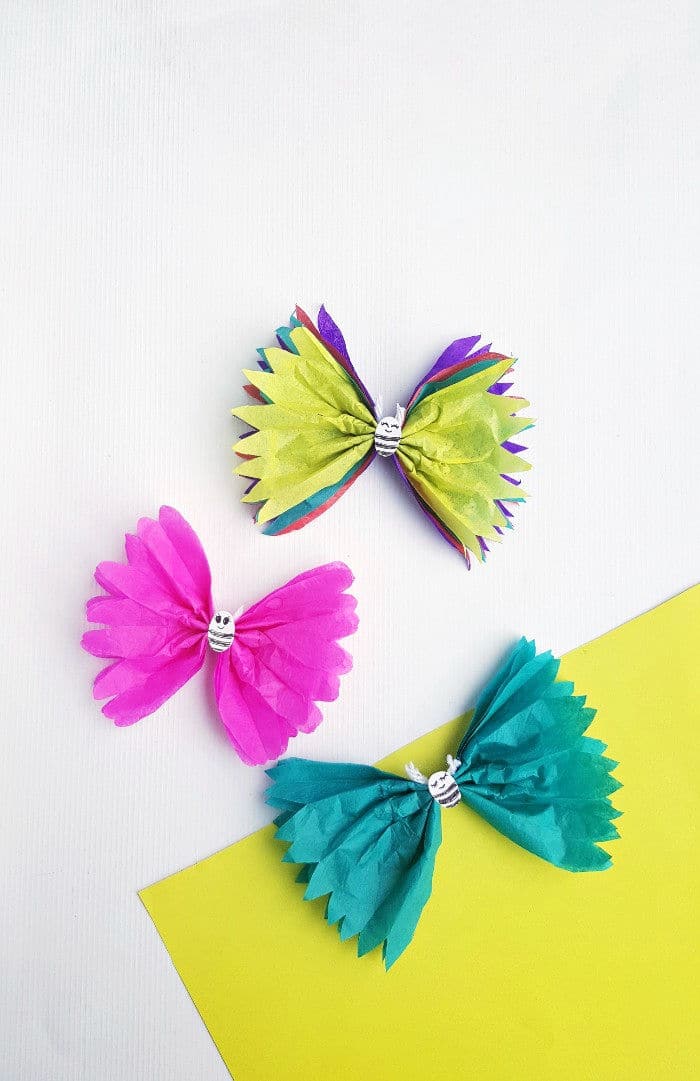
You’re done. Isn’t the tissue paper butterfly craft adorable?
Don’t forget to check out these other crafts listed below while you’re here:
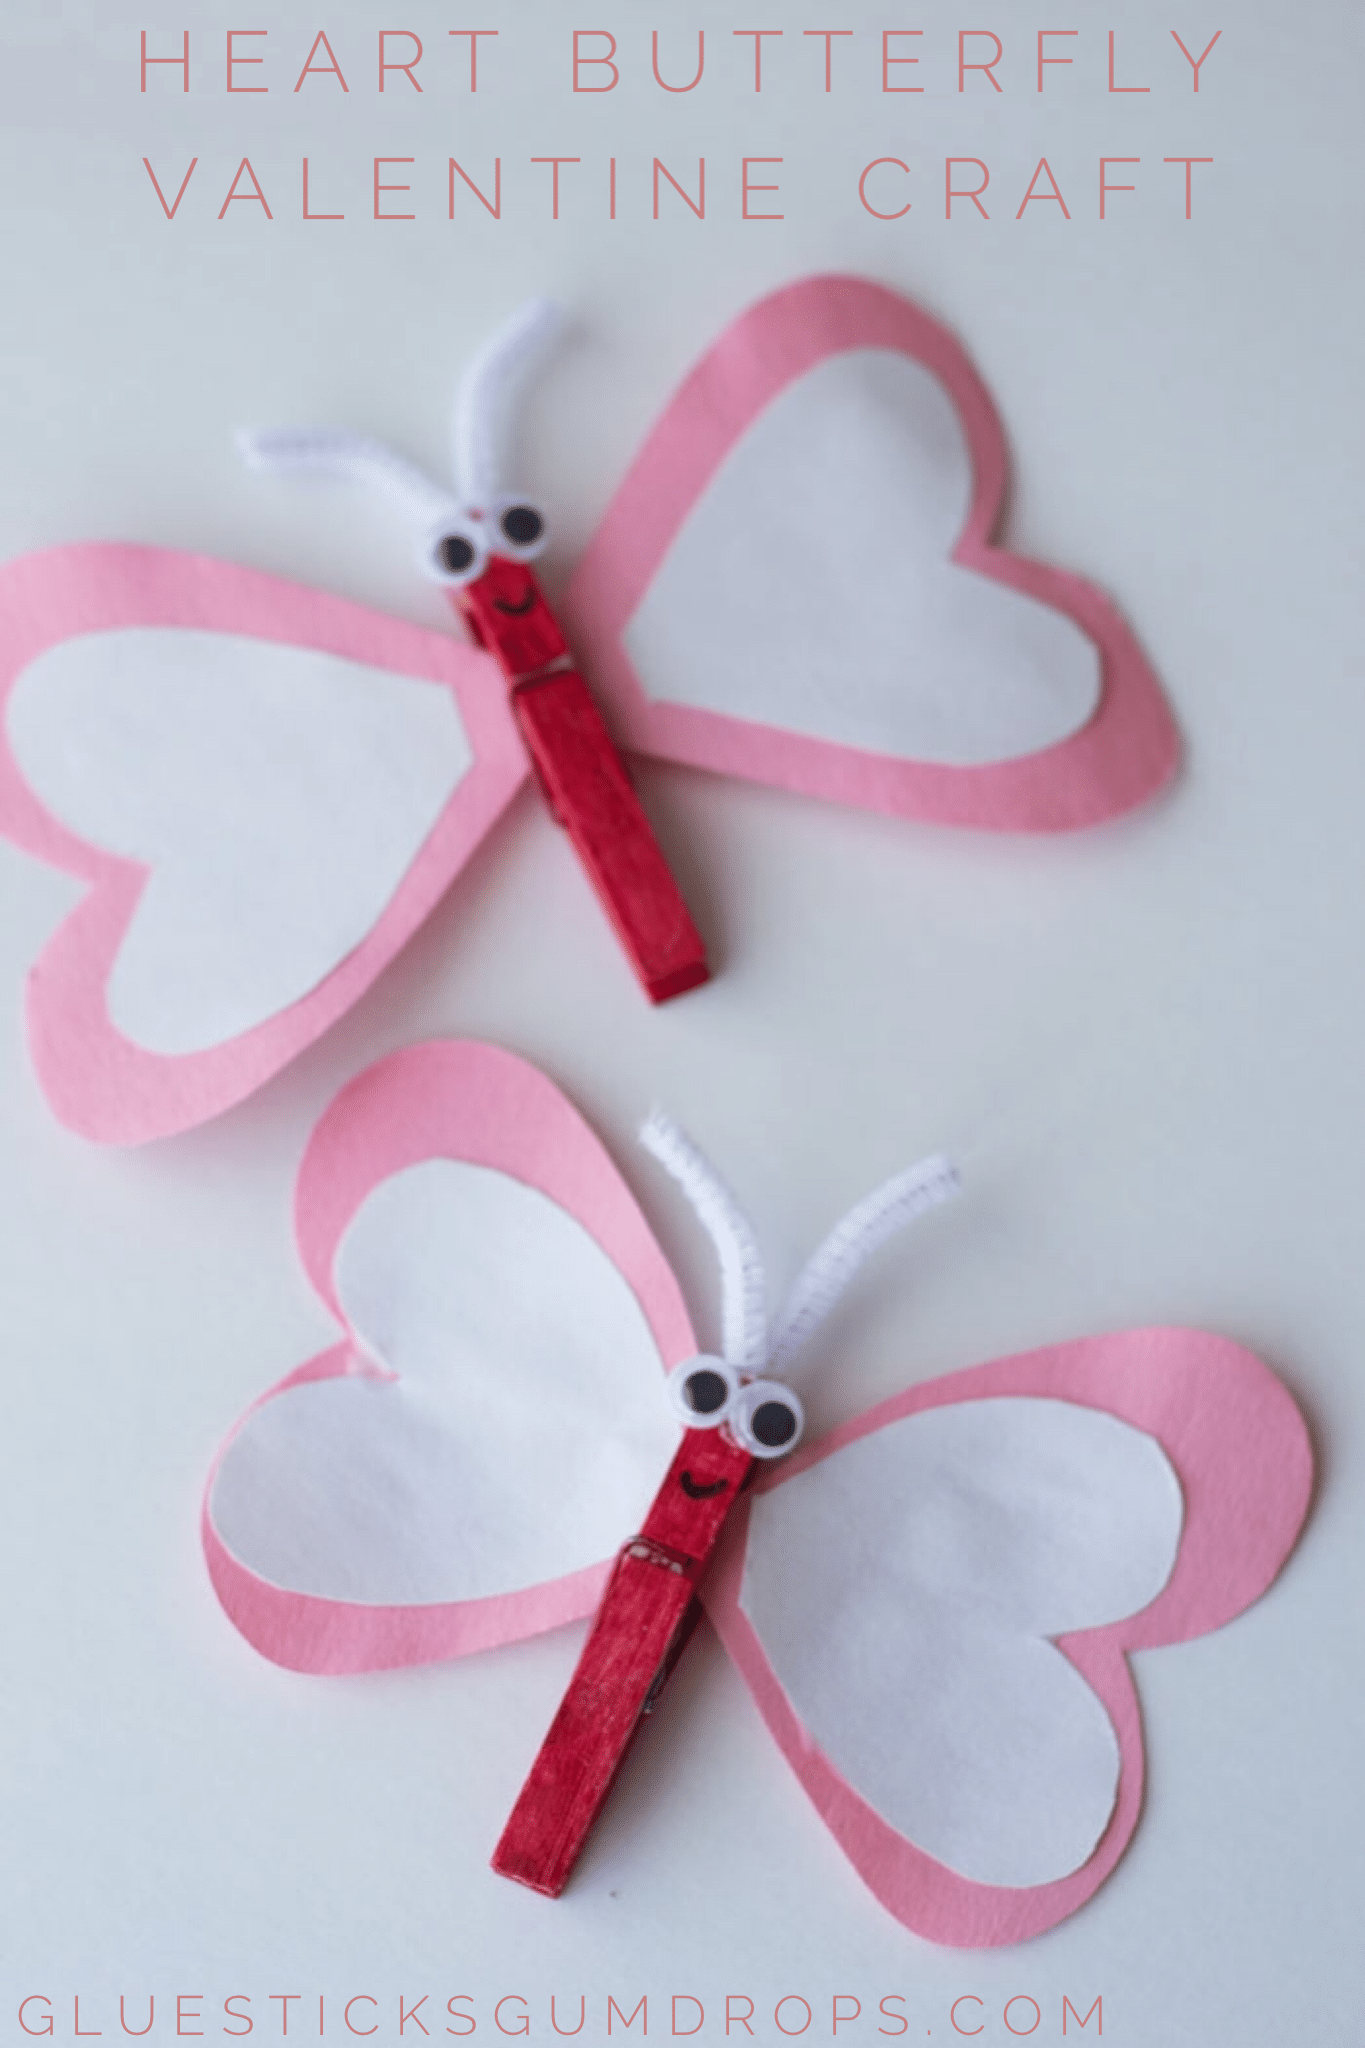
Heart Butterfly Craft for Valentine’s Day (or any day!)